
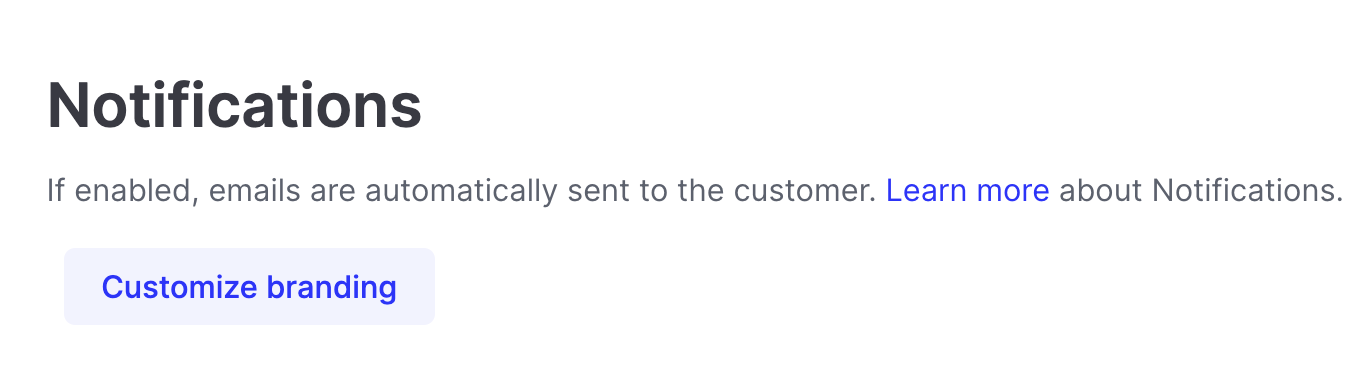
Email Notifications
OVERVIEW
This article explains how to manage and customize email notifications sent to shoppers during the returns process. It covers configuring email settings like support email and sender information, enabling or disabling specific notification templates, and customizing templates by adding logos, selecting accent colors, editing HTML, and using custom variables. The article also provides instructions for previewing notifications and adjusting sender and reply-to email addresses.
Use the menu on the left to quickly navigate this article.
Why it matters
Emails sent during the return process are designed to communicate necessary information and keep shoppers informed. Notifications are triggered by specific events such as a return being processed or an item going out of stock.
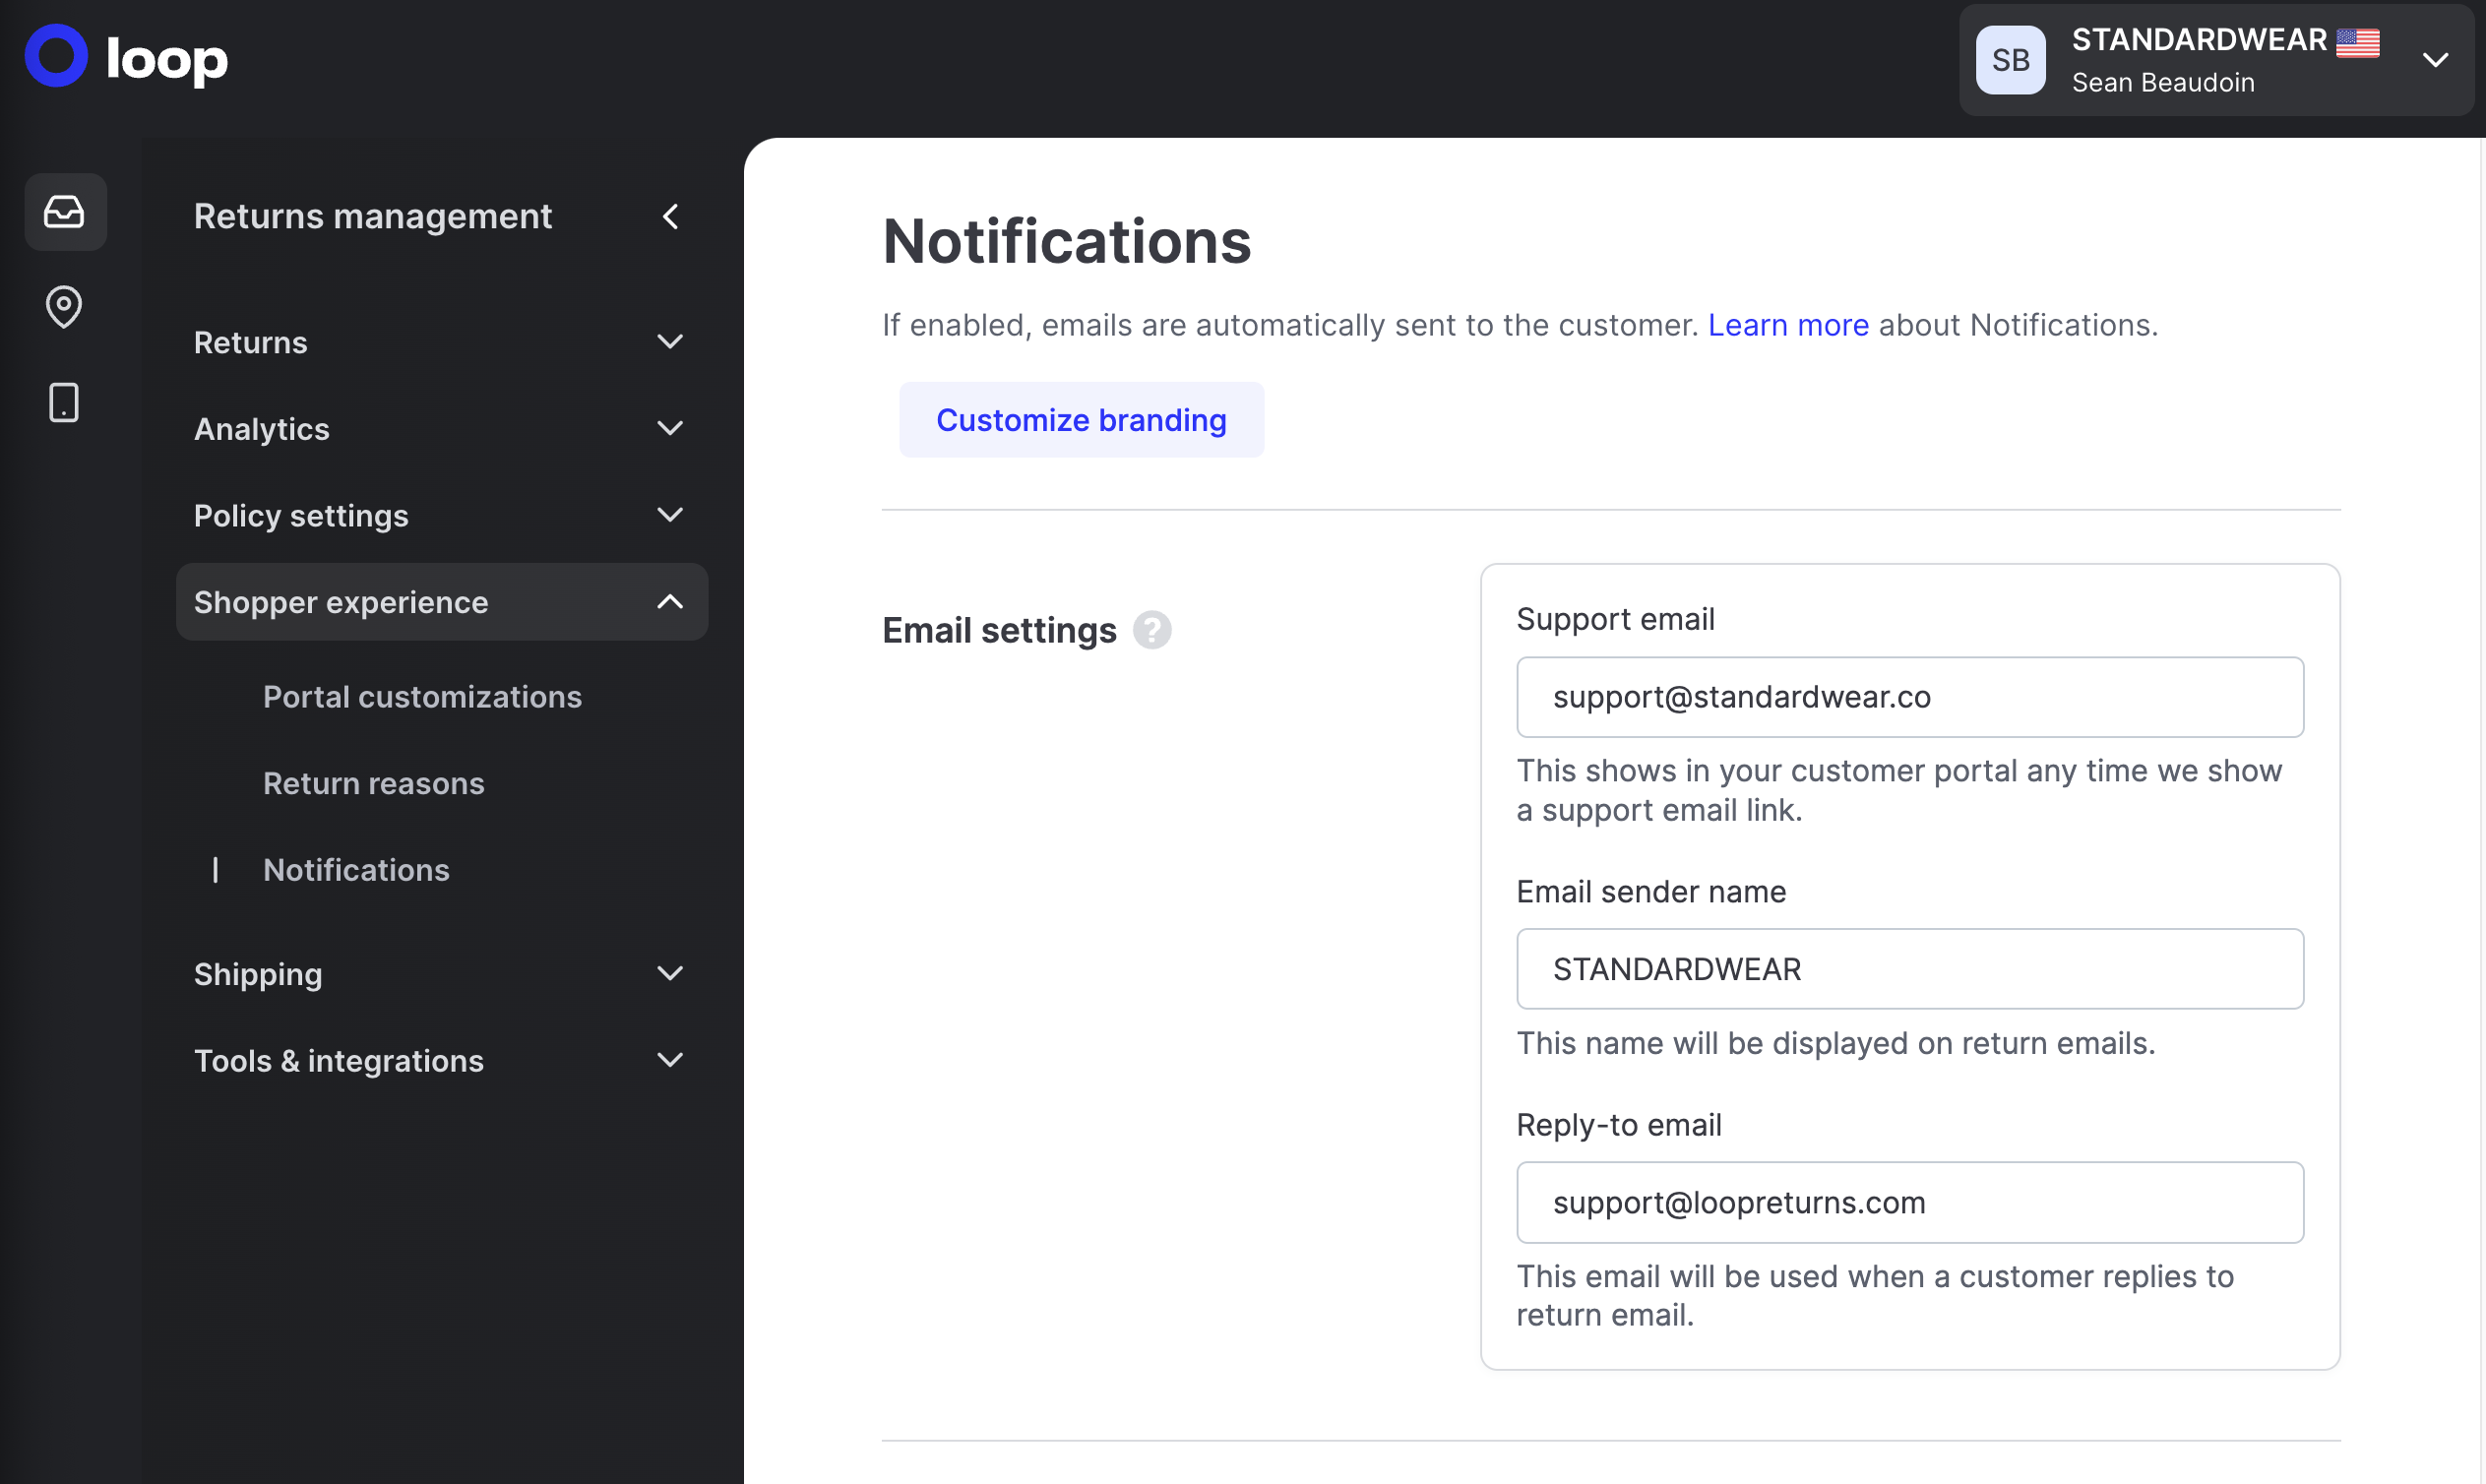
Email settings
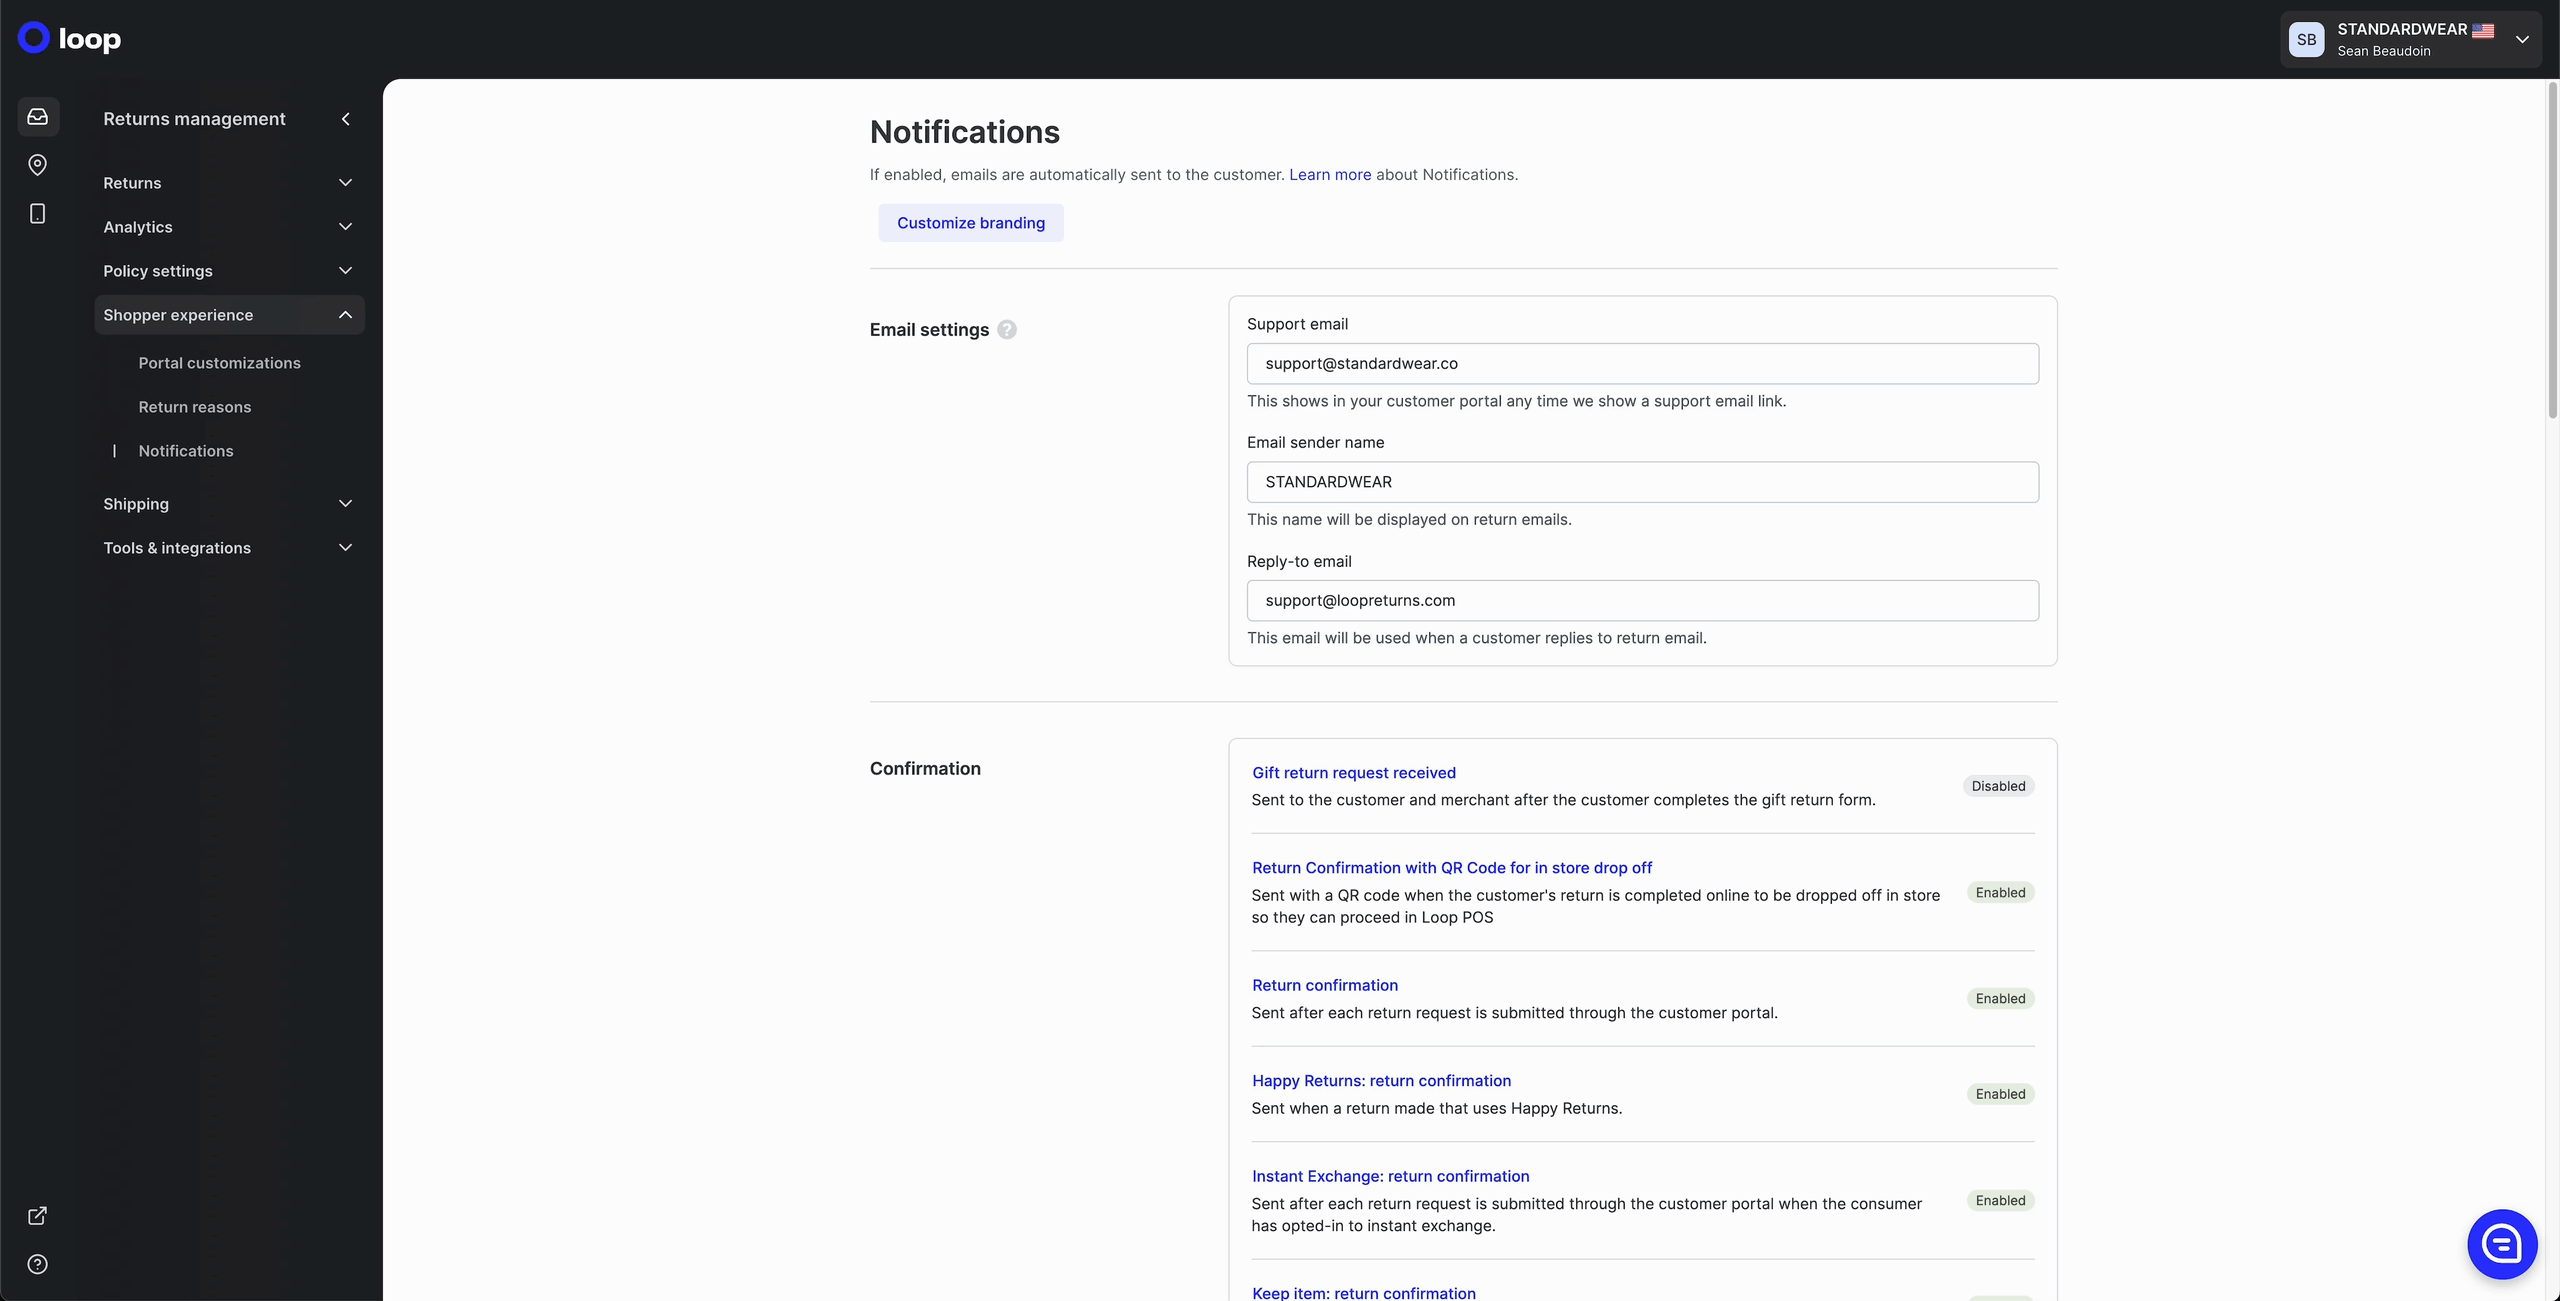
Navigate to Returns management > Shopper experience > Notifications > Email Settings in the admin:
Support Email - This will be visible in the shopper return portal any time we show a support email link (for example, in the footer).
Email sender name - This will be the visible name customers see when Loop sends notification emails (for example, a return confirmation).
Reply-to email - This email will be used when a customer replies to a notification email.
Save changes.
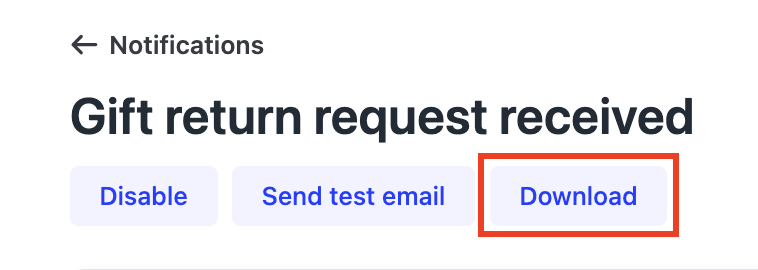
Enabling or disabling notifications
On the Loop admin's main Notifications page is a list of all of the email notifications Loop can send, along with a short description of when each one sends. All email notifications are enabled by default. If wanting to disable a notification, follow these steps:
In the Loop admin, go to Returns management > Shopper experience > Notifications.
Select the template being enabled or disabled.
Click Enable or Disable.
Go back to the Notifications view to confirm the template was enabled or disabled.
Customizing email notifications
By clicking into a specific email template, merchants can:
Review a mockup or preview of the email notification that shoppers will receive
Make edits to the template
Merchants have full ability to customize notifications that get emailed to shoppers. Below are a few ways to customize.
Adding a logo
Merchants can add a logo to all email templates at once. If using one, the logo will show as the heading of the message, replacing the brand name text:
Upload an image in Shopify (yourstore.myshopify.com/admin/files).
Copy the hosted URL.
In the Loop admin, go to Shopper experience > Notifications > Customize Branding.
Paste the image link into the Logo image URL field.
Click Save.
Note: Loop recommends that the logo image be 400 x 100 pixels for optimal sizing.
Selecting an accent color
This accent color will apply to all links or buttons within the message:
Go to Returns management > Shopper experience > Notifications > Customize Branding.
Click on the Accent Color tile.

Enter the desired HEX, RGB or HSL values.
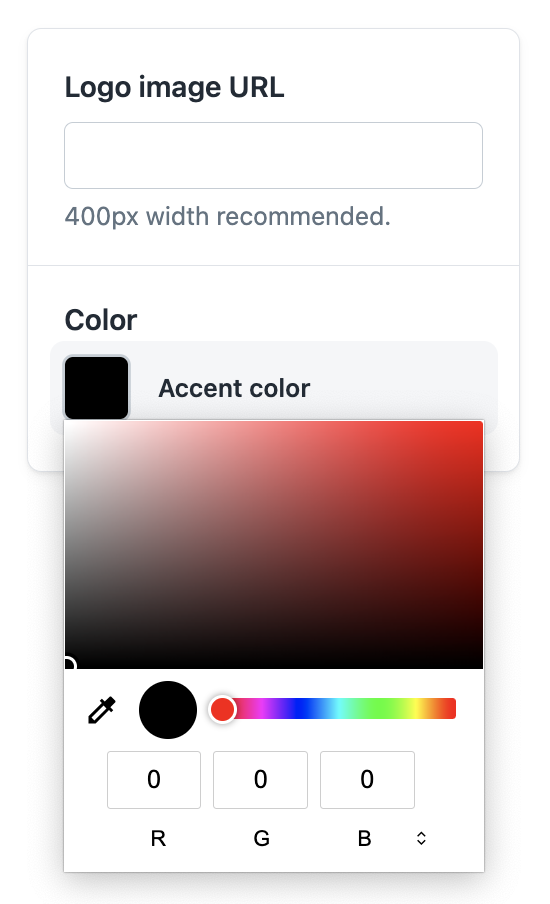
Click Save.

Customizing HTML
Upon accessing one of the notification templates in the Loop admin, merchants will see an HTML field and a list of email variables.
To customize the appearance and body of Loop notification emails:
Go to Returns management > Shopper experience > Notifications.
Click the email template being edited, then click Download.
Important: Loop always recommends download the existing version as a backup before making any edits.
Upload the downloaded file to a code editor.
Edit as needed.
Once edits are made, paste them in the Email Body (HTML) field.
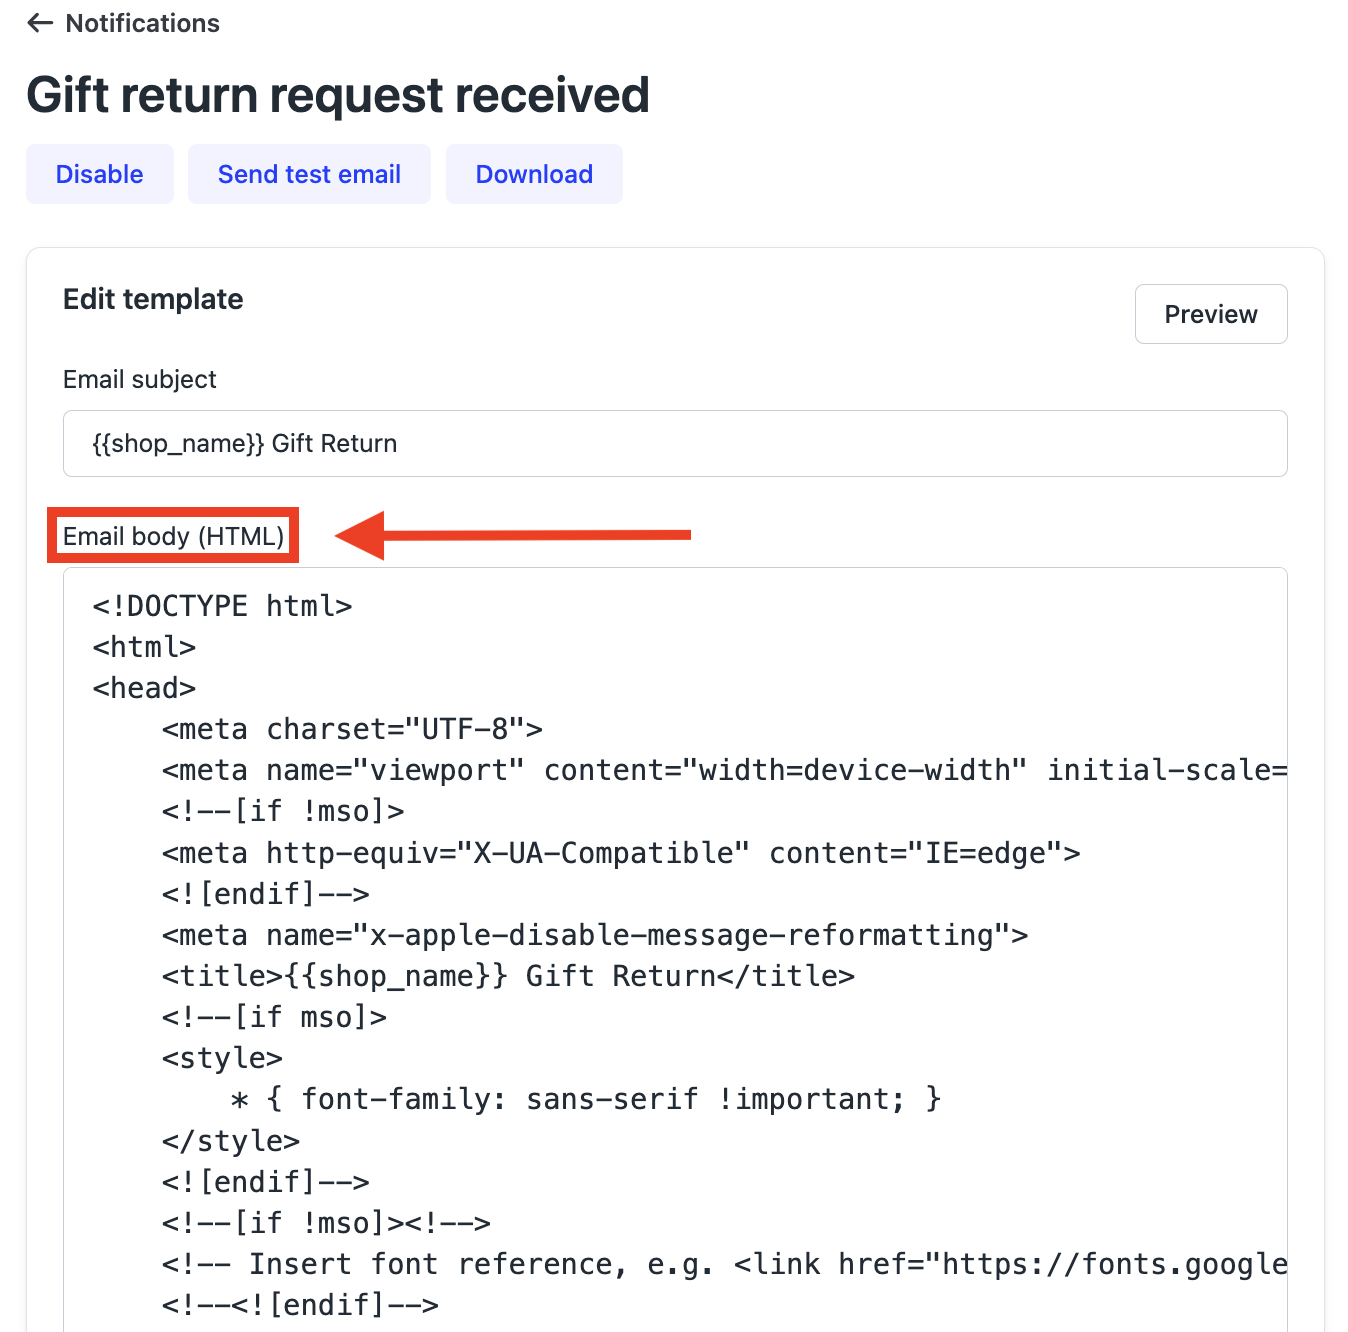
Click Save.

Note: Loop recommends keeping email template layouts relatively simple to ensure that they display properly across all mail applications.
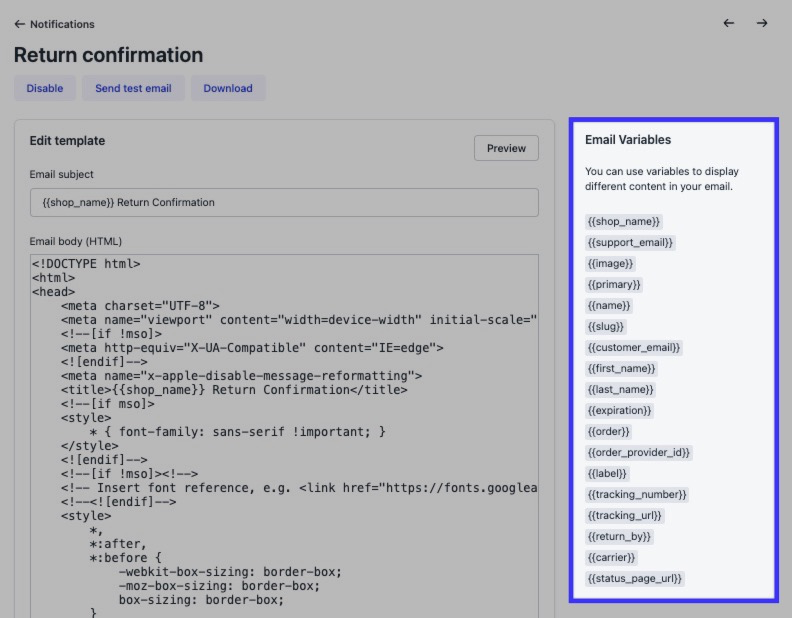
Using custom variables
Custom variables automatically import merchants' unique information from Loop's database according to the return request. Each email has a list of available variables. Each email contains different content, so merchants should review the different variables available with each template.
Editing the template subject
Go to Returns management > Shopper experience > Notifications.
Click the email template being edited.
In the Email subject field, enter the content to be displayed.
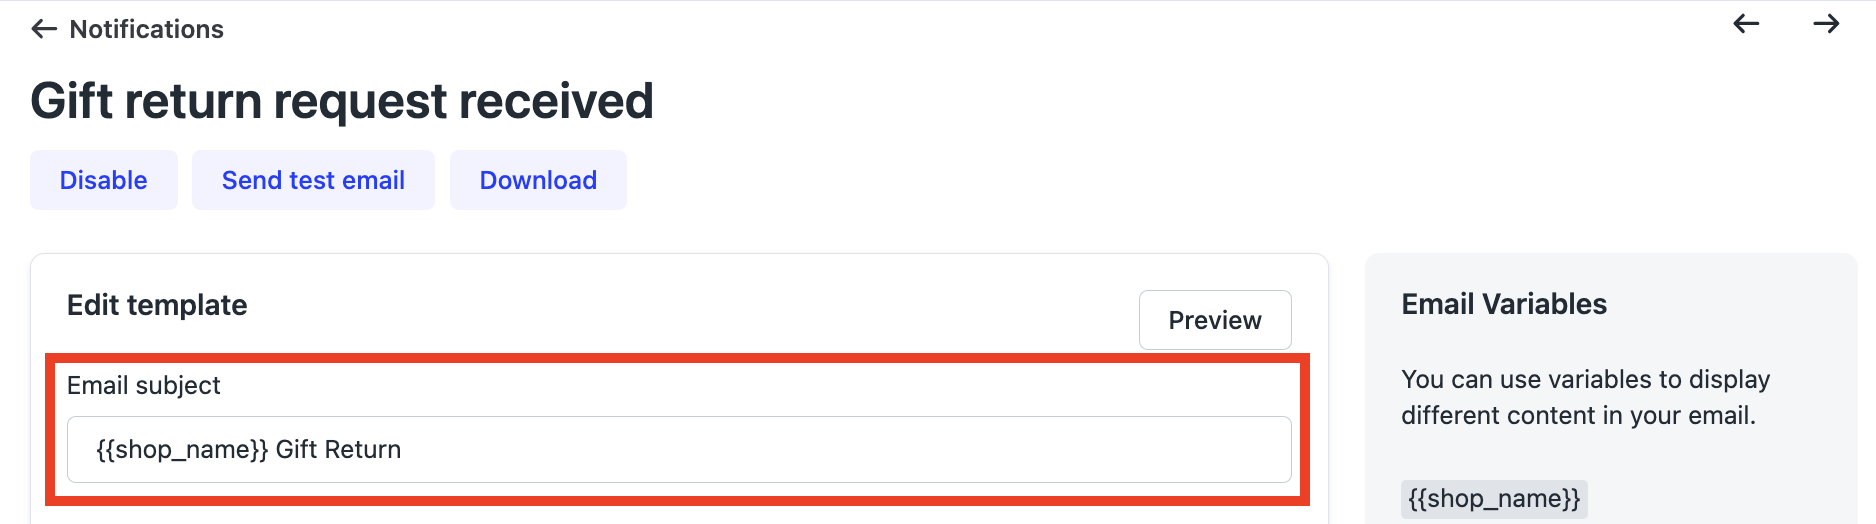
Tip: Reference the Email Variables list on the right to personalize email content.
Click Save.
Previewing notifications
Previewing multiple templates
To live-preview templates one after another easily:
Go to Returns management > Shopper experience > Notifications and click Customize Branding.
Click the arrows to toggle between templates.

The email templates include:
Confirmation
Gift return request received
Return Confirmation with QR Code for in store drop off
Return confirmation
Happy Returns: return confirmation
Instant Exchange: return confirmation
Keep item: return confirmation
POS: return confirmation
Return confirmation without shipping labels
Stripe transaction
Return Updates
Deep link created
Gift Receipt Email
Out-of-stock exchange notice
Out-of-stock gift exchange notice
Delivered notice
Return Delivery Error
In transit notice
Return modified
Instant Exchange: return not received
Return updated
Happy Returns drop off notice
Shop Later Offer (Shop Now only)
Shop Later Offer (Shop Now & Store Credit)
Shop Later Offer (Store Credit only)
Line Item Rejected
Shopper return cancelled
Expiration
Expiration notice
Expiration reminder
Instant Exchange: 7 day reminder
Instant Exchange: 1 day reminder
Resolution
Out-of-stock exchange resolved
Stripe refund
Exchange Tracking
Exchange delivery error
Exchange in transit
Warranties
Warranty Claim Rejected
Previewing templates individually
To live-preview customizations individually:
Go to Returns management > Shopper experience > Notifications.
Select a template.
Click the Preview button at the top of the page.
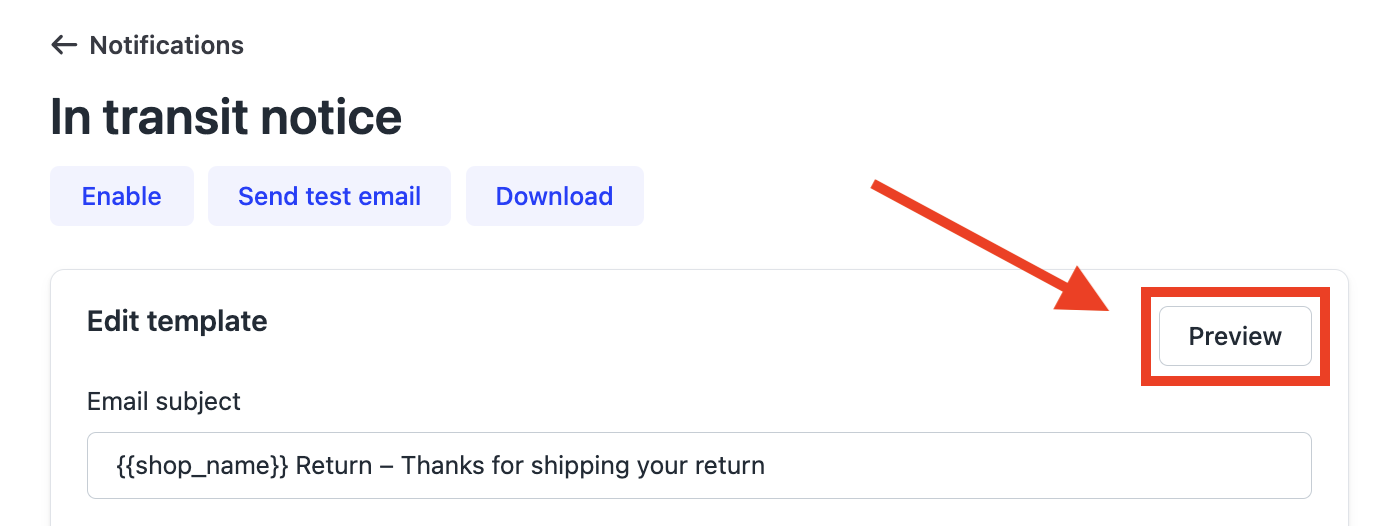
Note: Loop recommends testing the preview on both a phone and an email browser to ensure consistent layout across platforms.
Adjusting sender and reply-to email address
Notification emails are sent by Loop, but they use each merchant's contact information. The email sender Name and Reply-to address can be changed at any time:
Go to Returns management > Shopper experience > Notifications.
Under Email settings, edit the following fields:
Support email - Shows in the shopper return portal any time Loop shows a support email link.
Email sender name - Shows in return emails.
Reply-to email - The email used when a shopper replies to an email notification.
Click Save.
FAQ
What service does Loop use to send notifications? Loop uses Mailgun to send out automated notifications.
How can I change my email template back to the original template setting? If at any point you would like to go back to the original email template, simply scroll to the bottom of the template and select Revert to default.
Note: to quickly toggle between templates, use the arrows at the top right to go back and forth.
Can I use a custom font in the email template? Unfortunately, Loop cannot support the use of custom fonts in email templates at this time. This is due to the fact that not all email clients support custom fonts, therefore the email templates may not appear as intended across all email clients and browsers.
Which email address will receive the test email when I click the "Send Test Email" button? The test email is sent to the email address of whomever is logged in. A popup is also shown on the screen indicating the email address the email was sent to.
Can I resend automated emails? At this time, Loop does not support the ability to resend most email notifications from the admin at this time. However, you can resend the return confirmation when there is a label by going to the return page and selecting Email Shipping Label.
My customer did not receive their return label. Can I resend the label manually? Yes, you can resend the label manually from inside the return request by clicking Email Shipping Label.
My customer did not receive their store credit gift card. How can I resend manually? You'll want to resend it through Shopify:
In Shopify, go to Products > Gift Cards.
Search for the shopper's email address.
Select the Gift Card.
Click Resend gift card to the shopper.
How do I start on a new line when editing HTML? First, decide if you want a line break or a paragraph break. Line breaks start on the next line immediately under the previous thought. To add a line break, type <br> or <br/>. They do not need an ending tag. For example:
We received notice that your exchange was shipped via USPS on 11/10/2023. <br>You can track your package at any time using the link below. Paragraph breaks begin a new paragraph, usually showing some white space in between the previous thought and the new paragraph. To add a paragraph break, type <p>, then write the paragraph text immediately after, making sure to add the ending tag at the end of the paragraph </p>. For example:
<p>We received notice that your exchange was shipped via USPS on 11/10/2023.</p> <p>You can track your package at any time using the link below.</p> Please reach out to support@loopreturns.com with any additional questions.