
Portal Customizations
OVERVIEW
This article explains how to customize the shopper return portal's theme and content to match a merchant's brand. It covers theme style adjustments including text color, corner radius, accent and background colors, background images, logos, favicon, and fonts. The article also details how to edit content across different pages of the portal using the Visual Editor and Edit All Content features.
Use the menu on the left to quickly navigate this article.
Video walkthrough
This video walks you through the customizations that are available for your returns portal.
Customize theme styles
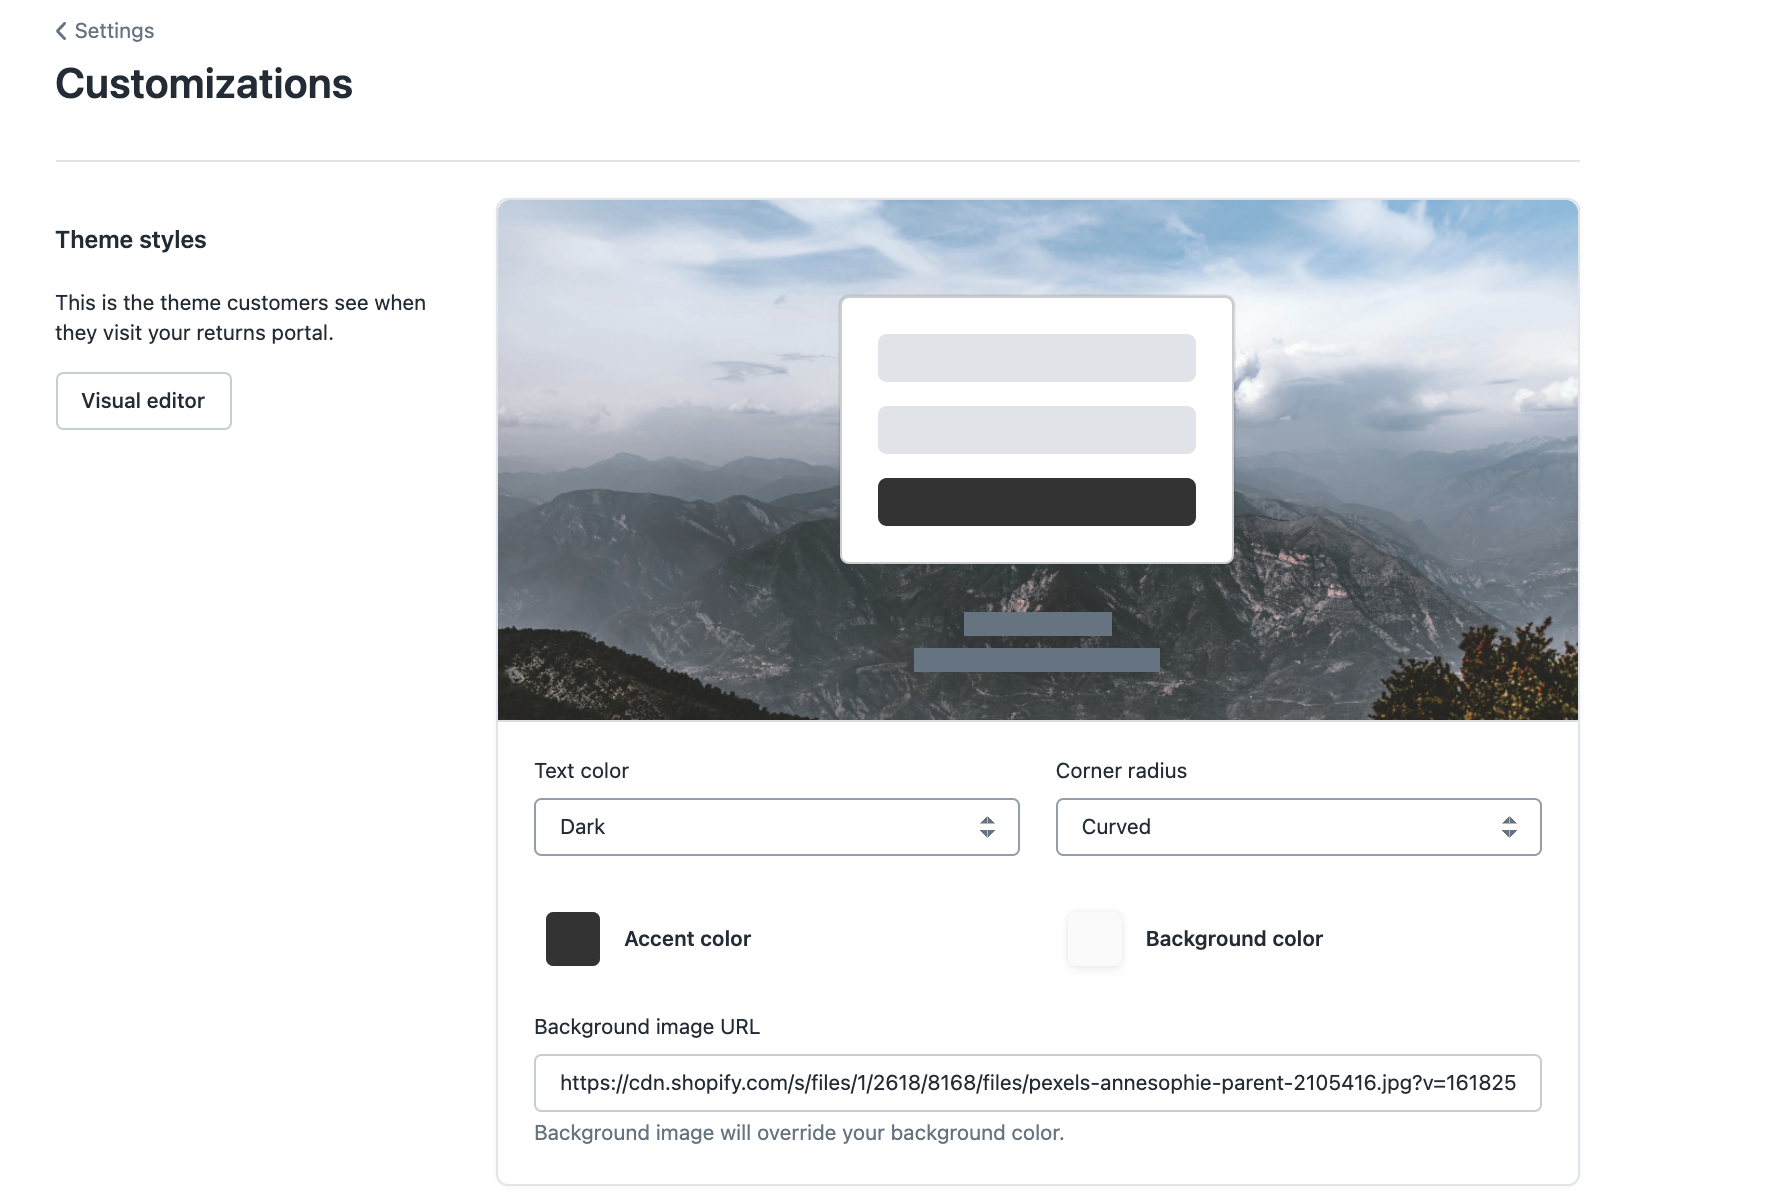
Text color
To contrast background color/image against text in the shopper return portal:
In the Loop admin, go to Returns management > Shopper experience > Portal customizations > Theme styles.
Select Light or Dark from the Text color dropdown.
Preview changes, then click Save.
Corner radius
To edit the appearance of buttons and modal windows in the shopper return portal:
In the Loop admin, go to Returns management > Shopper experience > Portal customizations > Theme styles.
Select Curved or Sharp from the Corner radius dropdown.
Preview changes, then click Save.
Accent color picker
To change the color of buttons in the shopper return portal:
In the Loop admin, go to Returns management > Shopper experience > Portal customizations > Theme styles.
Use the Accent color picker to select desired color or input HEX values.
Preview changes, then click Save.
Background color picker
To change the shopper return portal background and accent colors:
In the Loop admin, go to Returns management > Shopper experience > Portal customizations > Theme styles.
Use the Background color picker to select a desired color or input HEX values.
Note: Background image will override your background color.
Preview changes, then click Save.
Background image
To attach a desired background image in the shopper return portal lookup page:
Upload desired background image in Shopify from Content > Files and copy the hosted URL (it should be from admin.shopify.com/store/STORENAME/content/files).
We recommend using a 1440px x 900px image.
JPEG and other similar file types are not compatible in this section; it must be a Shopify URL.
In the Loop admin, go to Returns management > Shopper experience > Portal customizations > Theme styles.
Paste into the appropriate field and save the changes.
Note: This image will override your background color.
Customize branding
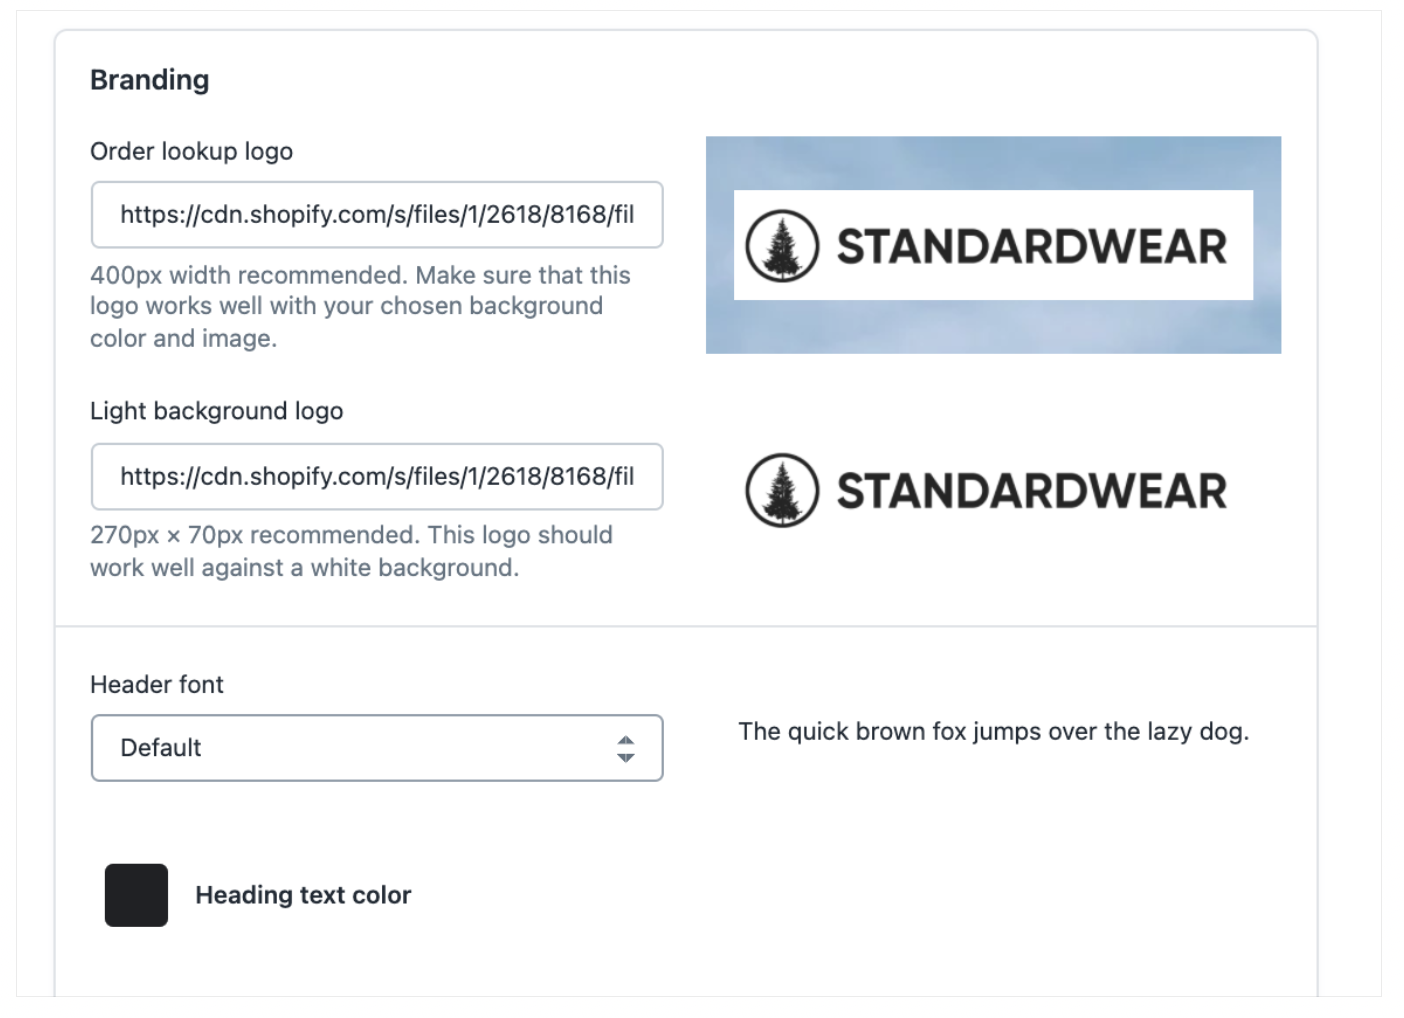
Logos and favicon images
To attach the desired logos and favicon image URL in the shopper return portal:
Upload your logo and favicon images in Shopify from Content > Files and copy the hosted URL (it should be from admin.shopify.com/store/storename/content/files).
Note: Follow the recommended sizing displayed underneath each URL field for the logo and favicon images.
In the Loop admin, go to Returns management > Shopper experience > Portal customizations > Theme styles > Branding.
Paste into the appropriate field and save the changes.
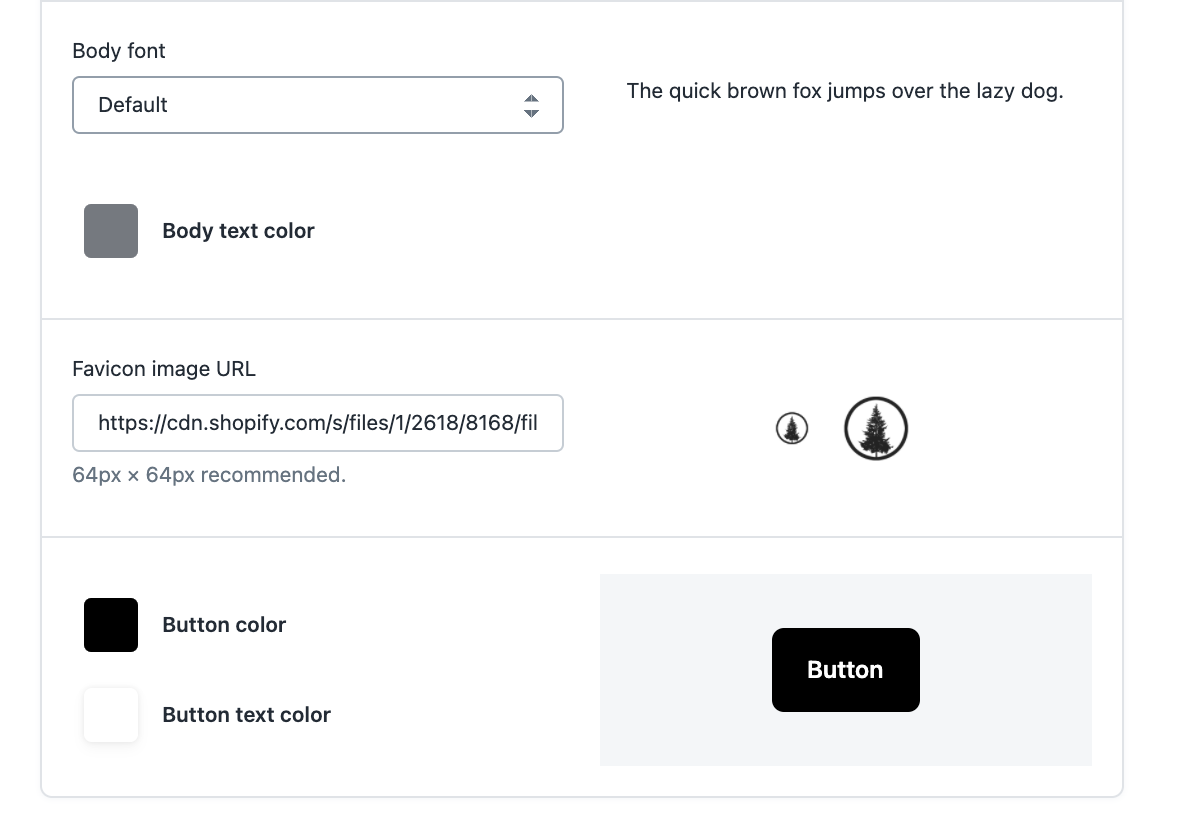
Header and body font
To select a custom font for the shopper return portal headers and body text:
In the Loop admin, go to Returns management > Shopper experience > Portal customizations > Theme styles > Branding.
Select the font closest to your brand from the Header font and Body font drop downs.
After making a selection, click Save.
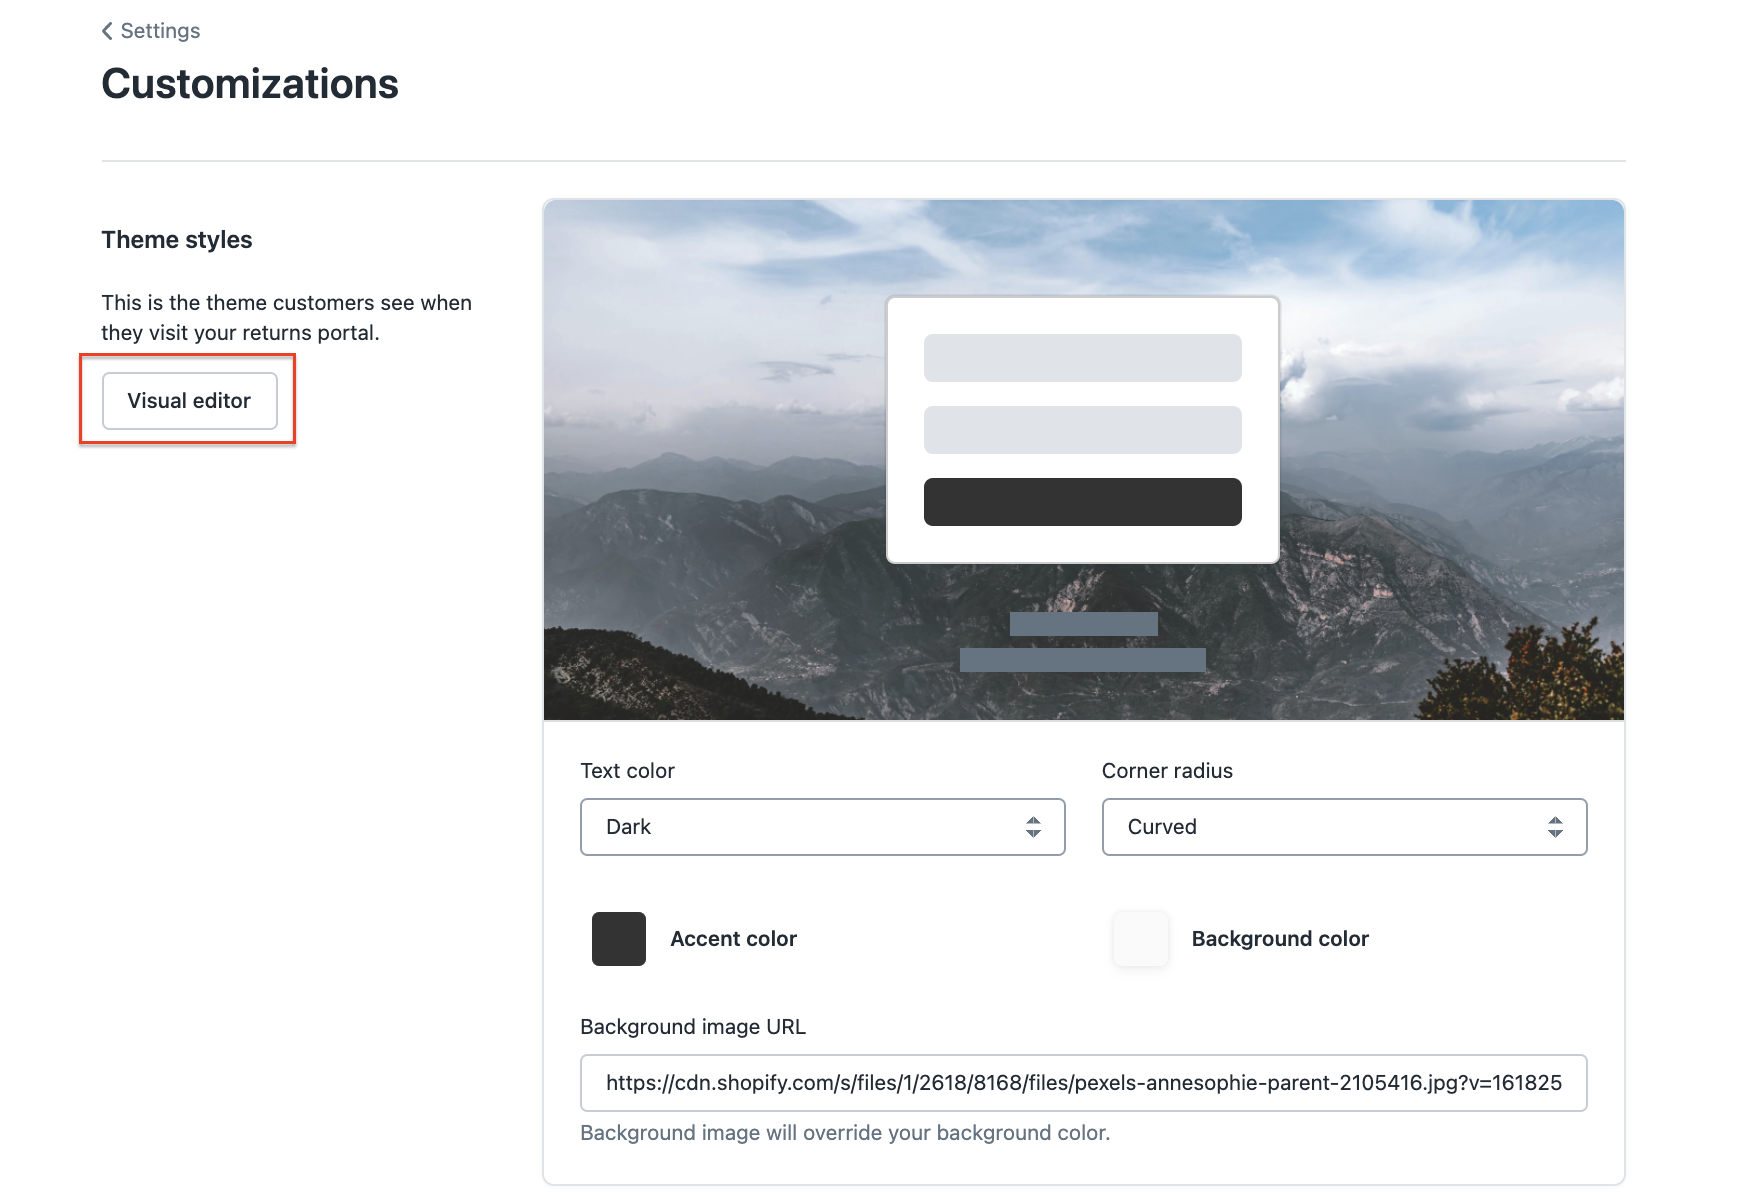
Visual Editor
By using the Visual Editor tool, you can edit and preview any changes made (in real time) to the theme style and text of the shopper return portal. An alternative to using this tool is to open the shopper return portal in a separate window and then refresh the portal page to review changes.
To access the Visual Editor tool, go the Loop admin and navigate to Returns management > Shopper experience > Portal customizations > Visual Editor.
Customize content
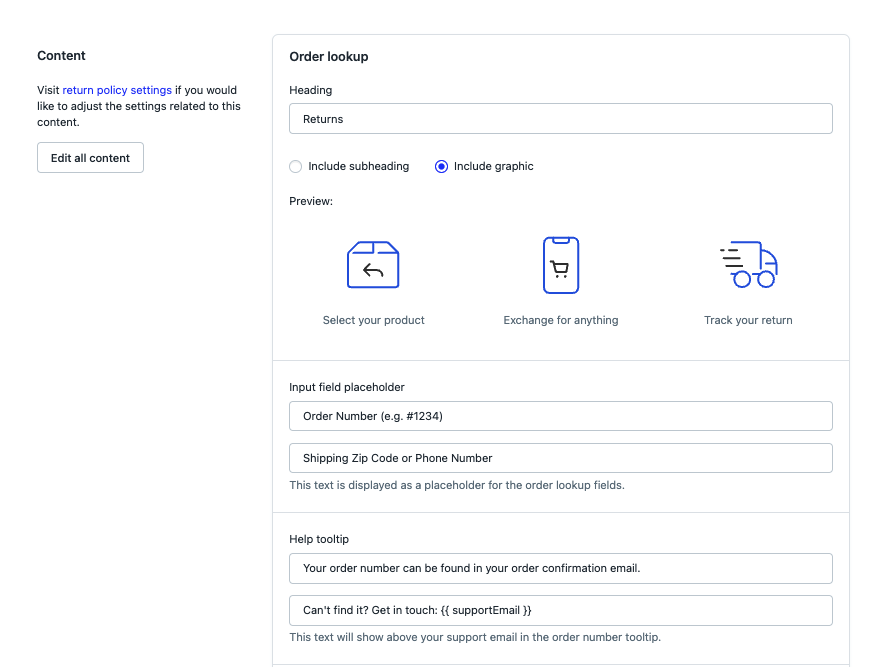
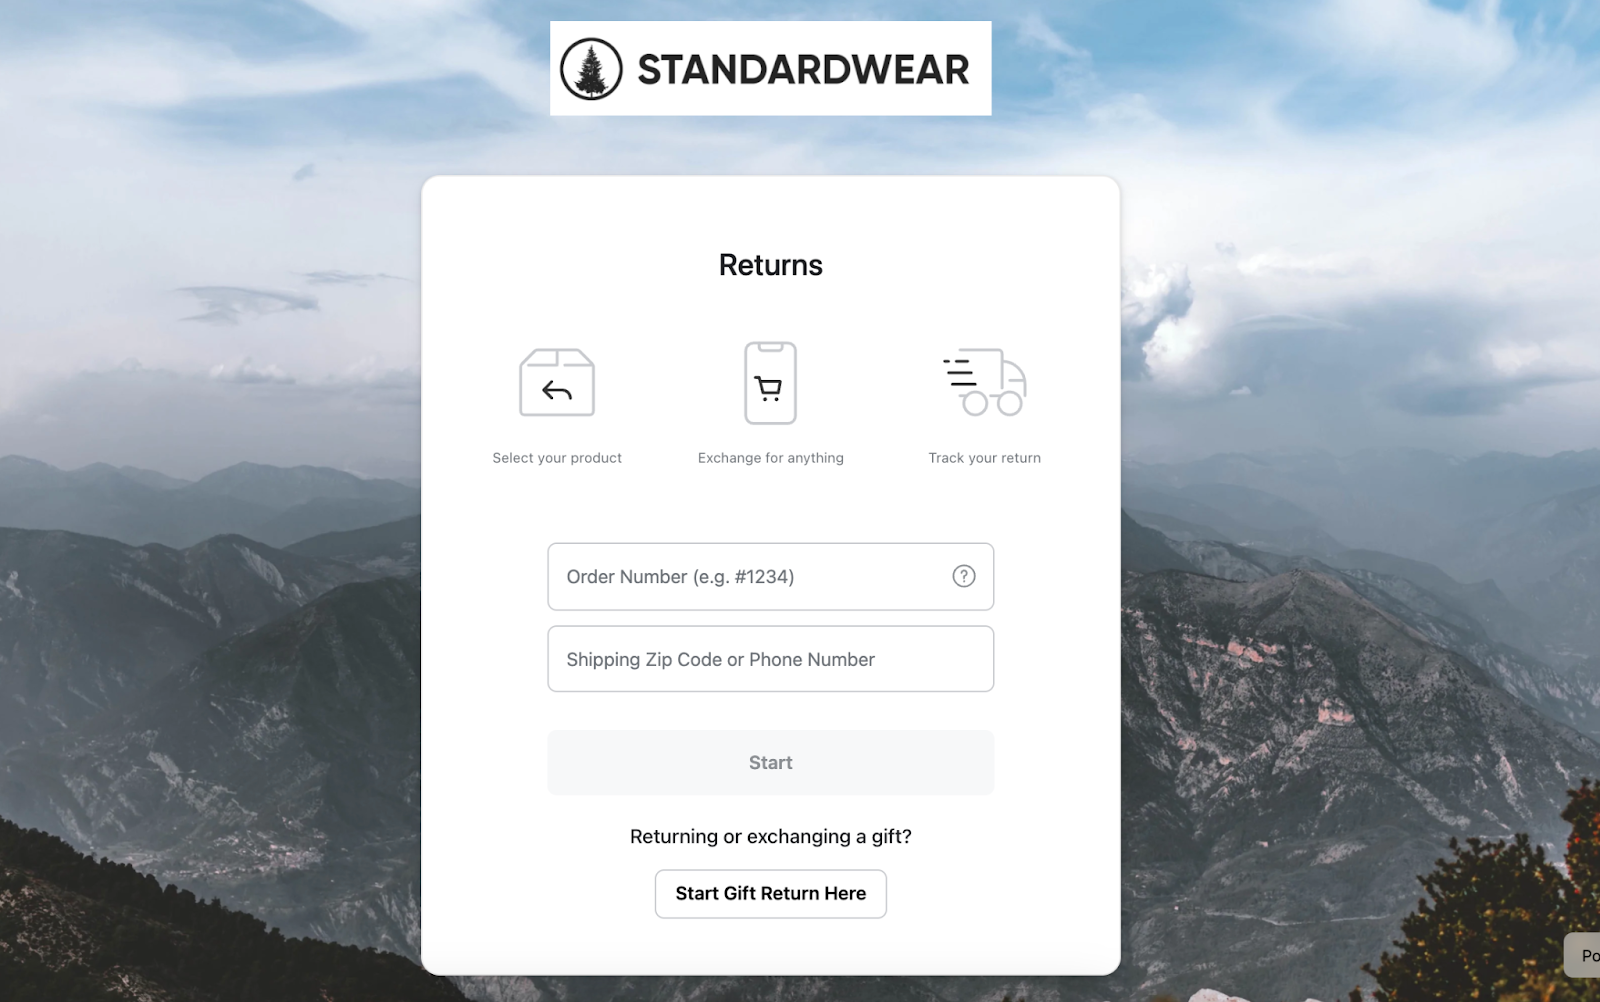
Order lookup
The order lookup section is where you can customize the text and some visual aspects of the order lookup page of the shopper return portal.
Below are the sections of the order lookup page you have the ability to edit:
Heading text
Subheading or graphic heading
Input field placeholder
Order number format
Shipping Zip Code or Phone Number format
Note: If you selected multiple lookup options under the General settings section of Loop, ensure you update this field to match those selections.
Help tooltip
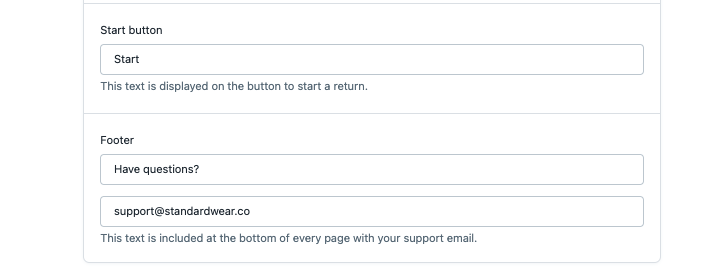
Start button
Footer
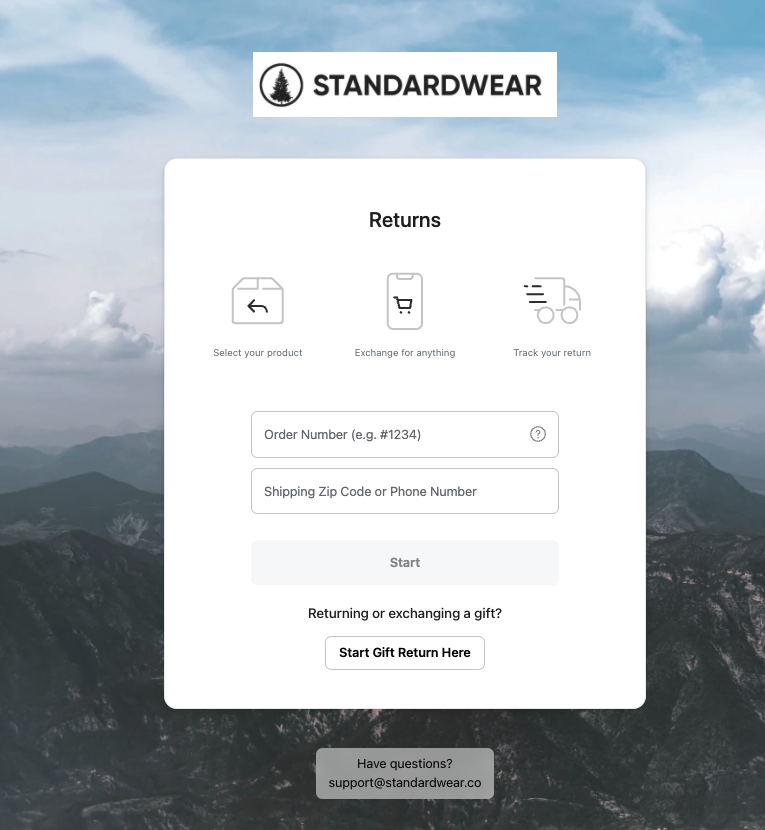
This is what the order lookup details look like when viewing the customer portal.
Editing all other content
To edit all other text throughout the shopper return portal, click on the Edit all content button.
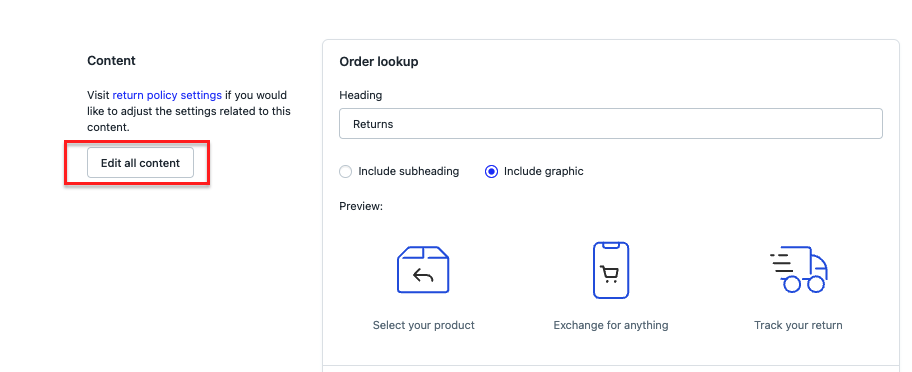
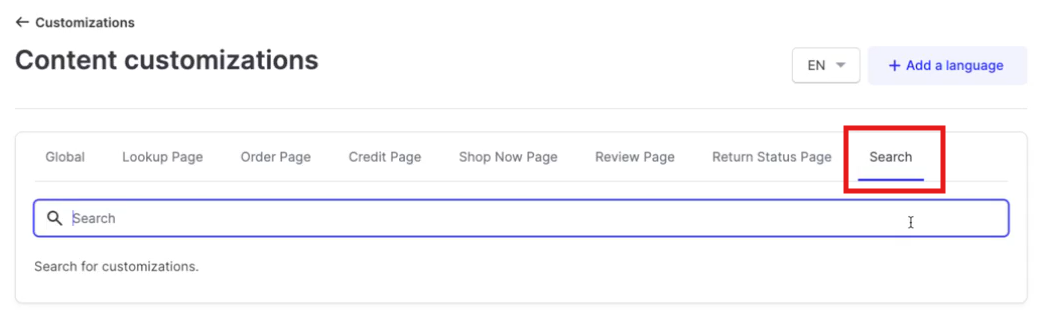
There are 7 sections across the top of the page that can be clicked into and reviewed.

Using the Search feature on the far right is a quick way to locate where a certain word or phrase lives through the shopper return portal.
Note: To add a language translation, please refer to our Language Translation Support article.
Global

The Global tab contains values that will appear across the customer experience, including things like the footer which will appear on every page.
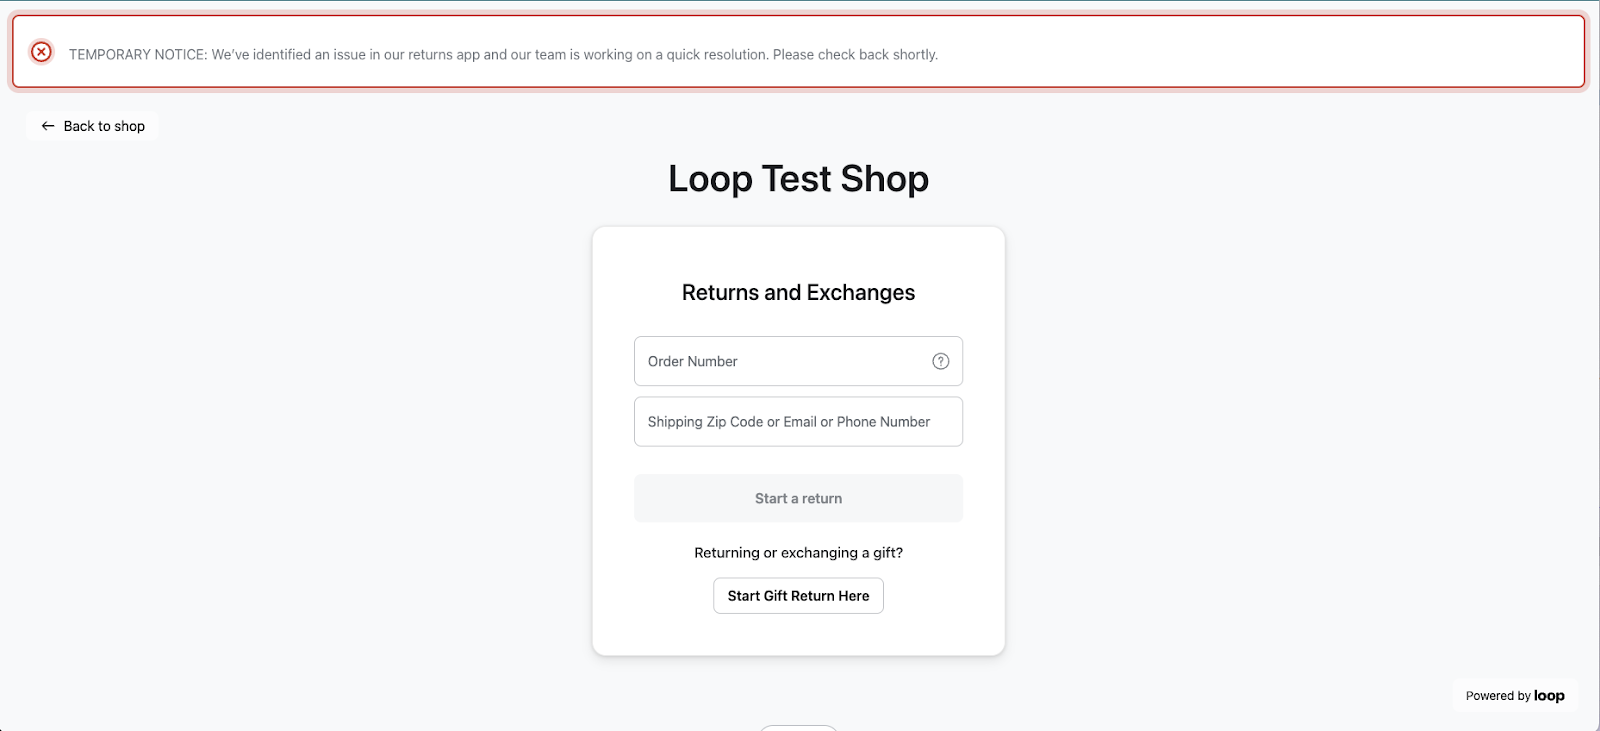
Downtime banner
Downtime banner verbiage can be updated by navigating to Returns management > Shopper experience > Portal customizations > Edit All Content > Global.

This is how it will appear in the customer portal.
Lookup page

The Lookup Page functions essentially as the Loop landing page. Customers will look for their order on this page to begin their return. This includes gift return functionality, if you have it enabled.
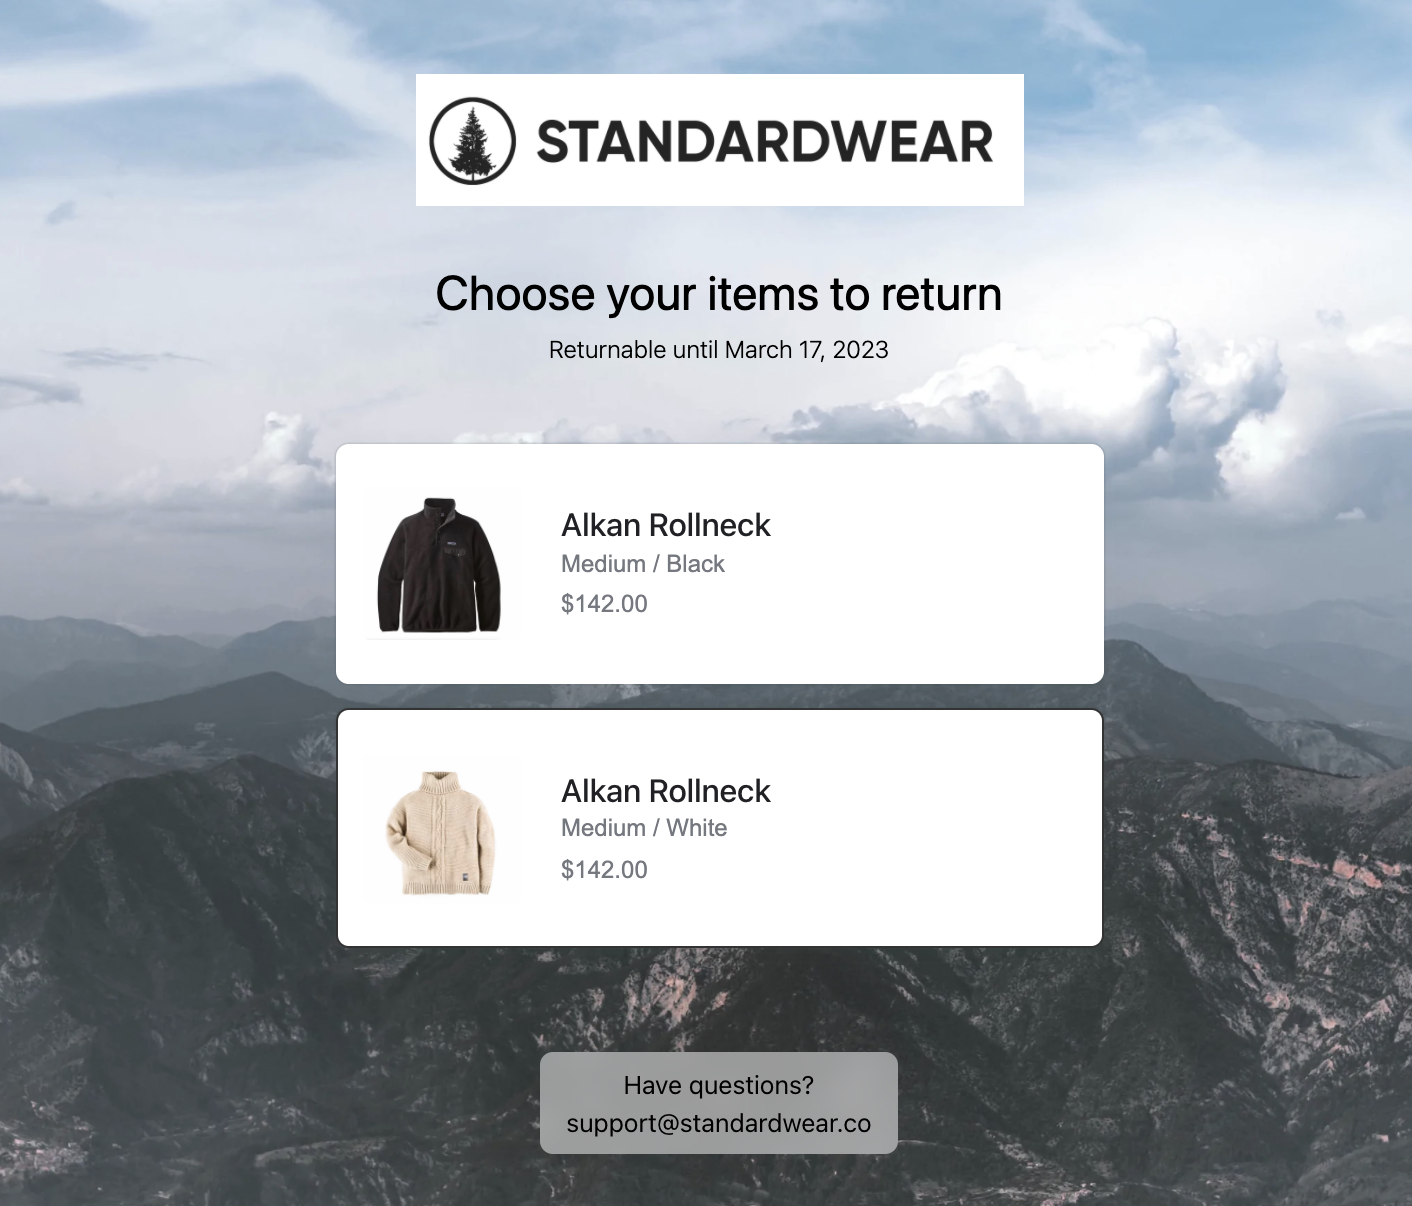
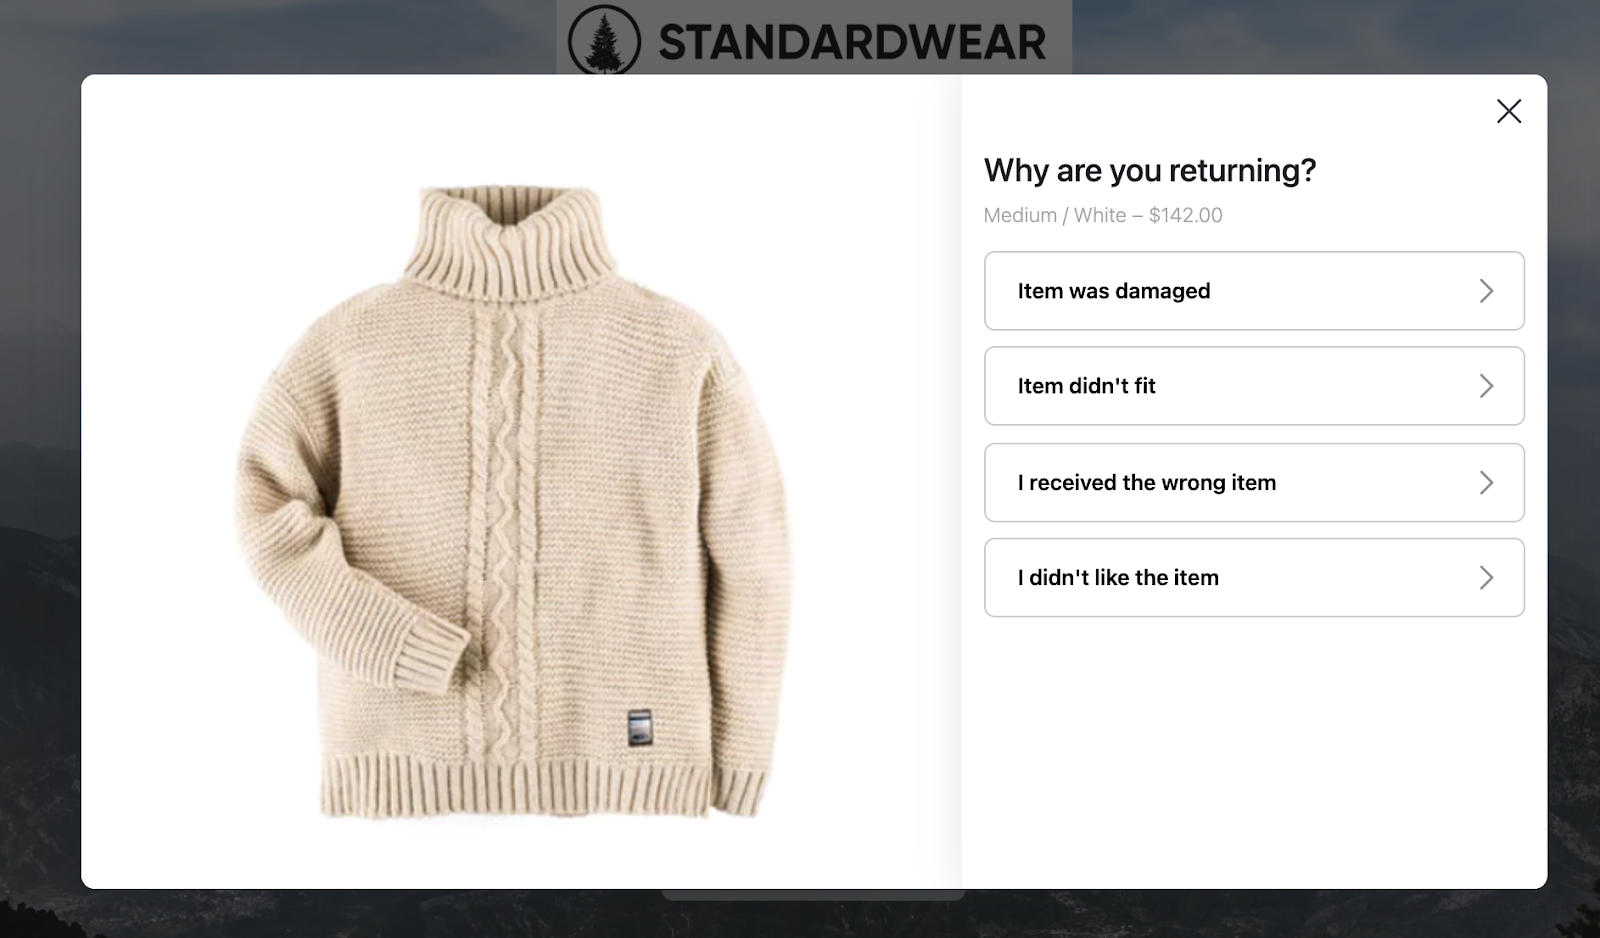
Order page

Once a customer has entered their order info, they'll see the Order Page, where they can select the product(s) they want to return. This page is also where edits to the variant exchange page would be made.
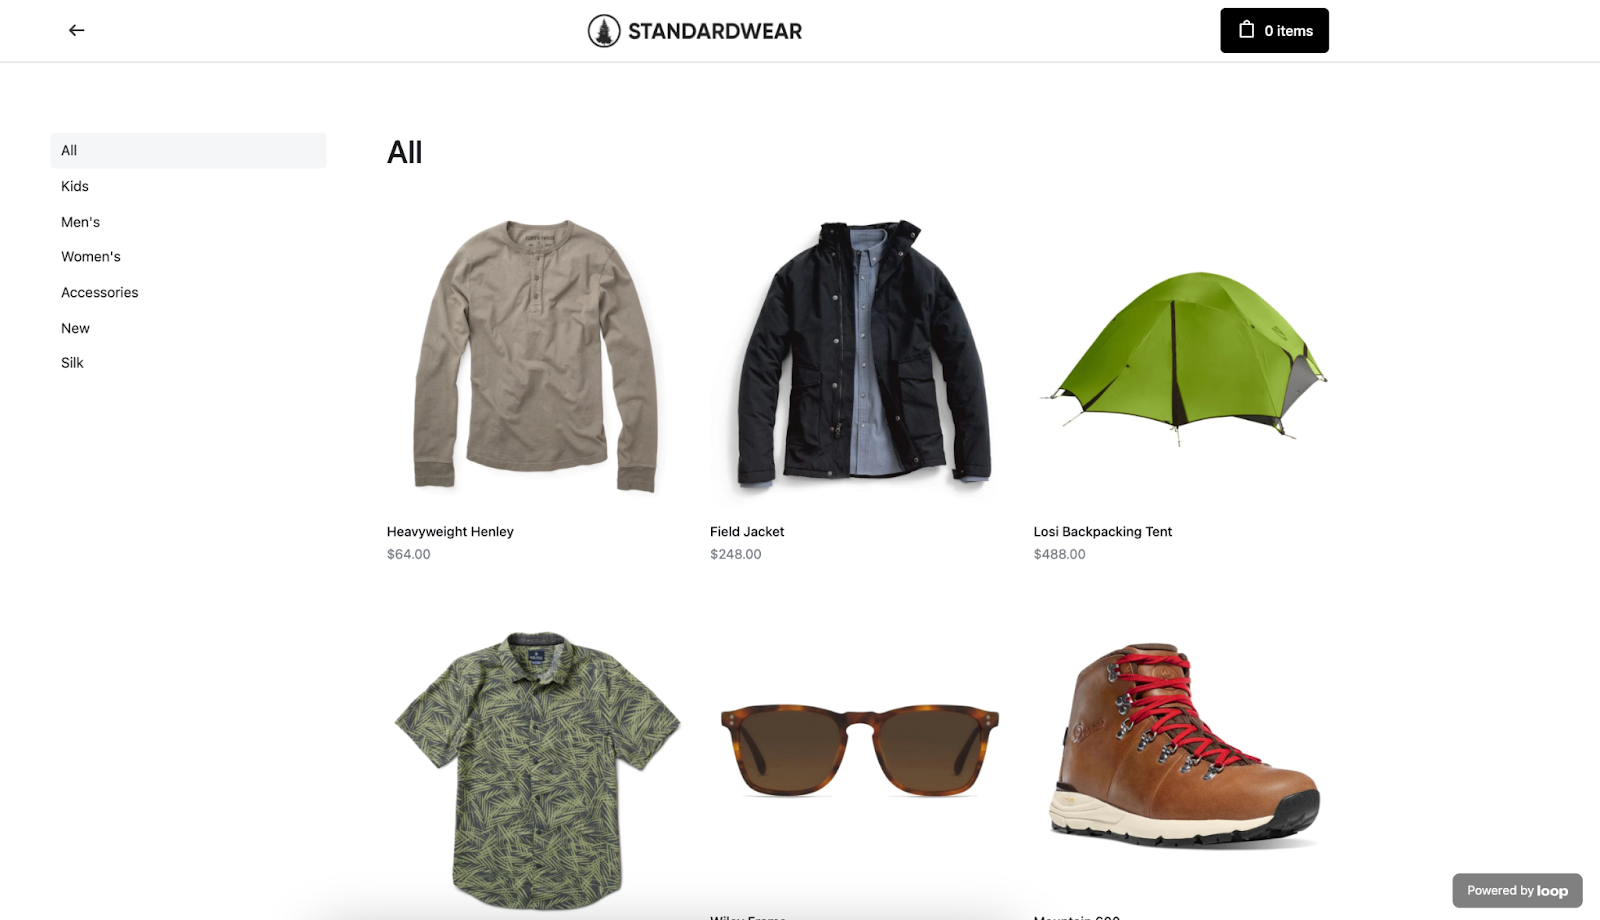
Shop Now page

The customer will land on this page if you have Shop Now enabled, you are using the In App version of Shop Now and the customer selects the Shop Now outcome. All copies in the Shop Now: In App experience can be edited from this tab.
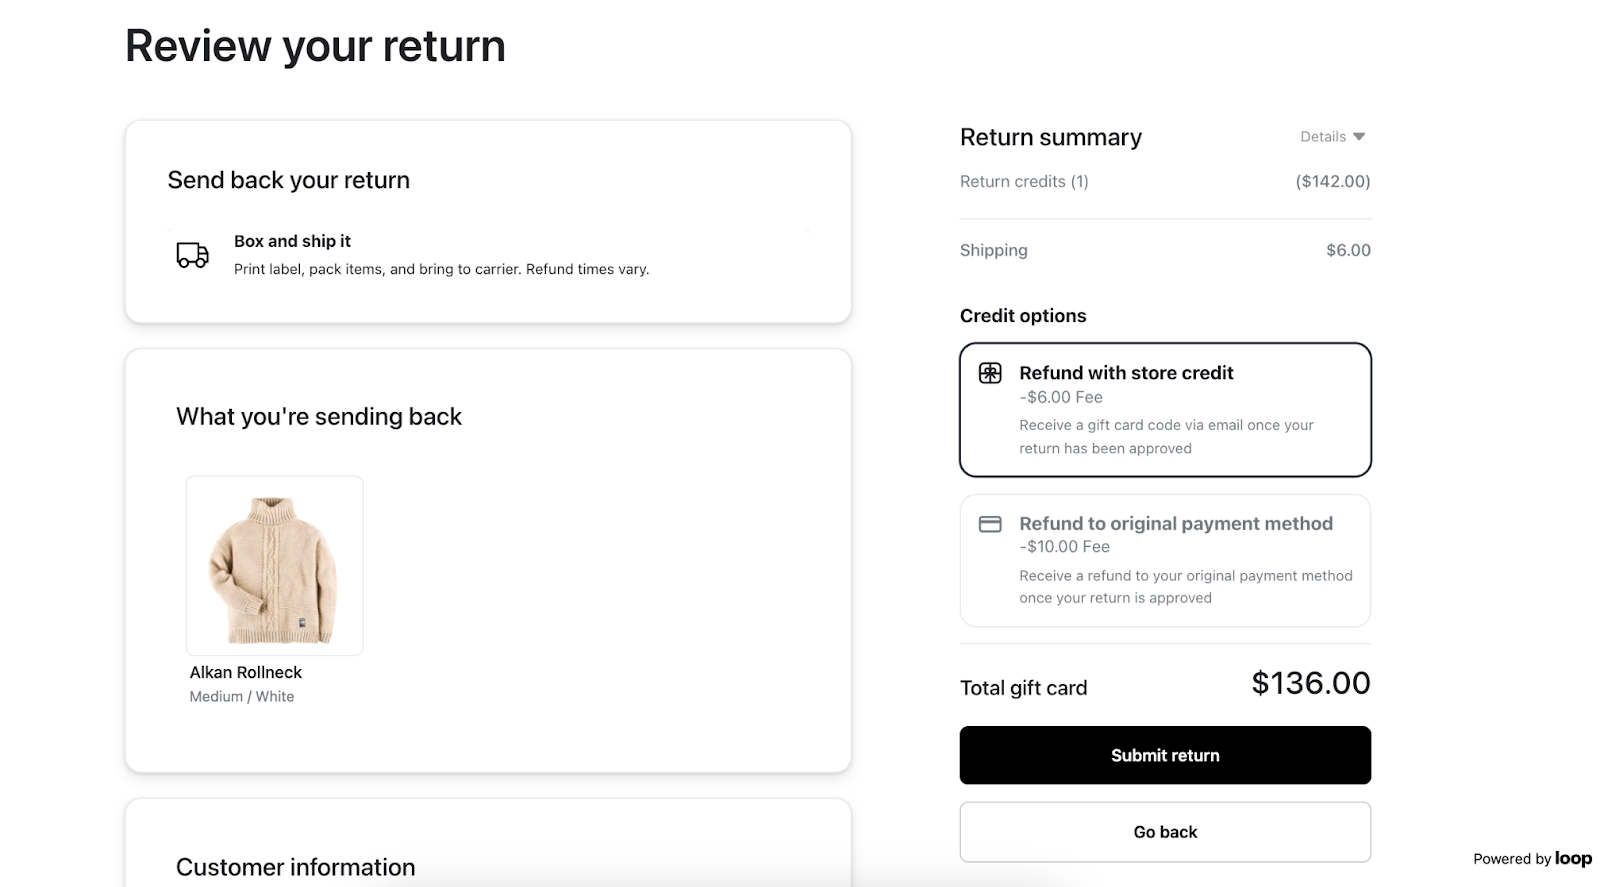
Review page

When the customer has selected their desired item(s) and corresponding outcome(s), they will next see the Review Page. The copy available in this tab accounts for all outcomes: Shop Now, variant exchange, store credit and refund.
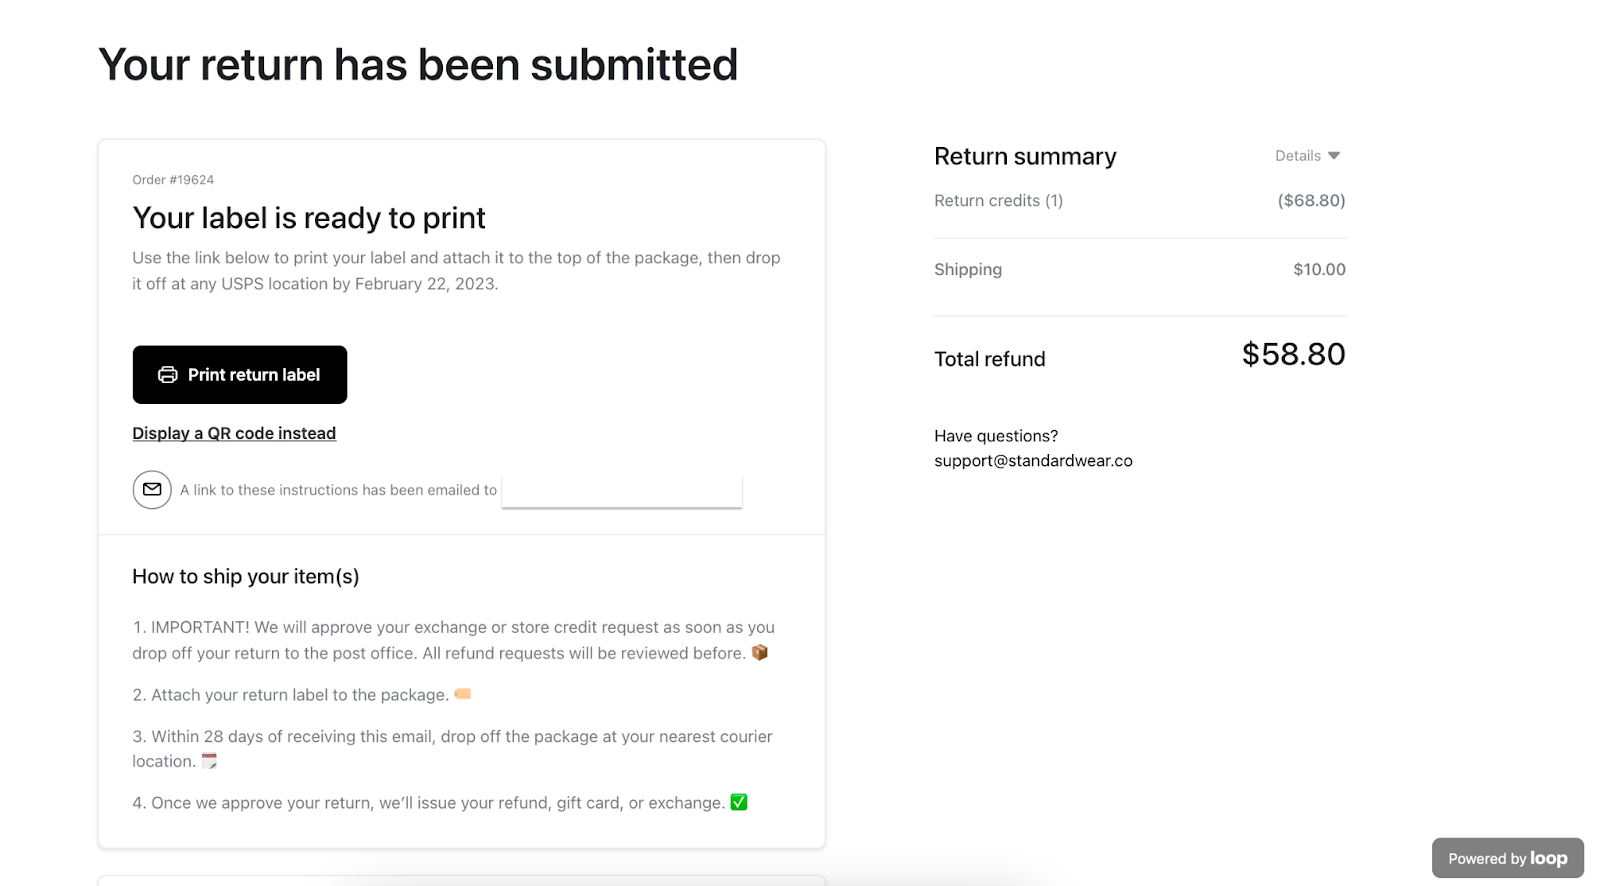
Return Status Page

All customers that complete a return will end on the Return Status Page. The customer will see their downloadable shipping label (or QR code if applicable), a breakdown of their transaction, a summary of their selections and the return shipping instructions.
FAQ
Can I use a custom font in the shopper return portal? Unfortunately, at this time we do not support the ability to upload custom fonts to the shopper return portal. You can choose from a selection of fonts to meet your brand’s needs.
Is there a character limit on the content fields? No, there is no character limit. However, we recommend reviewing how this will appear in the portal to make sure the formatting appears as expected.
Can I connect my sizing chart to Loop for exchanges? Loop can accommodate one sizing chart. That link can be added to the portal in Customizations. Go to Edit all content > Order Page tab > Product Exchange. You'll drop the URL to your size chart page in the Size Chart U R L box, and create a name for the link in the Size Chart Copy box. Loop is limited to one sizing chart link. If you have multiple, we recommend creating a page that contains all of your sizing charts in one place to link to.
Can I change my shopper return portal URL + tab content? Yes, we recommend something like: returns.brand.com or exchanges.brand.com. Please review our Help Center article on setting up a custom domain and contact support@loopreturns.com or your Onboarding Specialist/Merchant Success Manager to assist with this.
Where will the light background logo be used? The light background logo will be used on the Return Status Page, the final page of the customer experience. If applicable, it will also show up in the Shop Now: In App experience. If you do not have Shop Now on or are using the On Store version, this logo will not appear there.
I'm having a hard time finding the text that I want to update - is there an easier way? Utilize the Search tab on the content customizations page in your Loop admin. Simply search for the word or phrase you wish to replace.
Can I change the background color of the Review Page and Return Status Page? At this time, the color of these two pages are unable to be changed and will remain white.
Can I change the name that appears next to the favicon image when the shopper return portal tab is open? You can edit this by going to Customizations > Edit all content > Global > Title.
Please reach out to support@loopreturns.com with any additional questions.