
Rivo Integration
OVERVIEW
The Rivo integration connects your Rivo loyalty program to Loop, syncing loyalty members, guests, and VIP tiers into Loop custom lists. Once connected, you can use those lists in Workflows to give loyalty members a differentiated return experience — extended return windows, waived fees, or bonus credits. This article covers how the Rivo integration works, how to connect Rivo and create a synced custom list, and how to use it in Workflows.
Use the menu on the left to quickly navigate this article.
What it is
Rivo is a Shopify loyalty platform. The Loop–Rivo integration syncs your Rivo loyalty audience into Loop custom lists. These lists stay up to date automatically and can be used anywhere lists are supported in Loop — most importantly in Workflows.
Synced lists can reflect:
All loyalty members
All loyalty guests
All excluded customers
Combined audiences (members + guests, or members + guests + excluded)
A specific VIP tier (one list per tier)
Each list item is matched on the customer's email address and carries loyalty metadata — including points balance, VIP tier name, and membership status — that you can reference when building return policies.
Why it matters
Loyalty programs and returns have historically lived in separate systems. This integration closes that gap by making your Rivo audience available inside Loop in real time — no CSV exports, no manual updates.
Always-current segments. Rivo lists sync automatically in the background, so membership changes are reflected without any action from your team.
Reward loyalty at the right moment. Returns are one of the most emotionally charged post-purchase experiences. A better outcome for loyalty members reinforces the value of being part of your program.
Rich per-customer metadata. Each list item includes points balance, VIP tier name, and status — available for policy decisions inside Workflows.
Self-serve setup. Connect in Loop Admin by pasting a Rivo REST API key — no engineering setup required per shop.
Use Cases
Any Loop merchant using Rivo for loyalty can benefit from this integration, especially merchants with an established VIP tier structure. Common use cases include:
Higher refund value for VIPs — apply a more generous bonus credit for customers in a specific Rivo VIP tier.
Member-only return windows — extend the return window or waive return fees for loyalty members.
Free return shipping for members — offer prepaid return labels exclusively to loyalty members.
Gating premium return methods — restrict instant exchanges or Shop Now to loyalty members.
Different treatment for guests vs. members — target Rivo guests with win-back offers distinct from full members.
Point-balance-aware policies — use the synced points balance field to make decisions tied to a customer's actual loyalty balance.
Note: Rivo Plus plan is required to access the REST API key used by this integration. Merchants on lower Rivo tiers will not be able to connect.
How it works
Once you connect your Rivo API key in Loop Admin, Rivo becomes available as a source when you create a custom list. When you create a list and link Rivo, you choose which audience to sync — all members, guests, excluded customers, or a specific VIP tier. Loop then syncs that audience in the background, adding and removing customers as their loyalty status changes in Rivo.
List membership is matched by email address. Each synced customer also carries loyalty metadata — points balance, VIP tier name, and status — visible on the List Detail page and available in Workflow conditions.
Note: Stale list items are only removed when a sync completes successfully. Partial syncs do not remove existing members prematurely.
Setup
Follow the steps below to connect Rivo and create your first synced list.
Step 1: Connect your Rivo API key
In your Rivo dashboard, go to Settings → Developer Toolkit. Under REST API Keys, generate or copy your API key. For help finding this, see the Rivo Help Center article.
Important: This requires a Rivo Plus plan. If you don't see the Developer Toolkit option in Rivo, your plan does not include API access.
Step 2: Connect Rivo in Loop
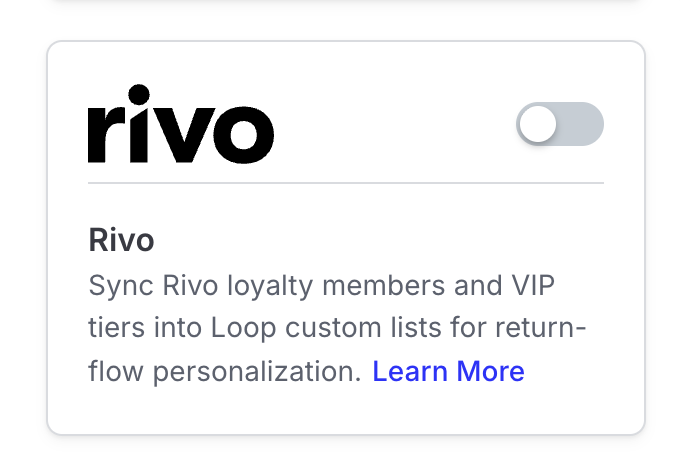
In Loop Admin, go to Tools & Integrations > Rivo and toggle the integration on (or click Configure) to open the connection modal.
The Rivo integration tile appears in your Tools & Integrations page. Click the toggle or Configure button to open the connection modal.
Paste your Rivo REST API key into the Rivo API Key field and click Save.
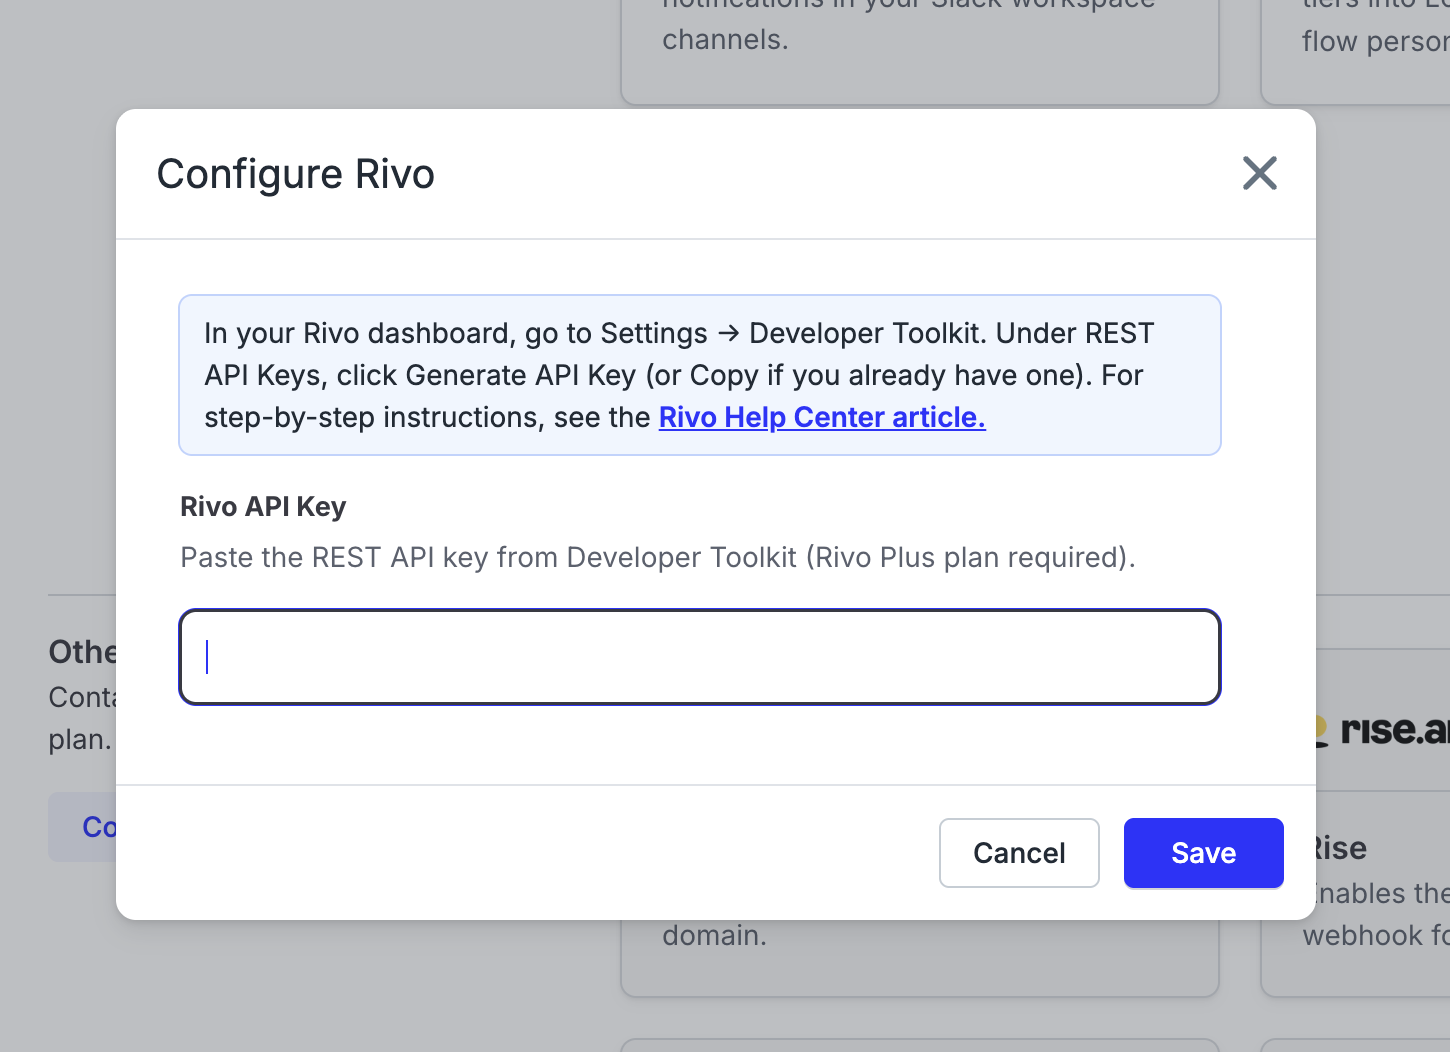
Loop validates your key against your Rivo account on save. If the key is invalid or your Rivo plan does not include API access, you will see an error — double-check the key and your Rivo plan tier before retrying.
Step 3: Create a Rivo custom list
Navigate to Returns > Blocklist & allowlist > Custom Lists tab and click Create list. In the Configure Integration Sync modal, select Rivo from the Integration dropdown.
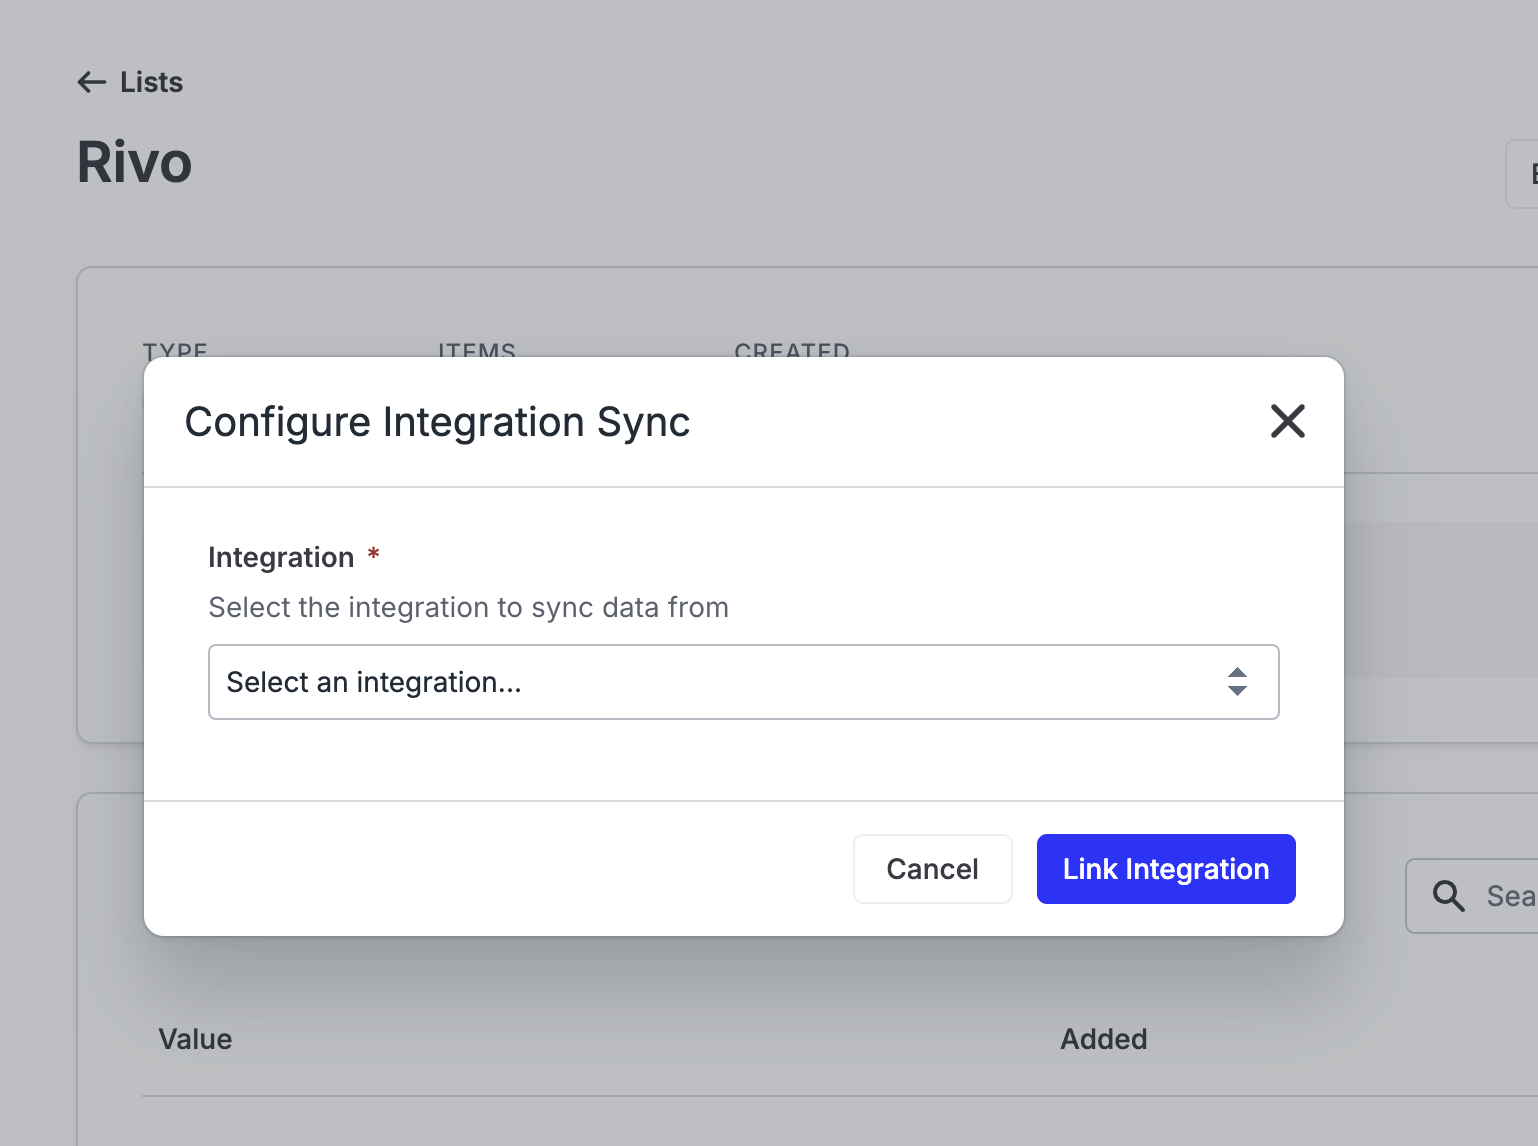
After selecting Rivo, choose your External List — this is the Rivo audience you want to sync. Options include:
All Loyalty Members — customers with member status in Rivo
All Loyalty Guests — customers with guest status in Rivo
All Excluded Customers — customers Rivo has excluded from the loyalty program
Members & Guests — a combined sync of both audiences
Members, Guests & Excluded — a combined sync of all three
A specific VIP tier — one list per VIP tier configured in your Rivo account (e.g. VIP — Bronze, VIP — Gold)
The Sync Field is set to Email Address — list membership is always matched on email.
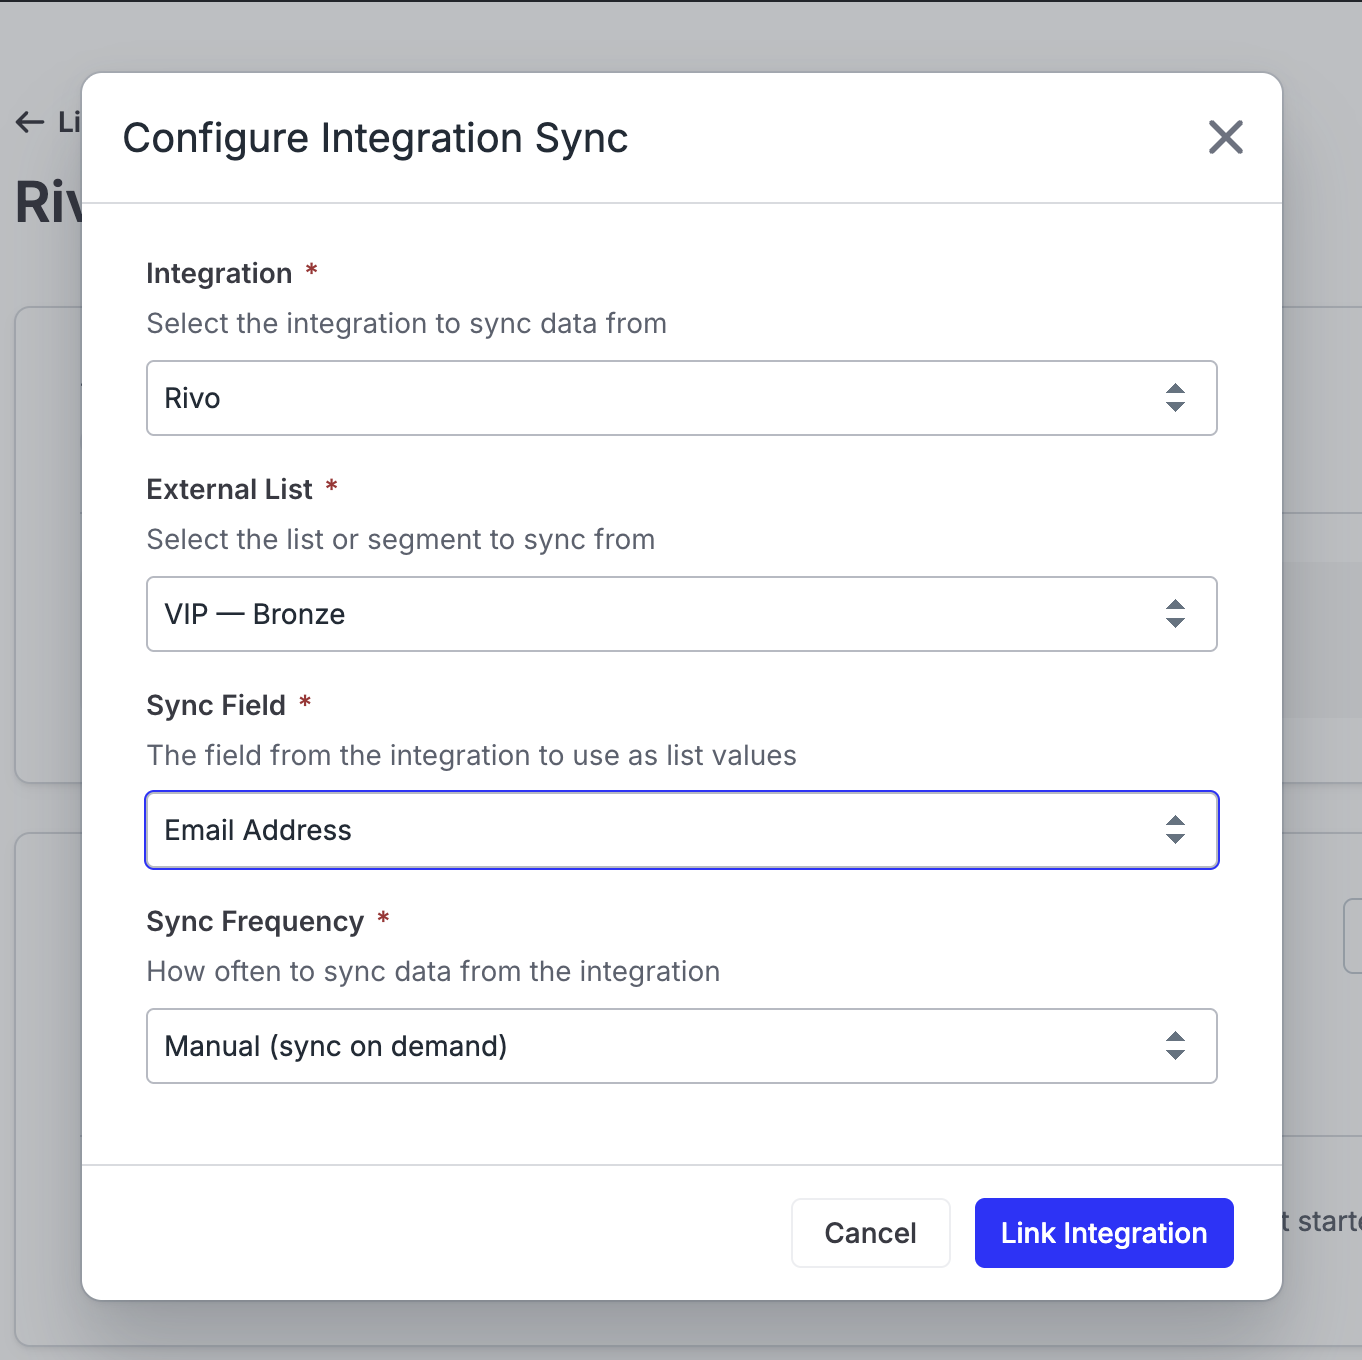
Click Link Integration to save the list and begin the first sync.
Tip: For programs with multiple VIP tiers, create one Loop list per tier rather than a single "all members" list. This gives you granular control in Workflows.
Note: If your VIP tiers don't appear in the External List dropdown, Rivo may have rate-limited the tier fetch. Status-based lists (All Members, Guests, Excluded) will still appear. Wait a few minutes and try again.
Step 4: Confirm the sync
After saving, you'll land on the List Detail page. The sync runs automatically. Once complete, you'll see the list populated with customer emails and the sync status updated.
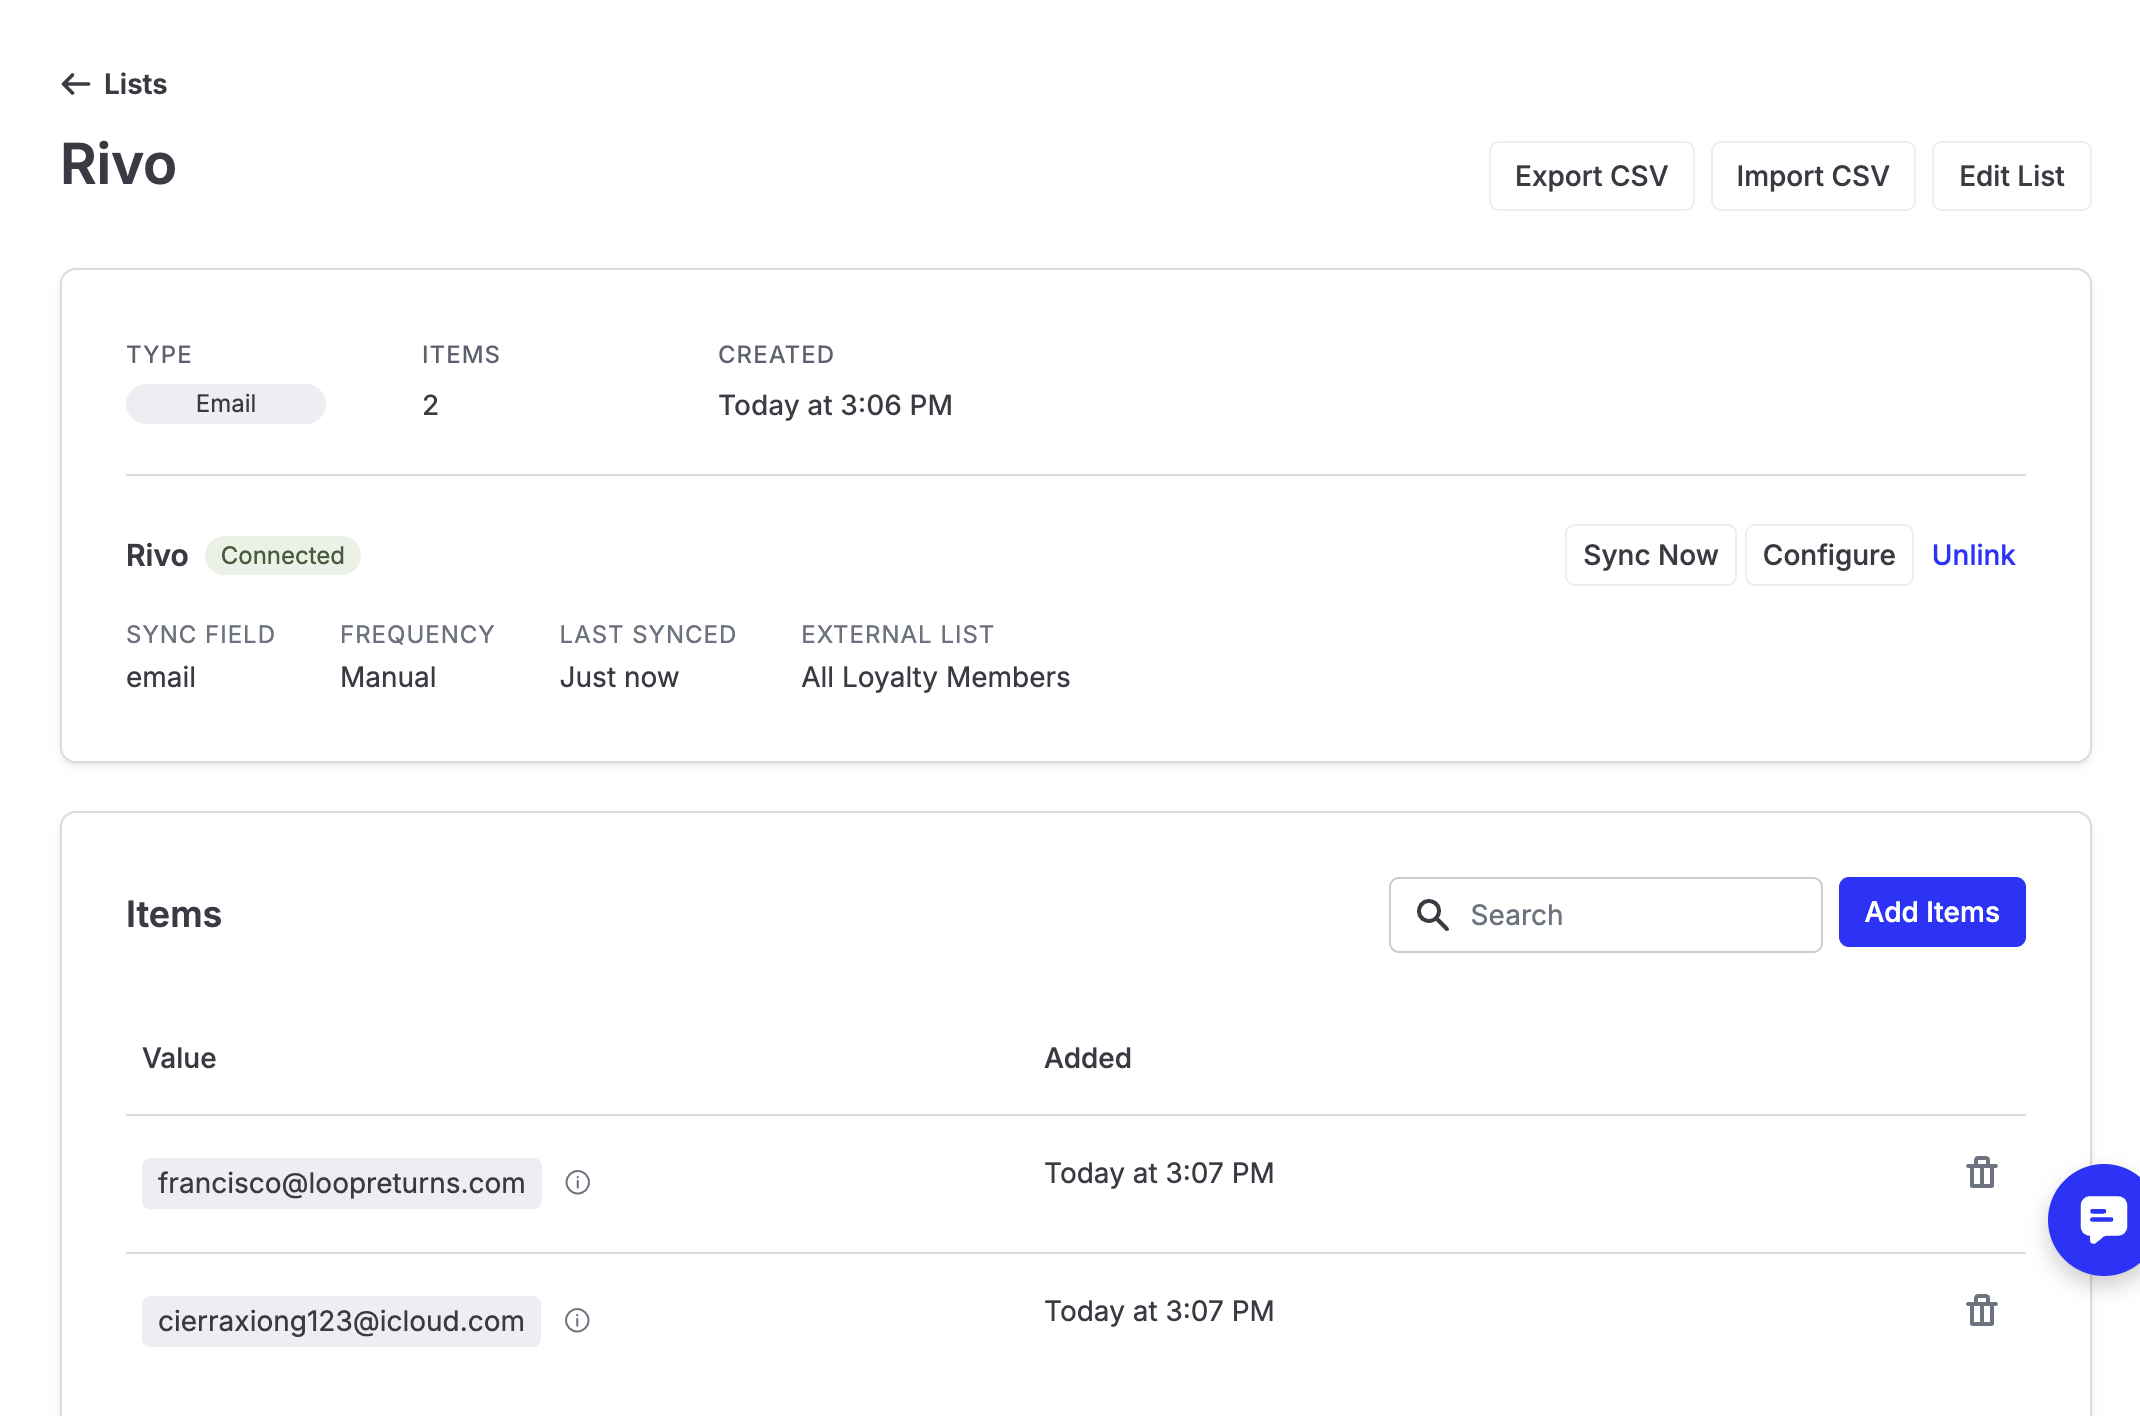
Note: Lists keep themselves up to date in the background. You do not need to manually re-sync after the initial setup unless you have selected Manual frequency.
Step 5: Use the list in Workflows
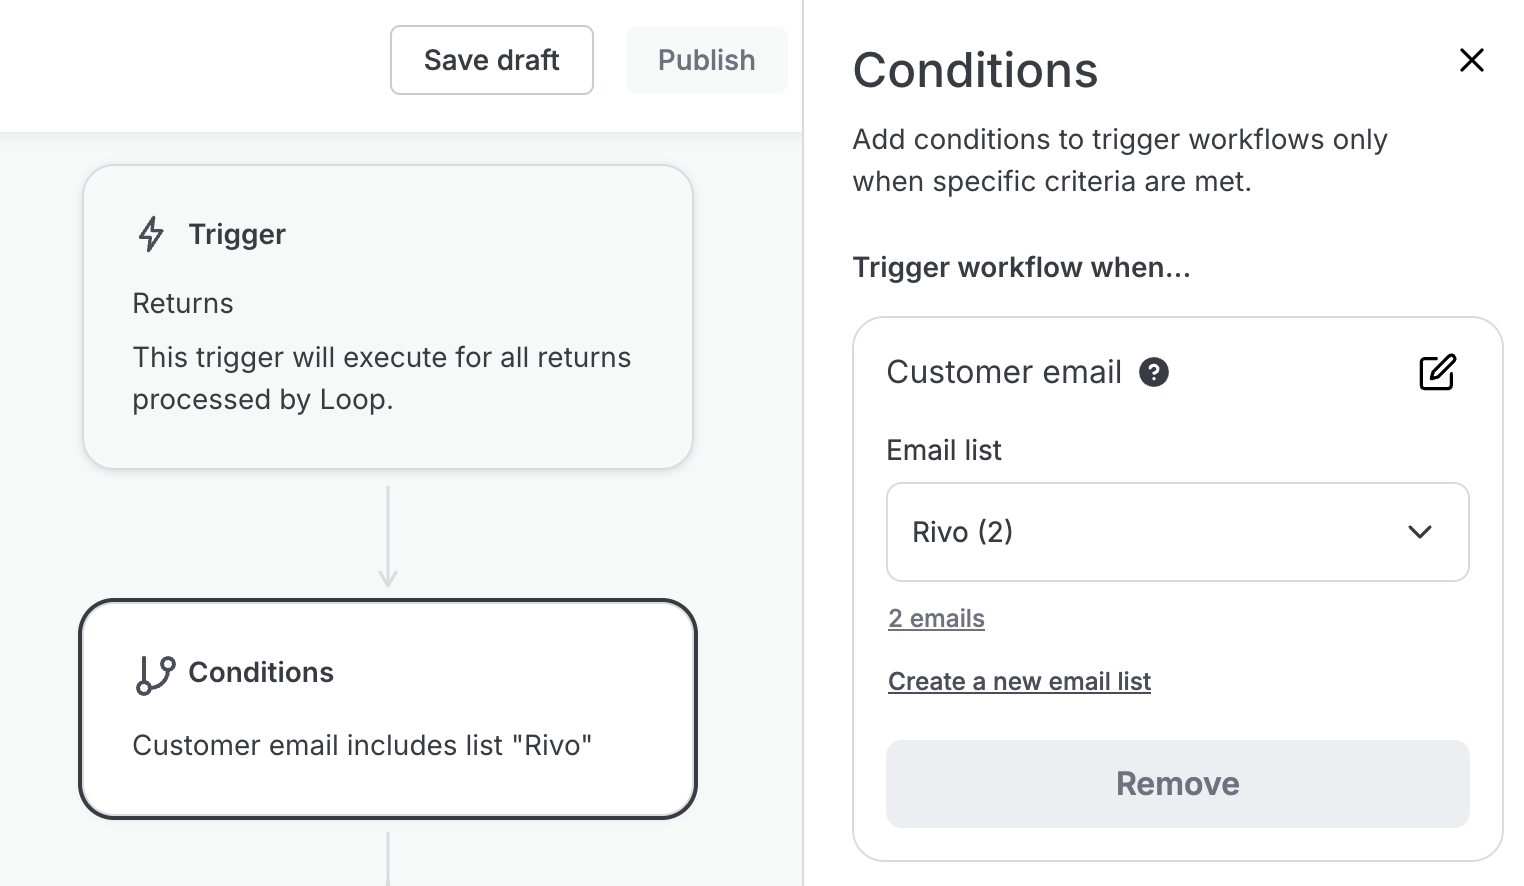
Go to Workflows and create or edit a Workflow. Add a Customer email condition that references your Rivo list — for example, "Customer email is in [VIP — Gold list]." Combine it with other conditions (order value, return reason, product type) to build tiered return policies.
Admin and portal experience
Once a Rivo list is created and synced, it behaves like any other Loop custom list. You can:
View list members and their loyalty metadata on the List Detail page in Loop Admin
Reference the list as a condition in any Workflow
Use it across multiple Workflows at once — for example, one for return-window extensions and another for bonus credit offers
From the shopper's perspective, the return portal experience changes based on whichever Workflow conditions are met — the loyalty list works entirely behind the scenes.
Plan information
To check if this feature is included in your plan, please review the Pricing page on Loop's website.
If you want to add this feature, please contact your Merchant Success Manager to amend your account.
Important: This integration also requires a Rivo Plus plan on the Rivo side. Merchants on lower Rivo tiers do not have access to the REST API keys needed to connect.
FAQ
How often does my Rivo list sync?
Lists sync automatically in the background. The frequency depends on the sync frequency you selected when creating the list. If you selected Manual, you can trigger a sync at any time from the List Detail page by clicking Sync Now.
What Rivo plan do I need?
You need a Rivo Plus plan to access the Developer Toolkit and generate a REST API key. If you're unsure of your Rivo plan, check with your Rivo account manager.
Why is my VIP tier list empty?
VIP tier lists only include customers who are actively assigned to that tier in Rivo. If no customers are currently assigned to a tier, the list will be empty — this is expected behavior, not a sync error.
Why aren't my VIP tiers showing up as audience options?
If Rivo rate-limits the tier fetch during list creation, VIP tiers may not appear. Status-based lists (Members, Guests, Excluded) will still be available. Wait a few minutes and try creating the list again.
Can I use a Rivo list alongside other conditions in a Workflow?
Yes. Rivo lists work like any other custom list in Loop Workflows. You can combine list membership with other conditions — for example, requiring that the customer is in the VIP Gold list and that their order subtotal exceeds a certain amount.
What happens if a customer's loyalty status changes in Rivo?
The next sync will reflect the updated status. Customers who are removed from an audience in Rivo will be removed from the Loop list once the following sync completes successfully.
My customer's email is in Rivo but they're not appearing in my Loop list. Why?
List membership is matched on email address. If the customer's email in Loop doesn't match their email in Rivo, they won't be included. Customers without an email in Rivo are also skipped during sync.
Please reach out to support@loopreturns.com with any additional questions.