Brightpearl Integration
OVERVIEW
Loop’s integration with Brightpearl is a 2-way integration designed to streamline the return management process by connecting Loop and Brightpearl:
Automatically create a Sales Credit in Brightpearl when a return is submitted in Loop.
Automatically process, flag, or close the return in Loop when the Sales Credit is processed in Brightpearl.
This integration is built by Synks and maintained by Loop. For any questions about setup or troubleshooting, reach out to support@loopreturns.com.
How it works
Once connected, Loop will begin creating Sales Credits in Brightpearl any time a return is submitted in Loop by a customer. When the Sales Credit is updated in Brightpearl, that return will either process, flag, or close in Loop automatically. This includes support for both online returns and in-store returns submitted through the Loop POS app.
A customer submits a return request in Loop.
This return is sent from Loop to Brightpearl as a Sales Credit.
Note: This Sales Credit is linked to the original Sales Order.
The warehouse operator or 3PL scans the returned item and updates the Sales Credit in Brightpearl. This update is then sent back to Loop.
Loop notifies Shopify to either issue a refund or create a new exchange order, based on the customer’s preference.
The integration then invoices the Sales Credit and creates a Customer Payment against it
If any discrepancies occur, the integration flags them in Loop and holds the return for manual review on the Loop dashboard.
Alternatively, the warehouse operator or 3PL may process the return in Loop instead of the Sales Credit in Brightpearl. In this case, Loop creates a Goods In Note for the items in the Sales Credit in Brightpearl. The integration invoices the Sales Credit and creates a Customer Payment against it.
Loop POS Returns
Store associate submits a return using the Loop POS App.
Loop automatically creates a Sales Credit in Brightpearl.
Note: This Sales Credit is linked to the original Sales Order.
Loop automatically receives inventory on the Sales Credit and a Goods In Note is created.
Payment is posted to the Sales Credit, matching the return credit amount.
The Sales Credit is closed
Additional details
Canceled returns in Brightpearl must be manually processed or canceled in Loop.
Exchanges will have a note in the Sales Credit to notify merchants.
Important: Each product SKU must be unique in Brightpearl. To avoid issues, product SKUs should match across Loop, Brightpearl, and Shopify.
Setup
To set up this integration, you will need an API key from Loop to input in the Synks portal, and to authorize your Brightpearl connection to connect. To get access to the Synks portal, please reach out to your Merchant Success Manager, Onboarding Specialist, or support@loopreturns.com. Note that for each Loop instance you have, you will need to create a new integration.
Follow the below steps to connect your Brightpearl account to your Loop admin:
Provide your Brightpearl Account Code to the Loop onboarding team or Merchant Succes Manager so they can create an onboarding link for you.
In the Loop Admin, navigate to Returns management > Tools & integrations > Developer tools.
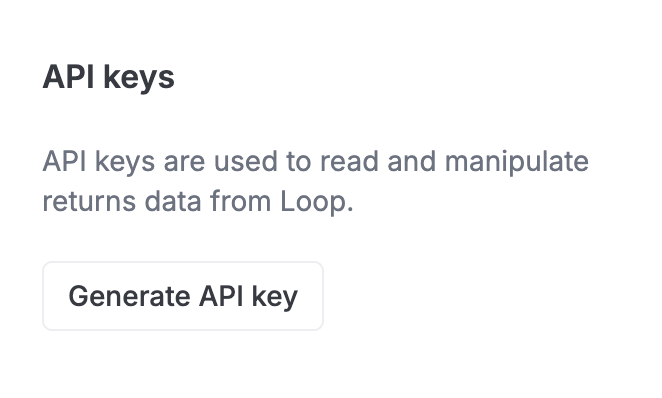
Under API keys, click Generate API key
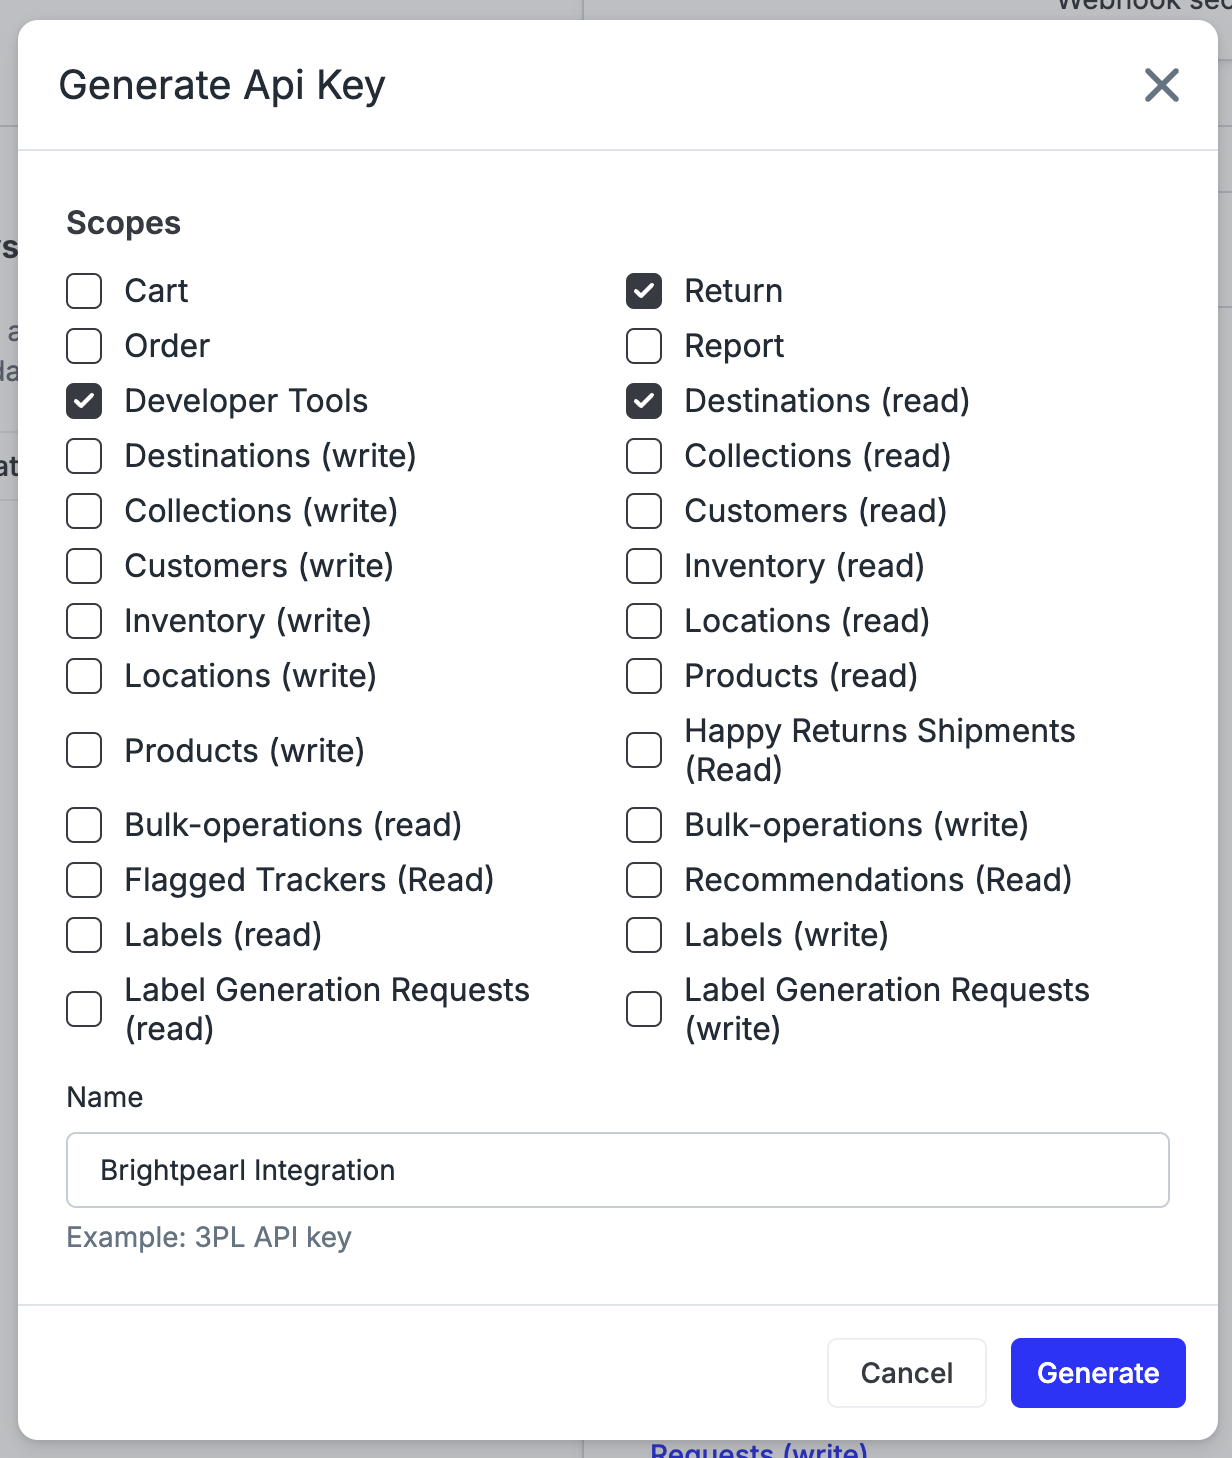
Select the scopes for: Return, Developer Tools, & Destinations (read) and name the API key “Brightpearl integration,” This name is for your own internal labeling convenience. Click Generate to create a Loop API key.
Note: you’ll need to copy & paste this API key in a later step
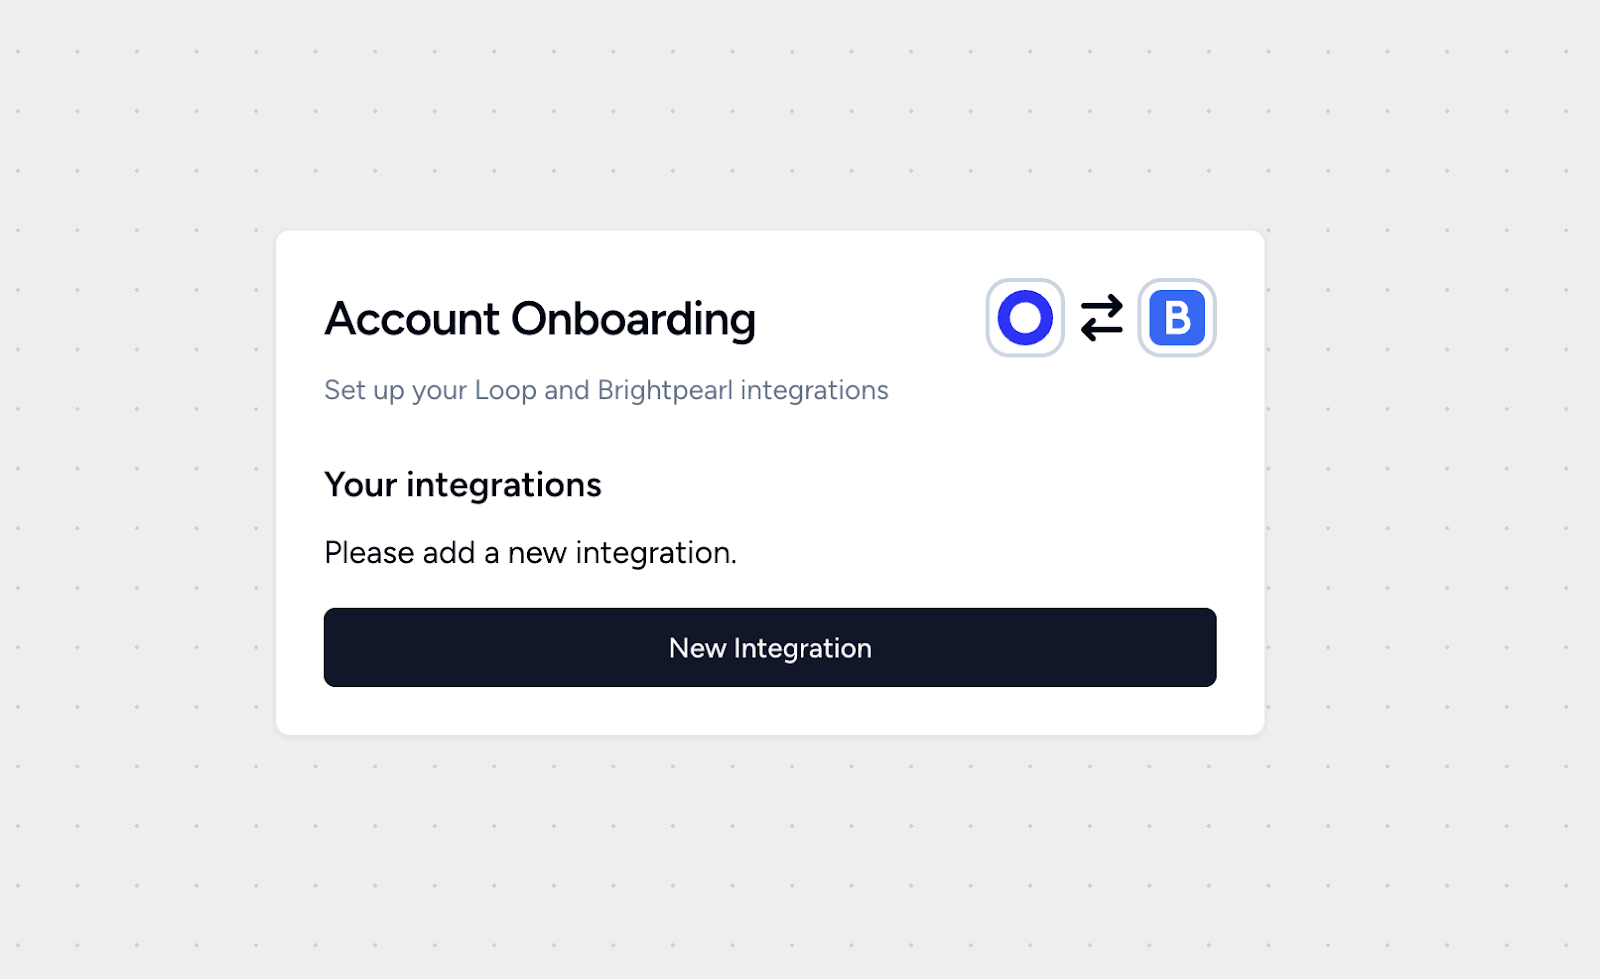
Open the onboarding link provided by the Loop team.
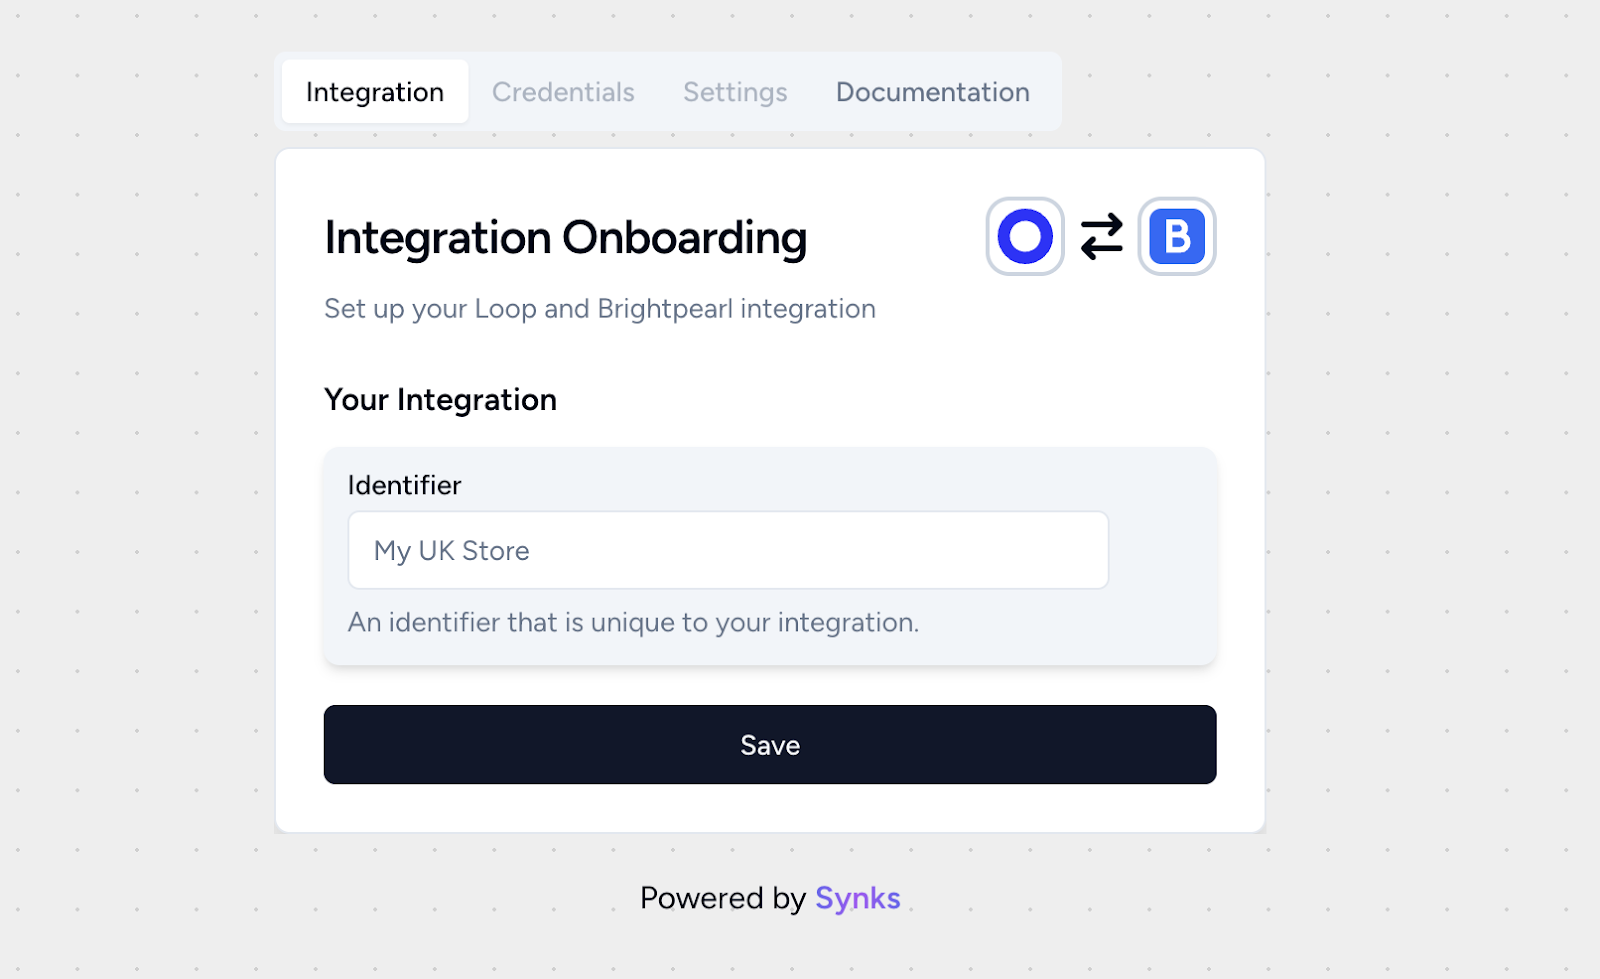
Set an identifier for this integration. Example: "UK STORE". Then click Save.
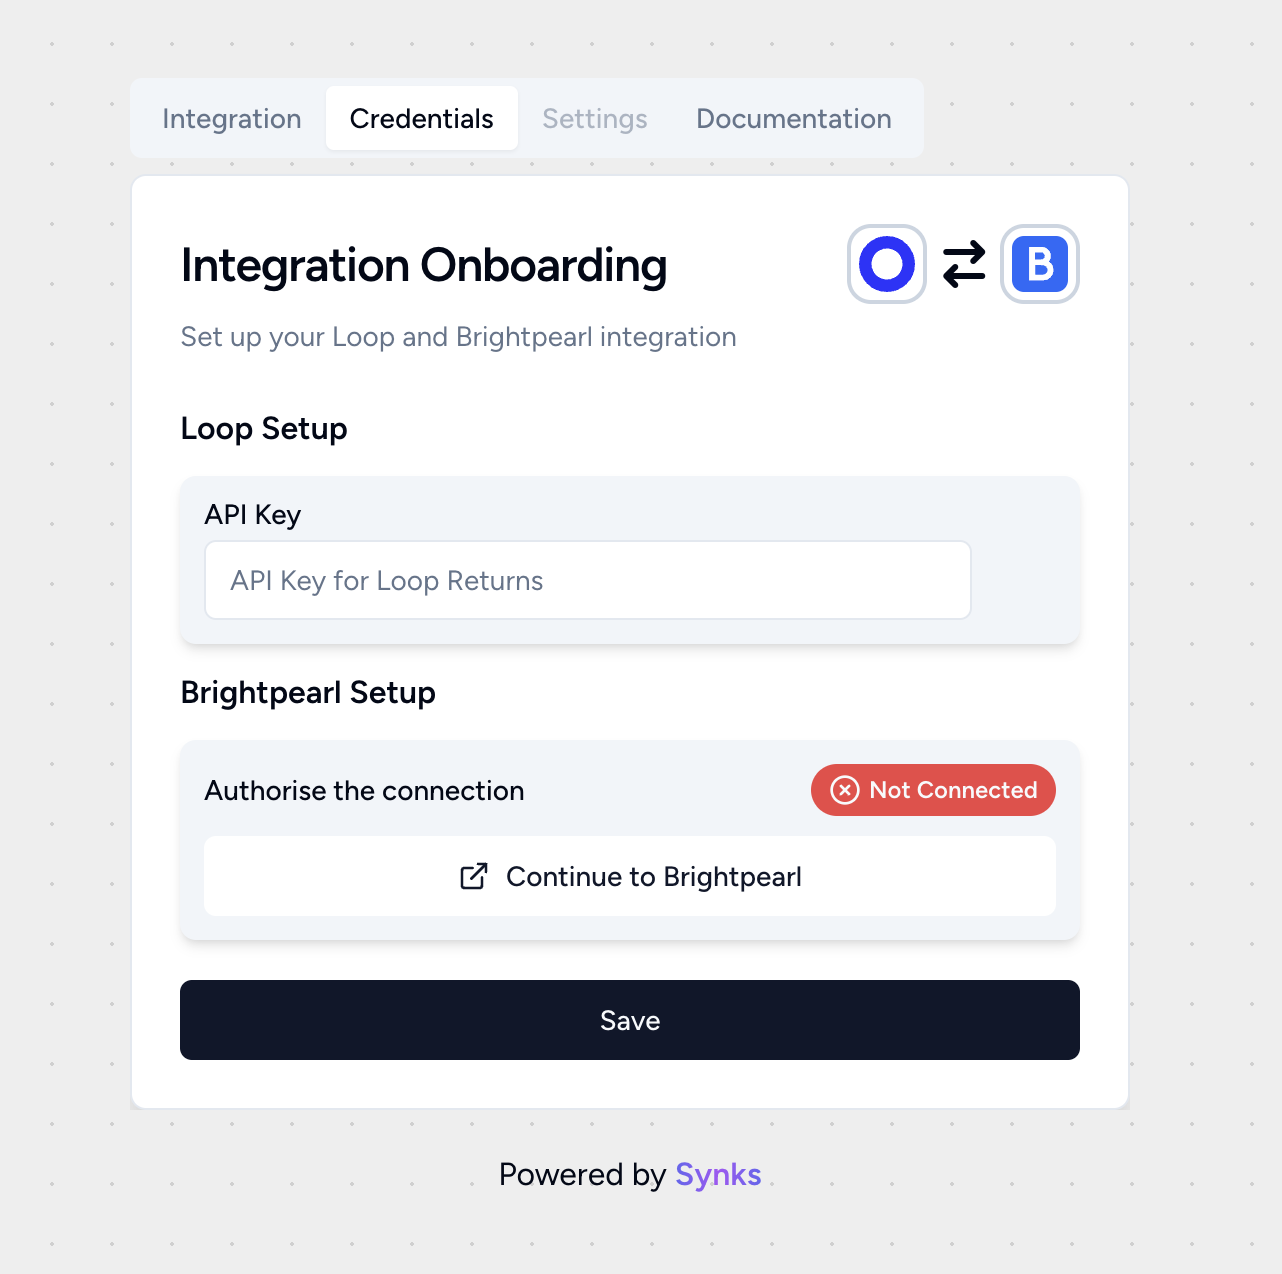
Navigate to the Credentials tab then paste the copied API key into the API Key field under the Loop Setup.
Next, click Continue to Brightpearl, where you’ll be able to authorize the integration.
Once you’re redirected to Brightpearl, you’ll be prompted to log in to your account if you are not yet.
After you’re logged in, you’ll be asked to approve access to the application. Click Approve.
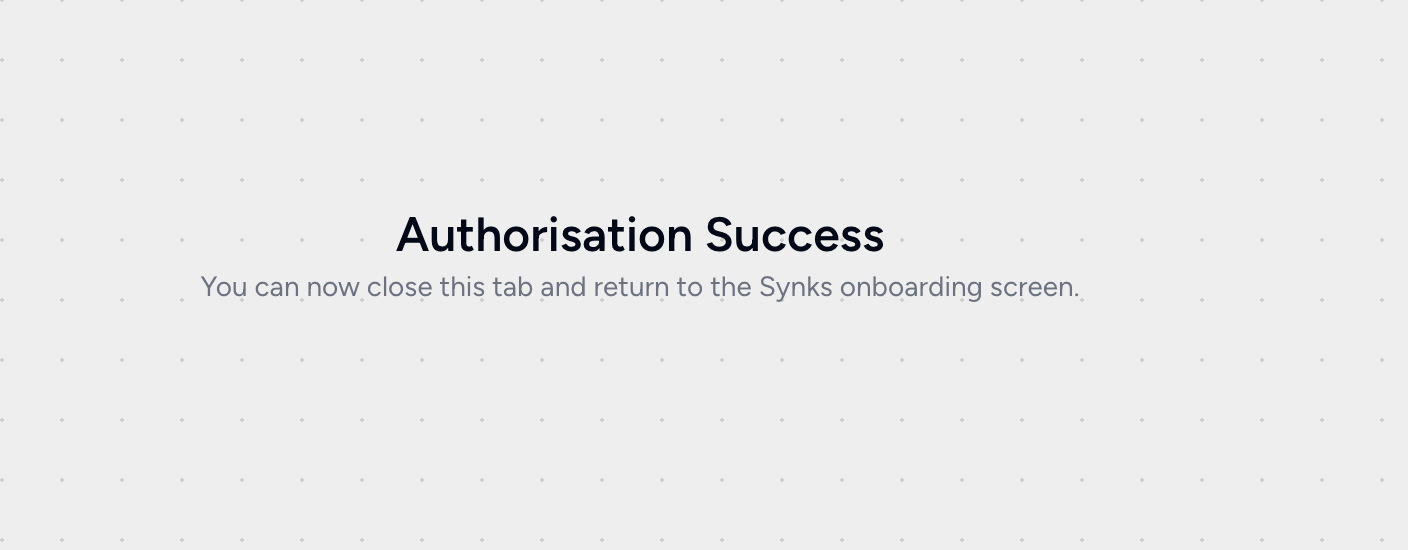
You should then be redirected back to a new page showing you that the authorization process was successful. If so, please close this new tab and return to the onboard screen.
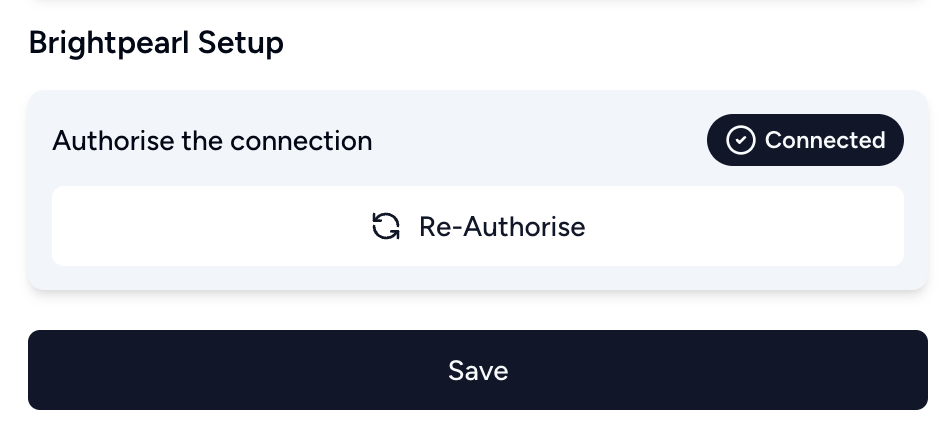
On the onboarding screen, you’ll see that the connection to Brightpearl now shows as Connected.
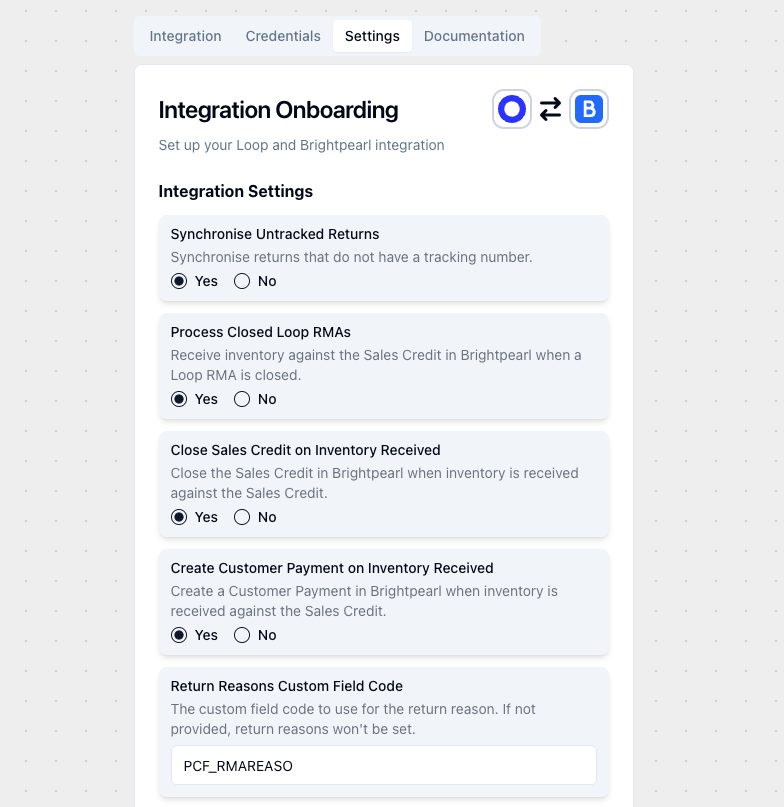
Click Save to go to the settings tab, where you’ll be able to configure your integration.
If you're not sure what to input on each field, please visit the Documentation tab to learn more about these fields and how they are used to customize the integration.
Once filled out, click Save to finish.
Disable the “Create Sales Credits from Returns” setting in the Brightpearl App
In the Brightpearl App within Shopify, turn off the “Create Sales Credits from Returns” setting. This ensures that duplicate sales credits are not created for returns processed in Shopify, and that sales credits are only generated for returns initiated in Loop.
Note: By turning this setting off, any returns initiated outside of Loop, whether for online or in-store orders, will require sales credits to be created manually in Brightpearl.
Upsell
When an item is returned using Loop Returns and exchanged for a higher value item, the customer will be asked to make an additional payment through Stripe to cover the difference.
Original item: $10 | Exchange item: $12 |
In this example, $10 of return credit will be applied to the exchange items, resulting in the customer paying $2 in upsell.
When the customer completes the return process and has made the payment, Loop will first mark the line item as “return in progress” on the original order in Shopify. Loop will then create a sales credit in Brightpearl for the returned item at the price it was originally purchased for with any tax that was applicable.
Brightpearl sales credit: $10 |
Once the items are delivered back, this can be confirmed within Brightpearl by receiving the inventory against the sales credit in Brightpearl. Alternatively, confirming the item as received can be done directly within Loop by processing the return, or another application connected to Loop or Brightpearl that can trigger processing/receiving.
Once the item has been confirmed as received back into stock, Loop will carry out the following steps:
Update the item in Shopify from “return in progress” to “return closed”.
Create an order payment in Brightpearl to update the sales credit to paid, using the “exchange” payment method mapped within the Loop Brightpearl app.
Brightpearl order payment (refund): $10 |
Close the sales credit in Brightpearl to raise the credit and create the necessary accounting for the return.
Create a new sale in Shopify for the exchange item.
The new exchange order will download into Brightpearl through the Brightpearl Shopify app. To ensure it adds the item at the relevant price and with tax (and therefore accurate revenue, tax and profit are accounted for and reported), and it is marked as paid, the relevant settings must be enabled within Loop. The payment will be in full (return credit plus the difference the customer paid), using the Shopify “manual” payment method.
Brightpearl sales order: $12 | Brightpearl order payment: $12 |
The result in Brightpearl is that there is a completed and refunded sales credit, and a new sales order paid in full ready for processing and shipping.
Things to be aware of:
The refund (return credit) for the returned item is created in Brightpearl using the payment method mapped to “exchanges” in Loop. The full payment for the exchange item uses the payment method mapped to the Shopify “manual” payment method in the Brightpearl Shopify app, or the default payment method if it’s not mapped. Take note of the bank accounts these transactions impact in Brightpearl as adjustments may be needed in order to reconcile and balance the accounts.
For example, if the refund in Brightpearl (exchange credit) impacts account “1205 Loop exchange credit” but the new payment impacts “1200 Shopify payments”, the resulting balances will be:
1205 Loop exchange credit = -$10 | 1200 Shopify payments = $12 |
However, only $2 card payment was taken, and there is no more return credit to be used, so the account balances should be:
1205 Loop exchange credit = $0 | 1200 Shopify payments = $2 |
To achieve this, use a bank transfer in Brightpearl to move the $10 exchange credit from the “1200 Shopify payments” account to the “1205 Loop exchange credit” account.
It is not necessary to carry out these adjustments for each exchange, it can be done periodically for a batch of exchanges. It is recommended that you use a Brightpearl payment method and associated bank account that is used ONLY for Loop exchanges to enable you to easily see the total exchange credit issued and make this accounting adjustment.
In Brightpearl, go to Sales > Customer payments.
Filter by:
Payment method = Loop exchanges method
Payment type = Payment
From and To date
Total the payments to get the value that needs to be transferred.
Go to Accounting > Transfer money.
Select the payments account as the “from bank account”.
Select the exchange bank account as the “to bank account”.
Enter the total from the order payments as the amount.
Set the date as the end of the period you are covering.
Enter details to keep a record of what the transfer is for.
Click Submit.
Brightpearl recommends creating a Brightpearl payment method AND bank account specifically for Loop exchanges and map that in the Synks config.
FAQ
How long does this integration take to set up? This should take only 2-5 minutes to set up.
Do I need a developer to complete set up? No, this can be done by any user with Loop Admin & Brightpearl access.
How are handling fees reflected? Handling fees are reflected on the Sales Credit in Brightpearl as a negative line item, using the nominal code and tax code specified during setup. Please ensure that you’re using a nominal code that is supported on Brightpearl Sales Credits.
How are Loop Exchange Orders handled in Brightpearl? Exchange orders created by Loop in Shopify can be marked as paid, which allows the payment status to sync to Brightpearl when the order is imported via the Brightpearl Shopify App. When enabled, these orders will use the payment method mapped to “manual” payments in Shopify. If you’d like this functionality enabled for your account, please reach out to your Loop MSM.
Who manages this integration? This integration was built by Synks. You can direct any feedback or support requests directly to the Loop team at support@loopreturns.com.
Is there an additional cost to use this integration? No, any merchant with access to integrations in Loop can use the Brightpearl integration at no additional cost.
Please contact support@loopreturns.com for any additional questions on this integration.

