
Order Tracking
Important: Loop has acquired Wonderment, Shopify's #1 proactive CX and order tracking platform. Wonderment Tracking will replace Loop Order Tracking on April 1st, 2025. Learn more here.
OVERVIEW
Order Tracking, part of Track by Loop which already includes returns and exchange tracking, is a new feature that allows merchants to facilitate tracking for outbound orders through Loop. Merchants will have the power to elevate the shopper experience through branded tracking pages with tracking updates and history. A dedicated view of missing and late deliveries will give merchants the visibility they need to rescue their customers before it’s too late. Tools that will drive value further include product recommendations for upsell revenue and FAQ to lighten the CX load.
The following carriers are supported:
USPS
UPS
FedEx
Australia Post
Canada Post
DHL eCommerce
DHL Express
Purolator
GLS
Note: DHL eCommerce requires additional setup. Merchants using DHL eCommerce should reach out to their Merchant Support Manager for details.
Important: Merchants must include the name of the carrier when adding tracking numbers to Shopify fulfillments in order to reliably create trackers. The inclusion of the carrier name greatly improves tracking reliability.
Video walkthrough
Setup
There are two ways to set up Order Tracking, depending on which platform you use.
Shopify setup
When turning on Loop Order Tracking, your configured Shopify "Out for Delivery" and "Delivered" notifications will automatically include your tracking number and a link to your Loop Tracking page.
Note: The first "shipping updated" email for an order (usually "label created") is usually sent before the tracking link can be replaced by Loop.
To manage “Out for delivery” and “Delivered” email notifications:
Go to your Shopify shop → Settings → Notifications → Customer Notifications.
Scroll to the section titled “Shipping updated”.
If you’d like to send notifications when tracking is out for delivery and delivered, toggle on Out for delivery and Delivered emails.
Note: If these emails contain the variable {{ fulfillment.tracking_url }}, they are set up to use Loop Order Tracking links. If these emails do not contain the variable, continue with the instructions.
Click on the name of the email you’d like to edit.
Click Edit code.
Add the variable {{ fulfillment.tracking_url }}. This is what Loop uses to populate your tracking page link.
Important: Take caution when editing these emails as edits can affect links and liquid variables.
How to add Loop Order Tracking on your Shopify page(s)
Navigate to edit the Shopify page where you’d like to add your Tracking widget.
Add a new page section.
Click Apps in the section selector.

Select “Order Tracking by Loop Returns and Exchanges.”
Edit the colors and background image to match your desired look and feel.
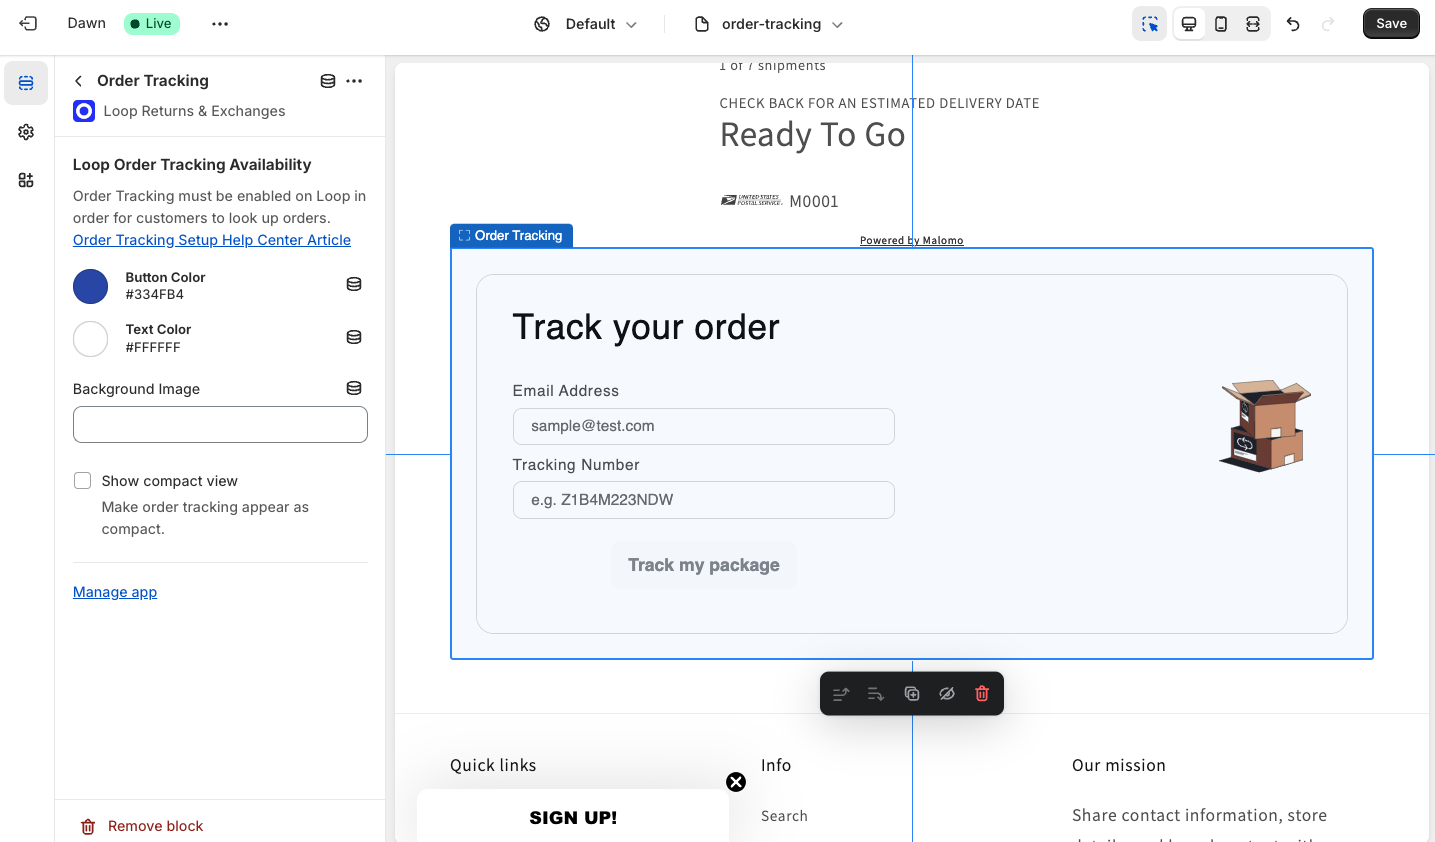
Click Save.
Return to Loop Admin > Order Tracking > scroll to Tracking Page Selection.
Select “Shopify page with Loop Tracking widget.”
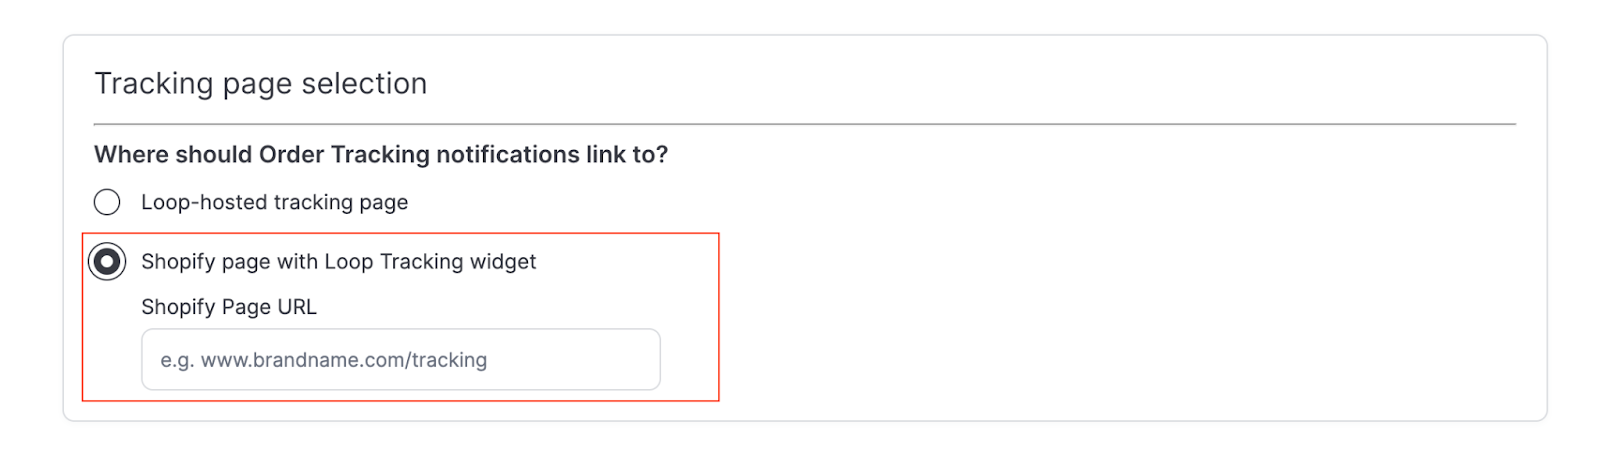
Enter the URL of the Shopify page that contains your tracking widget.
Example: www.brandname.com/tracking
Click Save.
This link will be used in all of your tracking update emails.
Klaviyo setup
If you have a Klaviyo integration, you can trigger tracking email notifications through Klaviyo. When you’re given access to Order Tracking, we will send a new email trigger (known as a metric in Klaviyo) to your Klaviyo account.
The order tracking trigger will show up in Klaviyo as a metric called "Loop Order Tracking Updated." This metric includes a number of variables that you can use to filter the trigger or that you can use in the body of your notification emails. It allows you to build flows from scratch or with modifications that can trigger your existing email flows.
Note: You must use your Klaviyo private API key for Tracking events to send to Klaviyo.
Definitions:
Metric: This is how Klaviyo refers to triggers. Metrics contain extra information called metadata.
Metadata: This is extra information included in a metric. Klaviyo references metadata in few ways: Dimensions, Conditions, and Trigger Filters. These are different pieces of information within a Metric that you can use to filter a trigger more specifically, or to use as variables within the body of your emails.
The sub-sections below explain how to set up a Loop Order Tracking Updated email trigger.
Set up a tracking email trigger from scratch
Sign into Klaviyo and go to the Flows tab.
Click Create Flow.
Click Create From Scratch.
Name the Flow, add any desired tags, and submit.
From the right rail, select the Your metrics tab.
Click the option labeled API.
Select Loop Order Tracking Updated. You’ll use this event trigger for all types of tracking updates.
If you wish to add any trigger filters, go to the Trigger Filters section and click Add.
The dimension dropdown will show all applicable conditions. Select the one you’d like to use as a filter for this trigger.
Use the the "dimension value" field to configure your filter and click Save.
Note: Status is the dimension you’ll use to filter by the shipping status such as label_created or out_for_delivery. This dimension will likely be used the most for filtering.
From the left rail, drag the email action into the flow.
Click the email and edit the content. You can use metadata as variables in your emails. The available variables are listed lower in this section.
Once done editing the email and you’re ready to start sending, change your email status from Draft to Live. Loop Order Tracking Updated notifications should begin triggering for any new shipping updates.
Set up a tracking email trigger by cloning an existing flow
Sign into Klaviyo and go to the Flows tab.
Find the flow you’d like to be your starting point and click the three dot overflow menu to reveal the dropdown.
Select Clone form the dropdown menu, then name your new flow.
From the Trigger dropdown menu, select Loop Order Tracking Updated, then click Clone Flow.
Click any email you’d like to change and edit using your Loop variables. A list of those variables is included lower in this section.
Metric: Loop Order Tracking Updated
Statuses
Below are possible values for "status" in the Klaviyo Metric Loop Order Tracking Updated
Most common:
label_created
pre_transit (carrier has received the package)
in_transit
out_for_delivery
delivered
Less common:
available_for_pickup (if a customer opted to have their package sent to a pick up location)
delayed (If a package has a significant delay but will still be delivered. Not all carriers use this as a status; they may include it in the tracking details instead.)
Statuses that indicate issues. In most cases, these shipments will not reach the customer.
error
failure
return_to_sender
Very rare and not relevant to your customers
new
unknown
metadata | example value | email body variable |
|---|---|---|
carrier | USPS | {{ event.carrier|default:'' }} |
est_delivery_date | 2024-03-12 | {{ event.est_delivery_date|default:'' }} |
mode | test | {{ event.mode|default:'' }} |
order_name | #1001 | {{ event.order_name|default:'' }} |
status | in_transit | {{ event.status|default:'' }} |
tracking_code | 1234567890 | {{ event.tracking_code|default:'' }} |
tracking_details | Shipment has left facility | {{ event.tracking_details|default:'' }} |
tracking_url | {{ event.tracking_url|default:'' }} | |
updated_at | 2024-03-04 | {{ event.updated_at|default:'' }} |
Create a custom domain for tracking
Note: This requires the merchant to add settings in their DNS provider.
Log in to the merchant's DNS provider.
Create a new CNAME record.
Set the Host to "tracking" (or the merchant's desired subdomain).
Set the Value to brandname.tracking.loopreturns.com
Note: "Brandname" is a placeholder for the merchant's brand name (for example, STANDARDWEAR). This is the loopreturns.com URL that was set up when the merchant first installed Loop to their Shopify store (for example, standardwear.loopreturns.com).
Update the TTL (time to live) field to the shortest time period option. Wait the appropriate time period (this is usually about 15-30 minutes) for this change to take effect.
Confirm the new subdomain is active by going to MXtoolbox.com, then entering the full tracking page URL (for example, tracking.brandname.com).
brandname.tracking.loopreturns.com should appear as the Canonical Name.
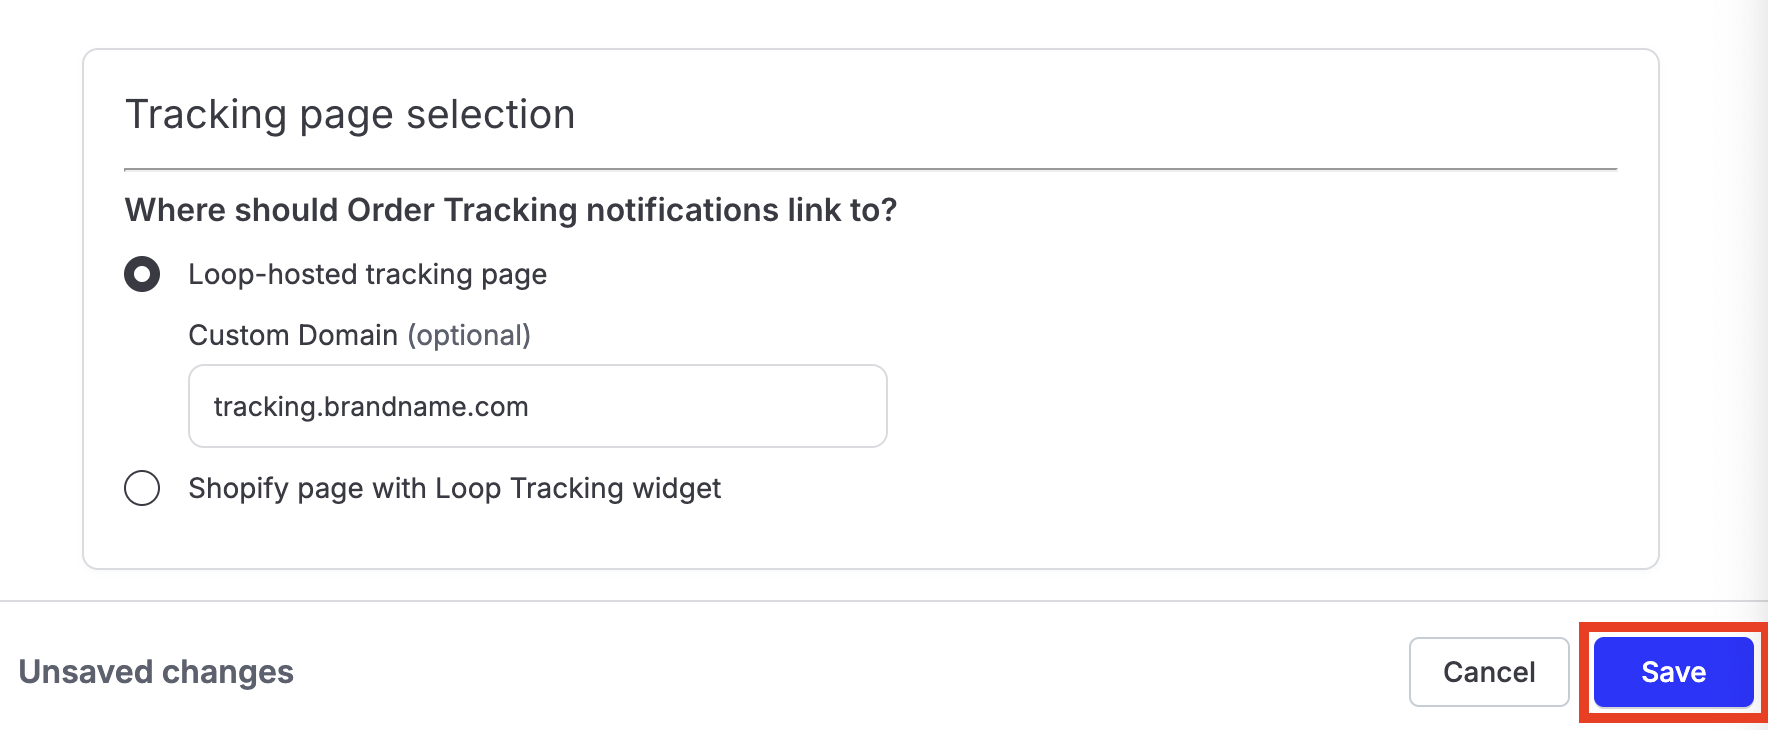
Once the Canonical Name has been confirmed, activate the custom domain in the Loop Admin by navigating to Tracking > Order Tracking, then scrolling to Tracking page selection.
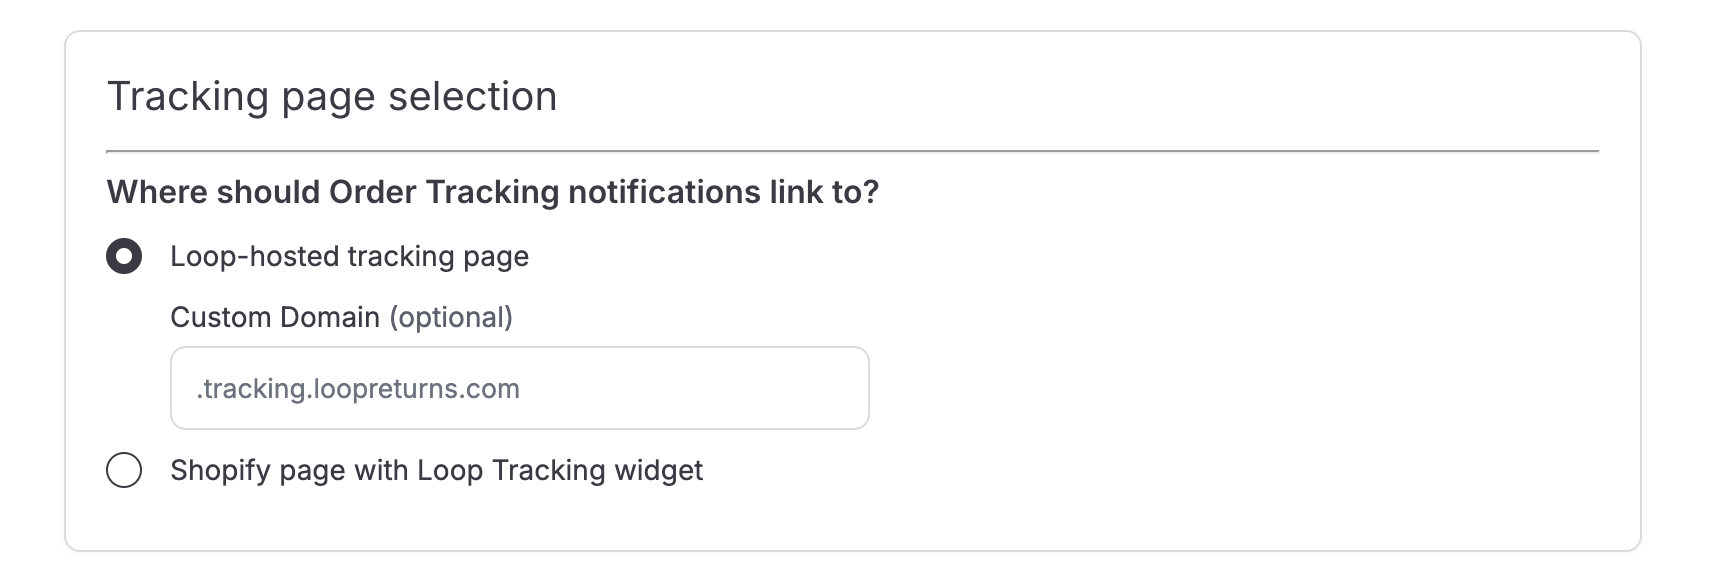
Select Loop-hosted tracking page and paste the custom tracking domain (for example, tracking.brandname.com) in the Custom Domain field.
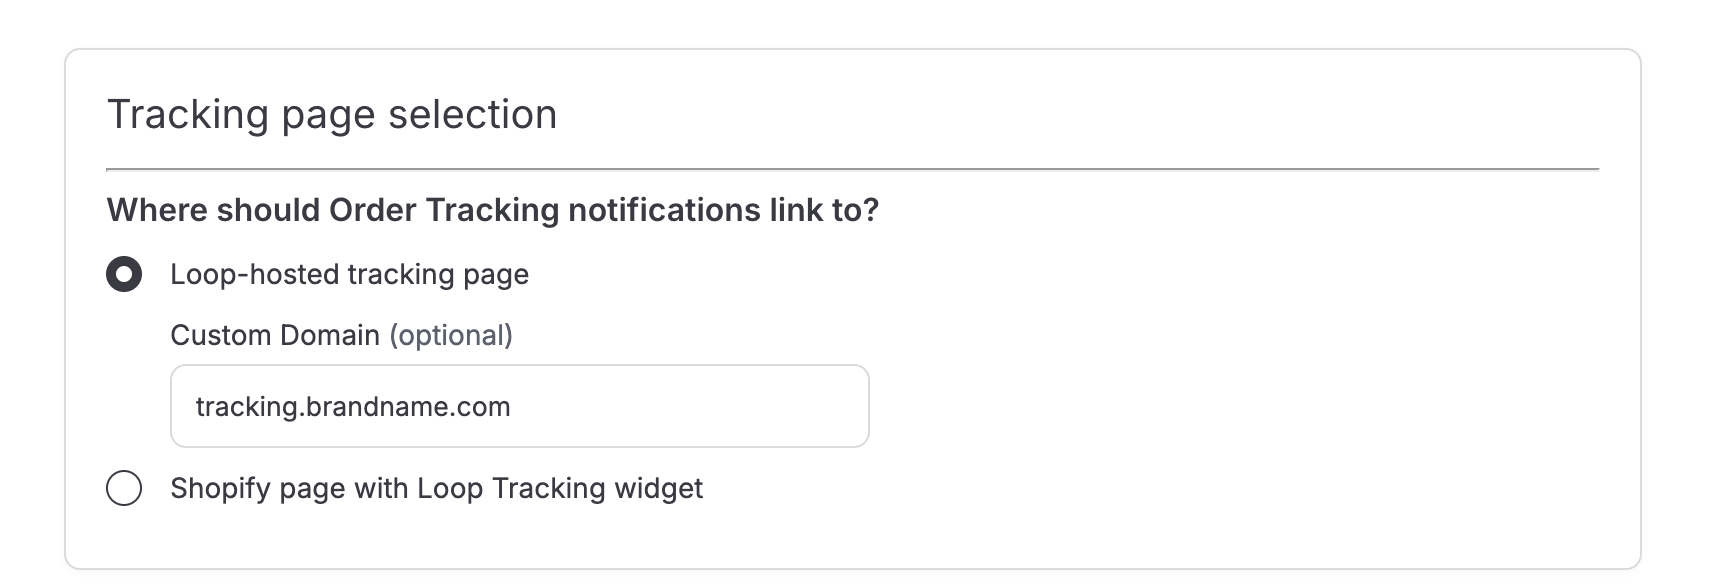
Click Save.
All of the merchant's tracking pages will now utilize the custom domain created in this step.
FAQ
Does Loop send Order Tracking emails for me? Not automatically! To configure emails, you need to set up emails to trigger through Shopify or Klaviyo. You can see instructions for both here.
What happens if you Loop order tracking only supports some of my carriers? Track by Loop is smartly designed to check if we support the carrier before auto-populating a Loop order tracking page. If we do not support the carrier, both our Shopify and Klaviyo integrations will default to the carrier page in customer emails.
This means you can easily use Track by Loop for the carriers we support and continue with carrier tracking for those that we don’t, without any manual effort on your team’s part.
Please reach out to support@loopreturns.com with any additional questions.