
Offset Flex: Cart Setup (Continued)
OVERVIEW
This article reviews optional setup steps for your Offset experience.
Use the menu on the left to quickly navigate this article.
Auto-fulfilling the Offset Product in Shopify
The Offset product will remain unfulfilled by default unless manually fulfilled or an automation is setup. This process walks through how to setup automation for this.
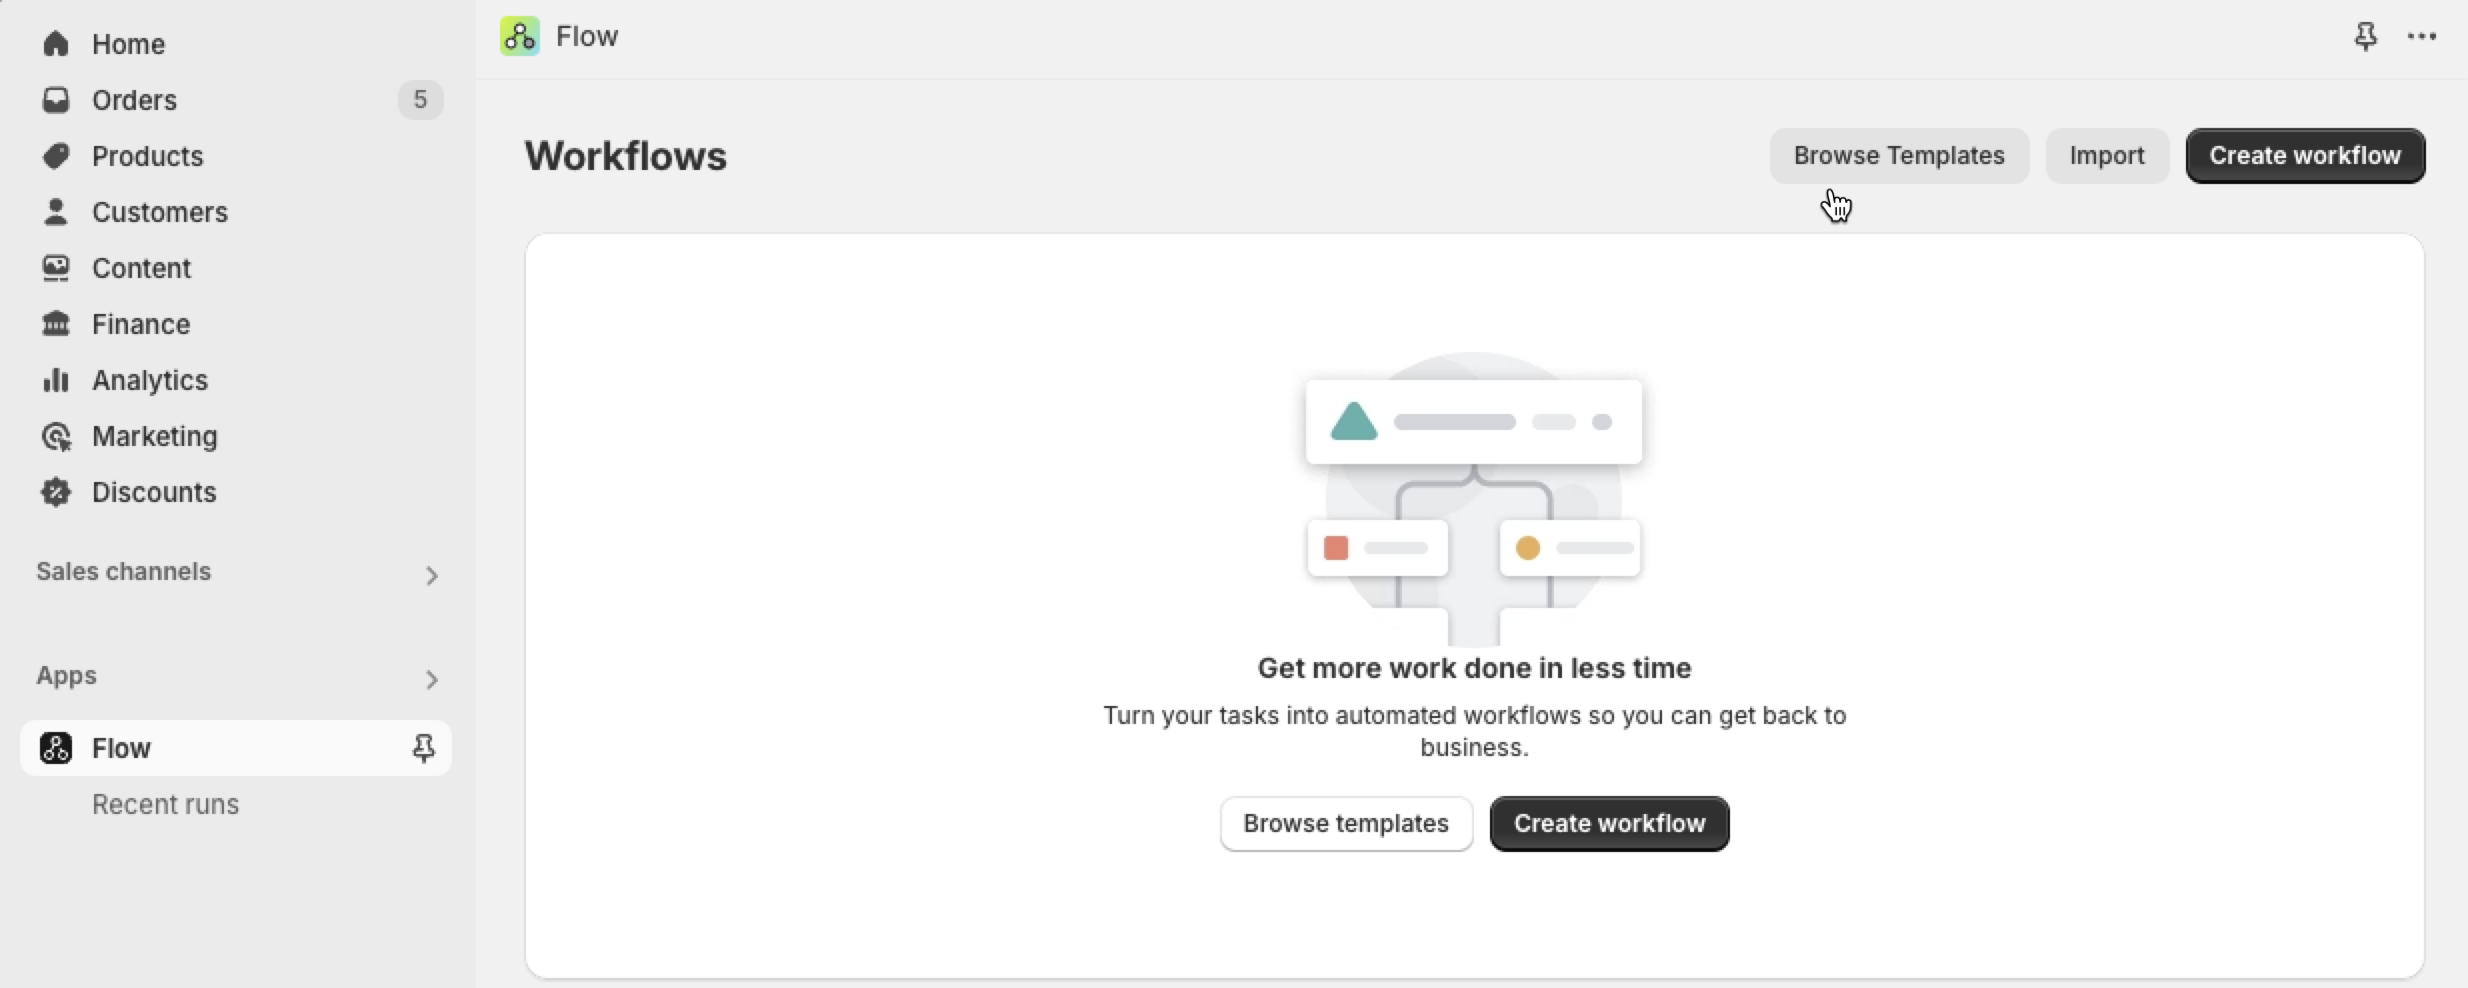
Install the Shopify Flow app in your Shopify store.
Open the Flow app.
Click the Browse Templates button.
Search for “digital” to find the Fulfill any digital items in an order template, and click on it.
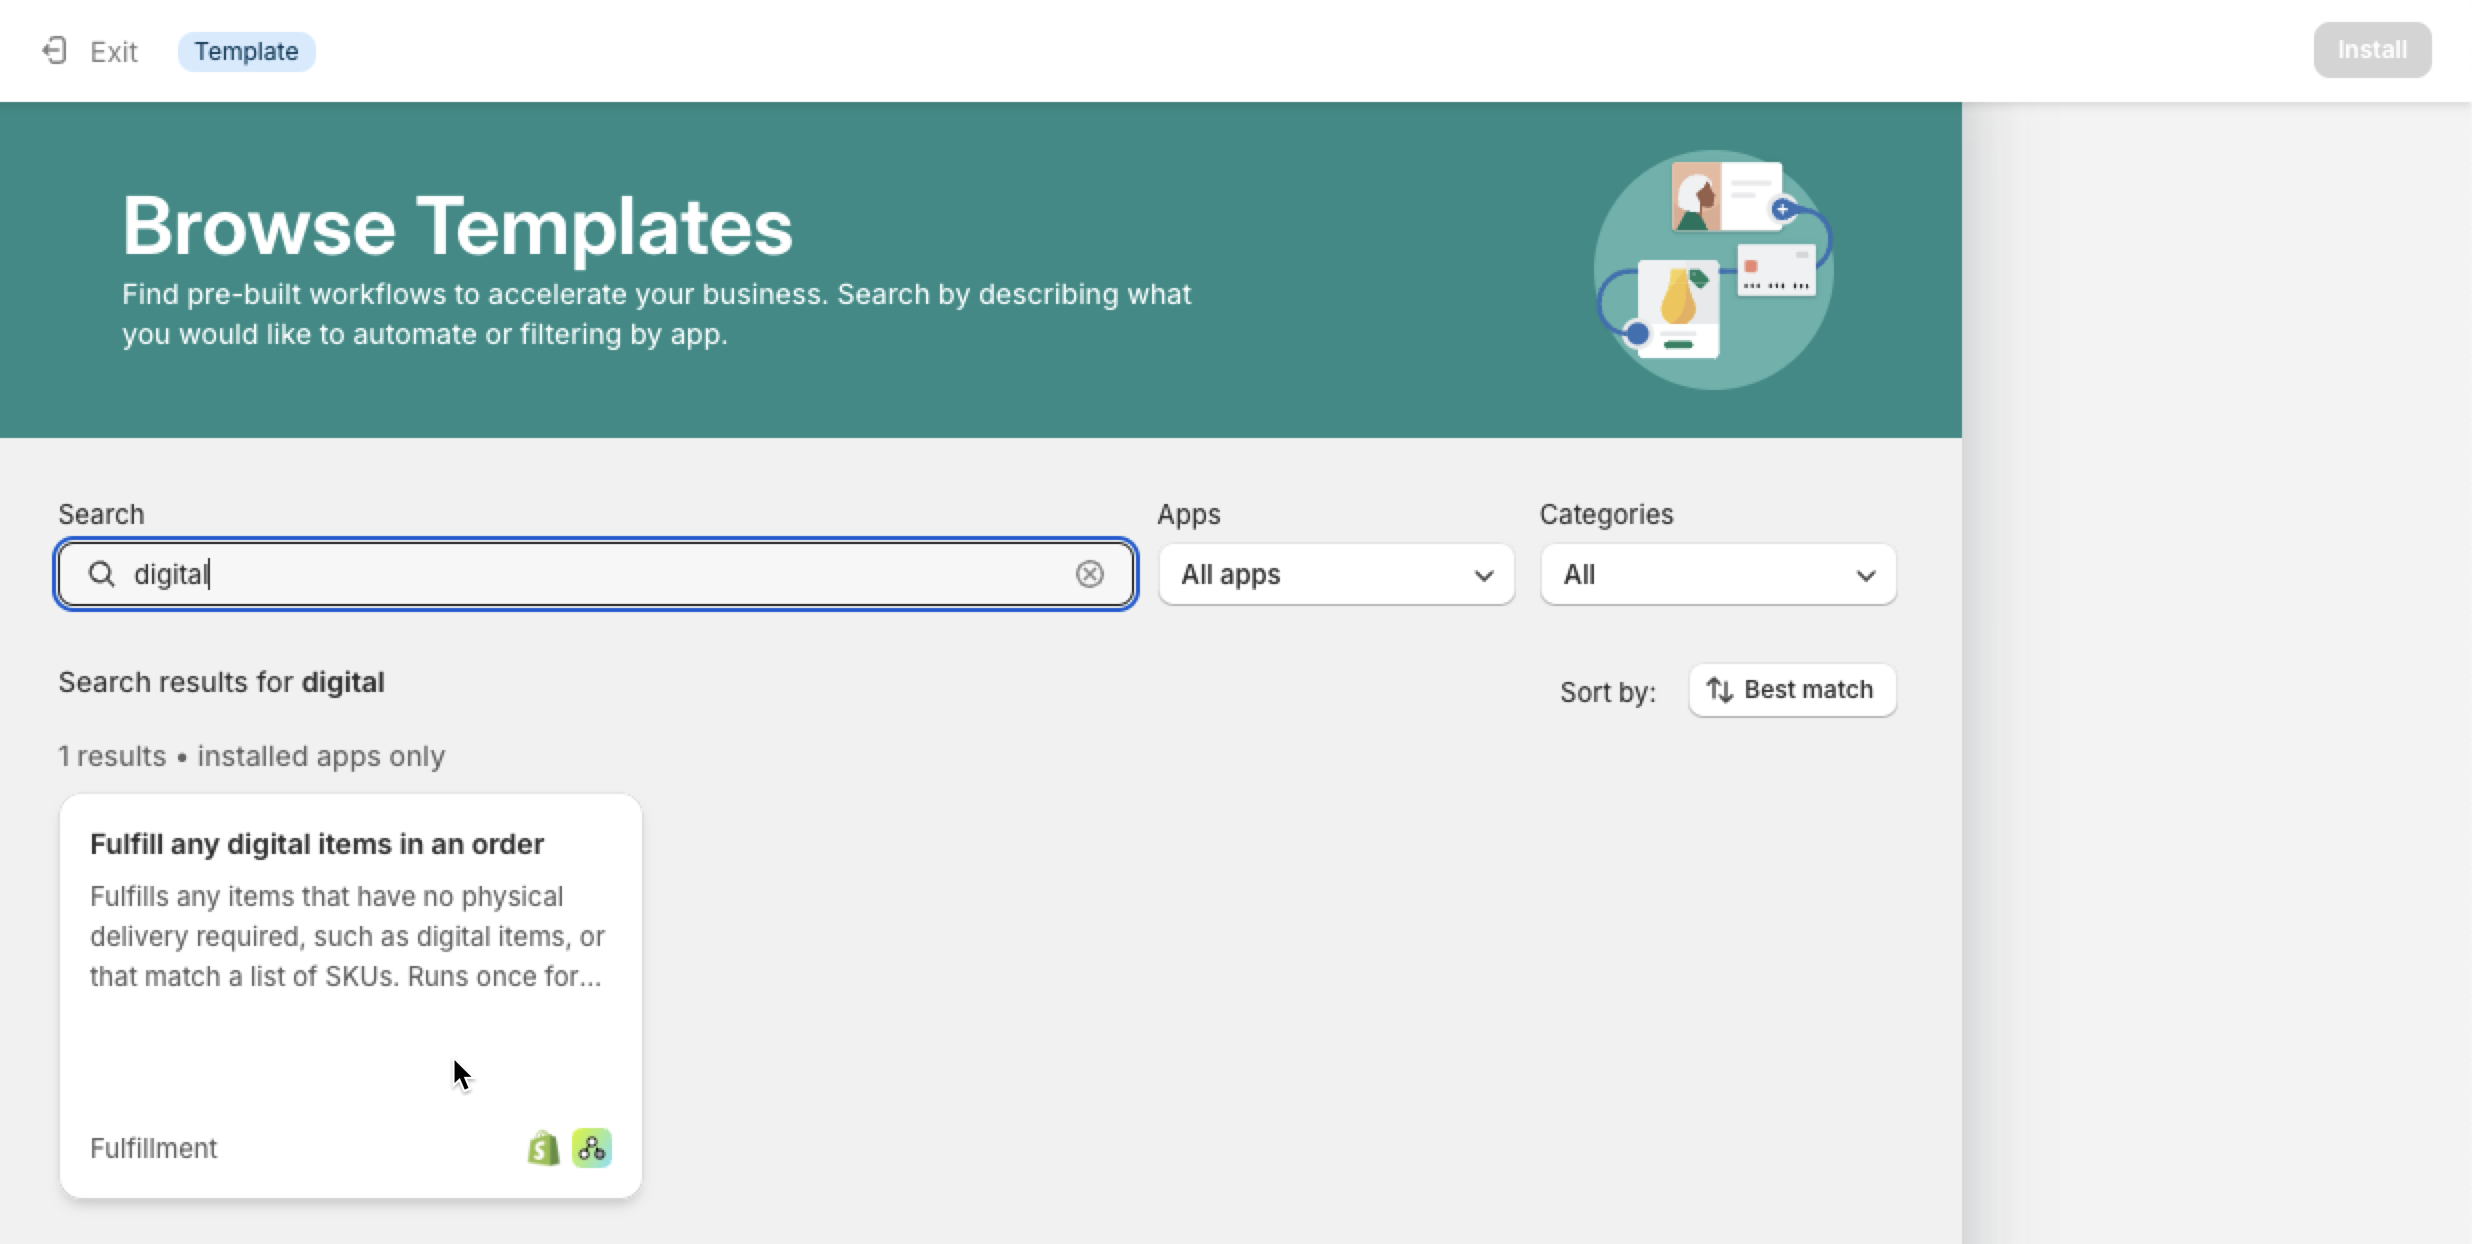
Click the Install button in top-right corner.
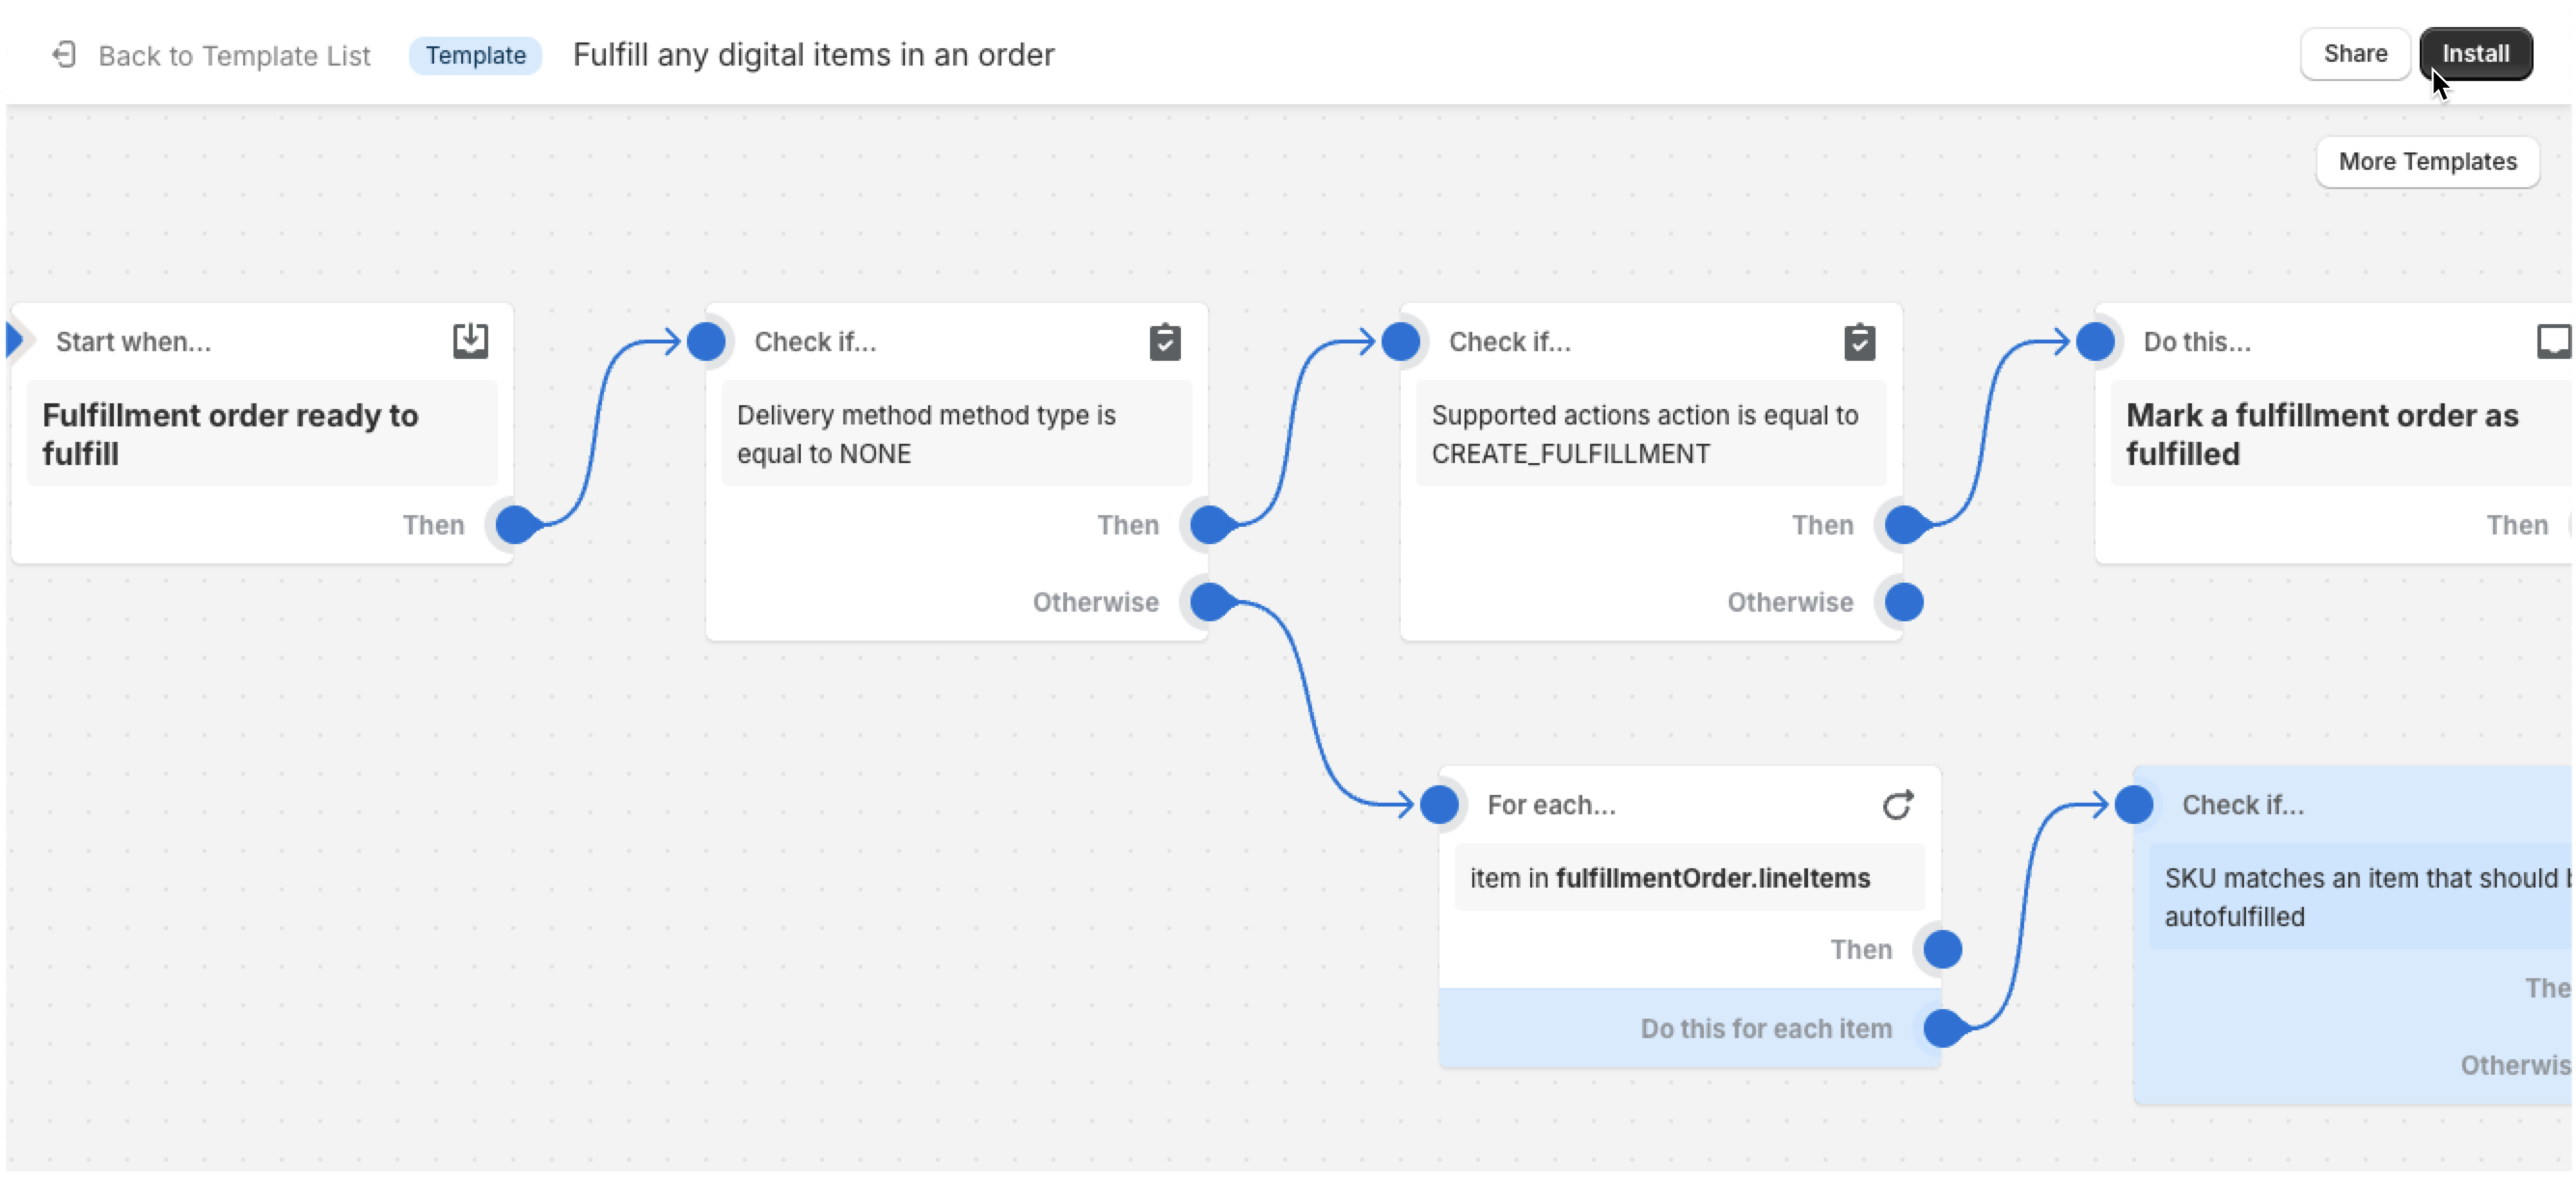
In the Check if… SKU matches an item that should be autofulfilled block, add the SKU of your Offset product.
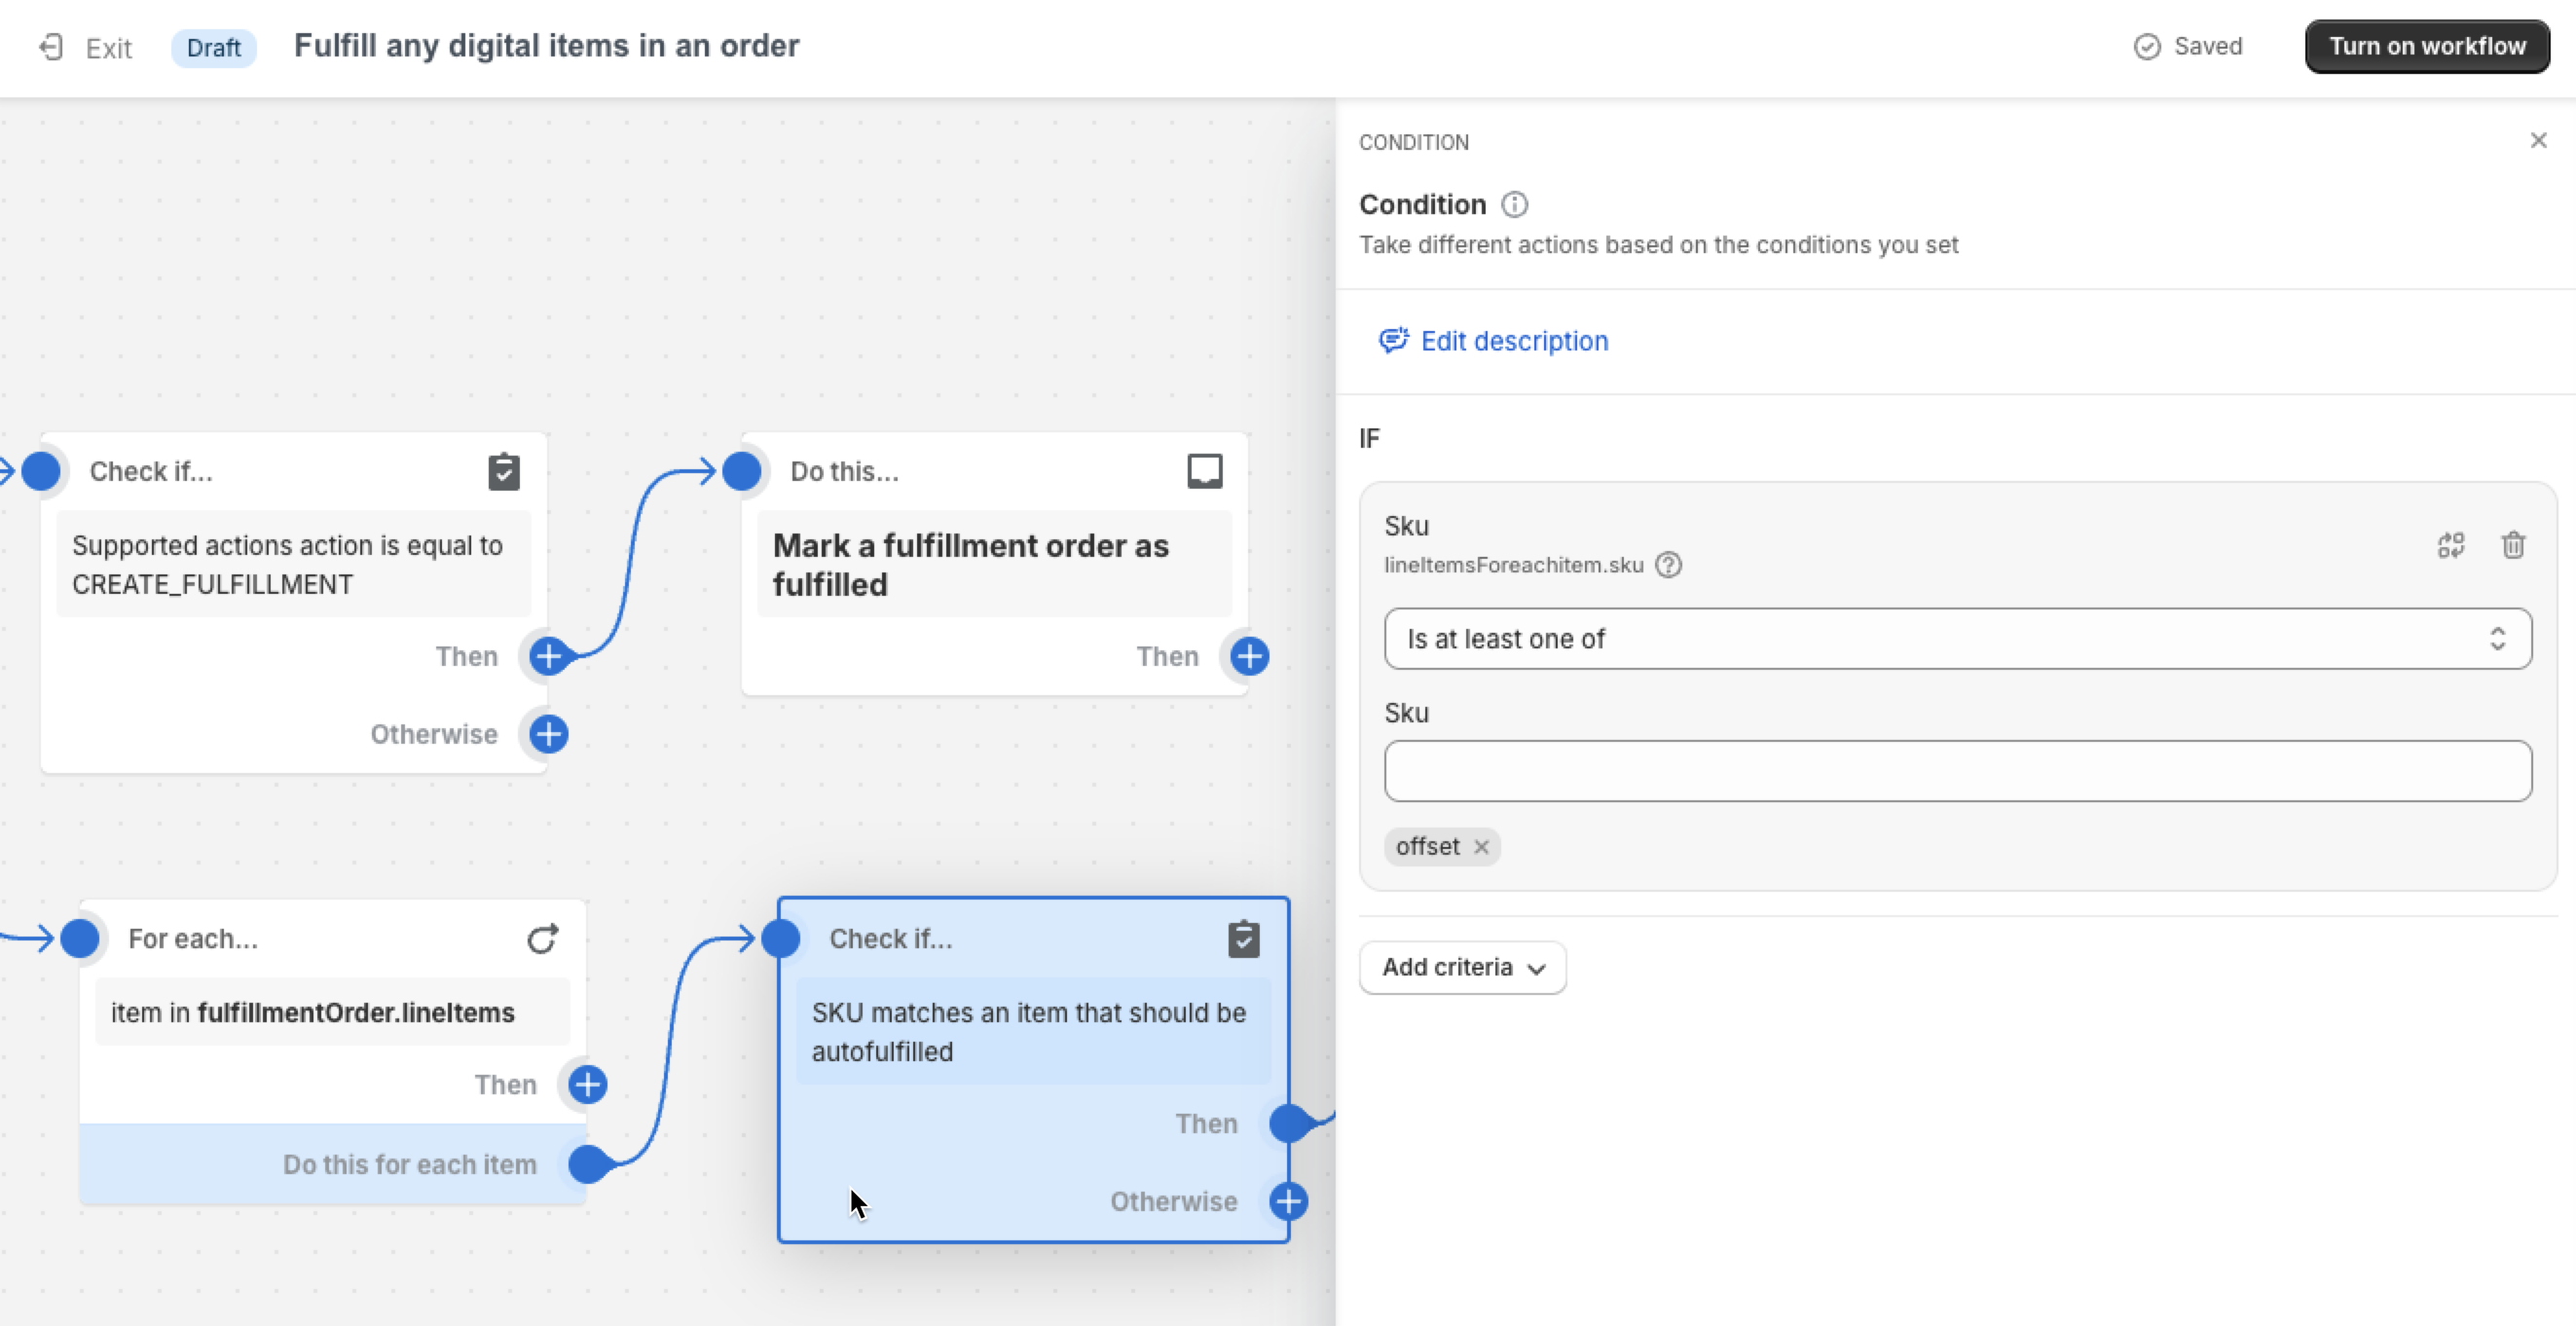
Click the Turn on the workflow button.
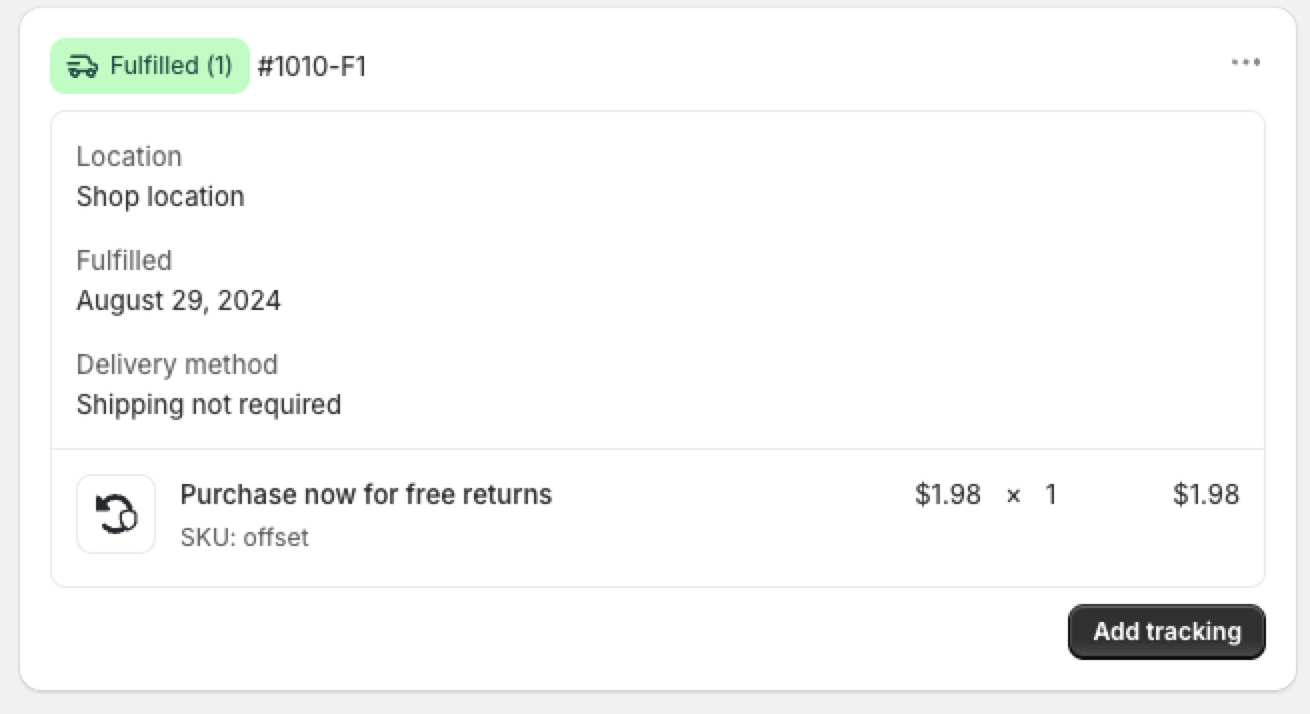
Create a test order with the Offset product and checkout. Then open the order details in Shopify and confirm that the Offset product has been fulfilled.
Excluding Final Sale Products from Offset
In some cases, products may be ineligible for return due to a sale or the type of item, like a gift card. If an order only includes ineligible items, Offset should be excluded from that order. Follow these steps to exclude Offset from applying to final sale products:
Create An Excluded Product Tag In Your Loop Admin
Note: This section is only visible if an Offset product was created for the store. Please contact your Merchant Success Manager for support if you do not see this section.
Within your loop admin portal, go to Policy settings > General tab and find the section Offset on the page.
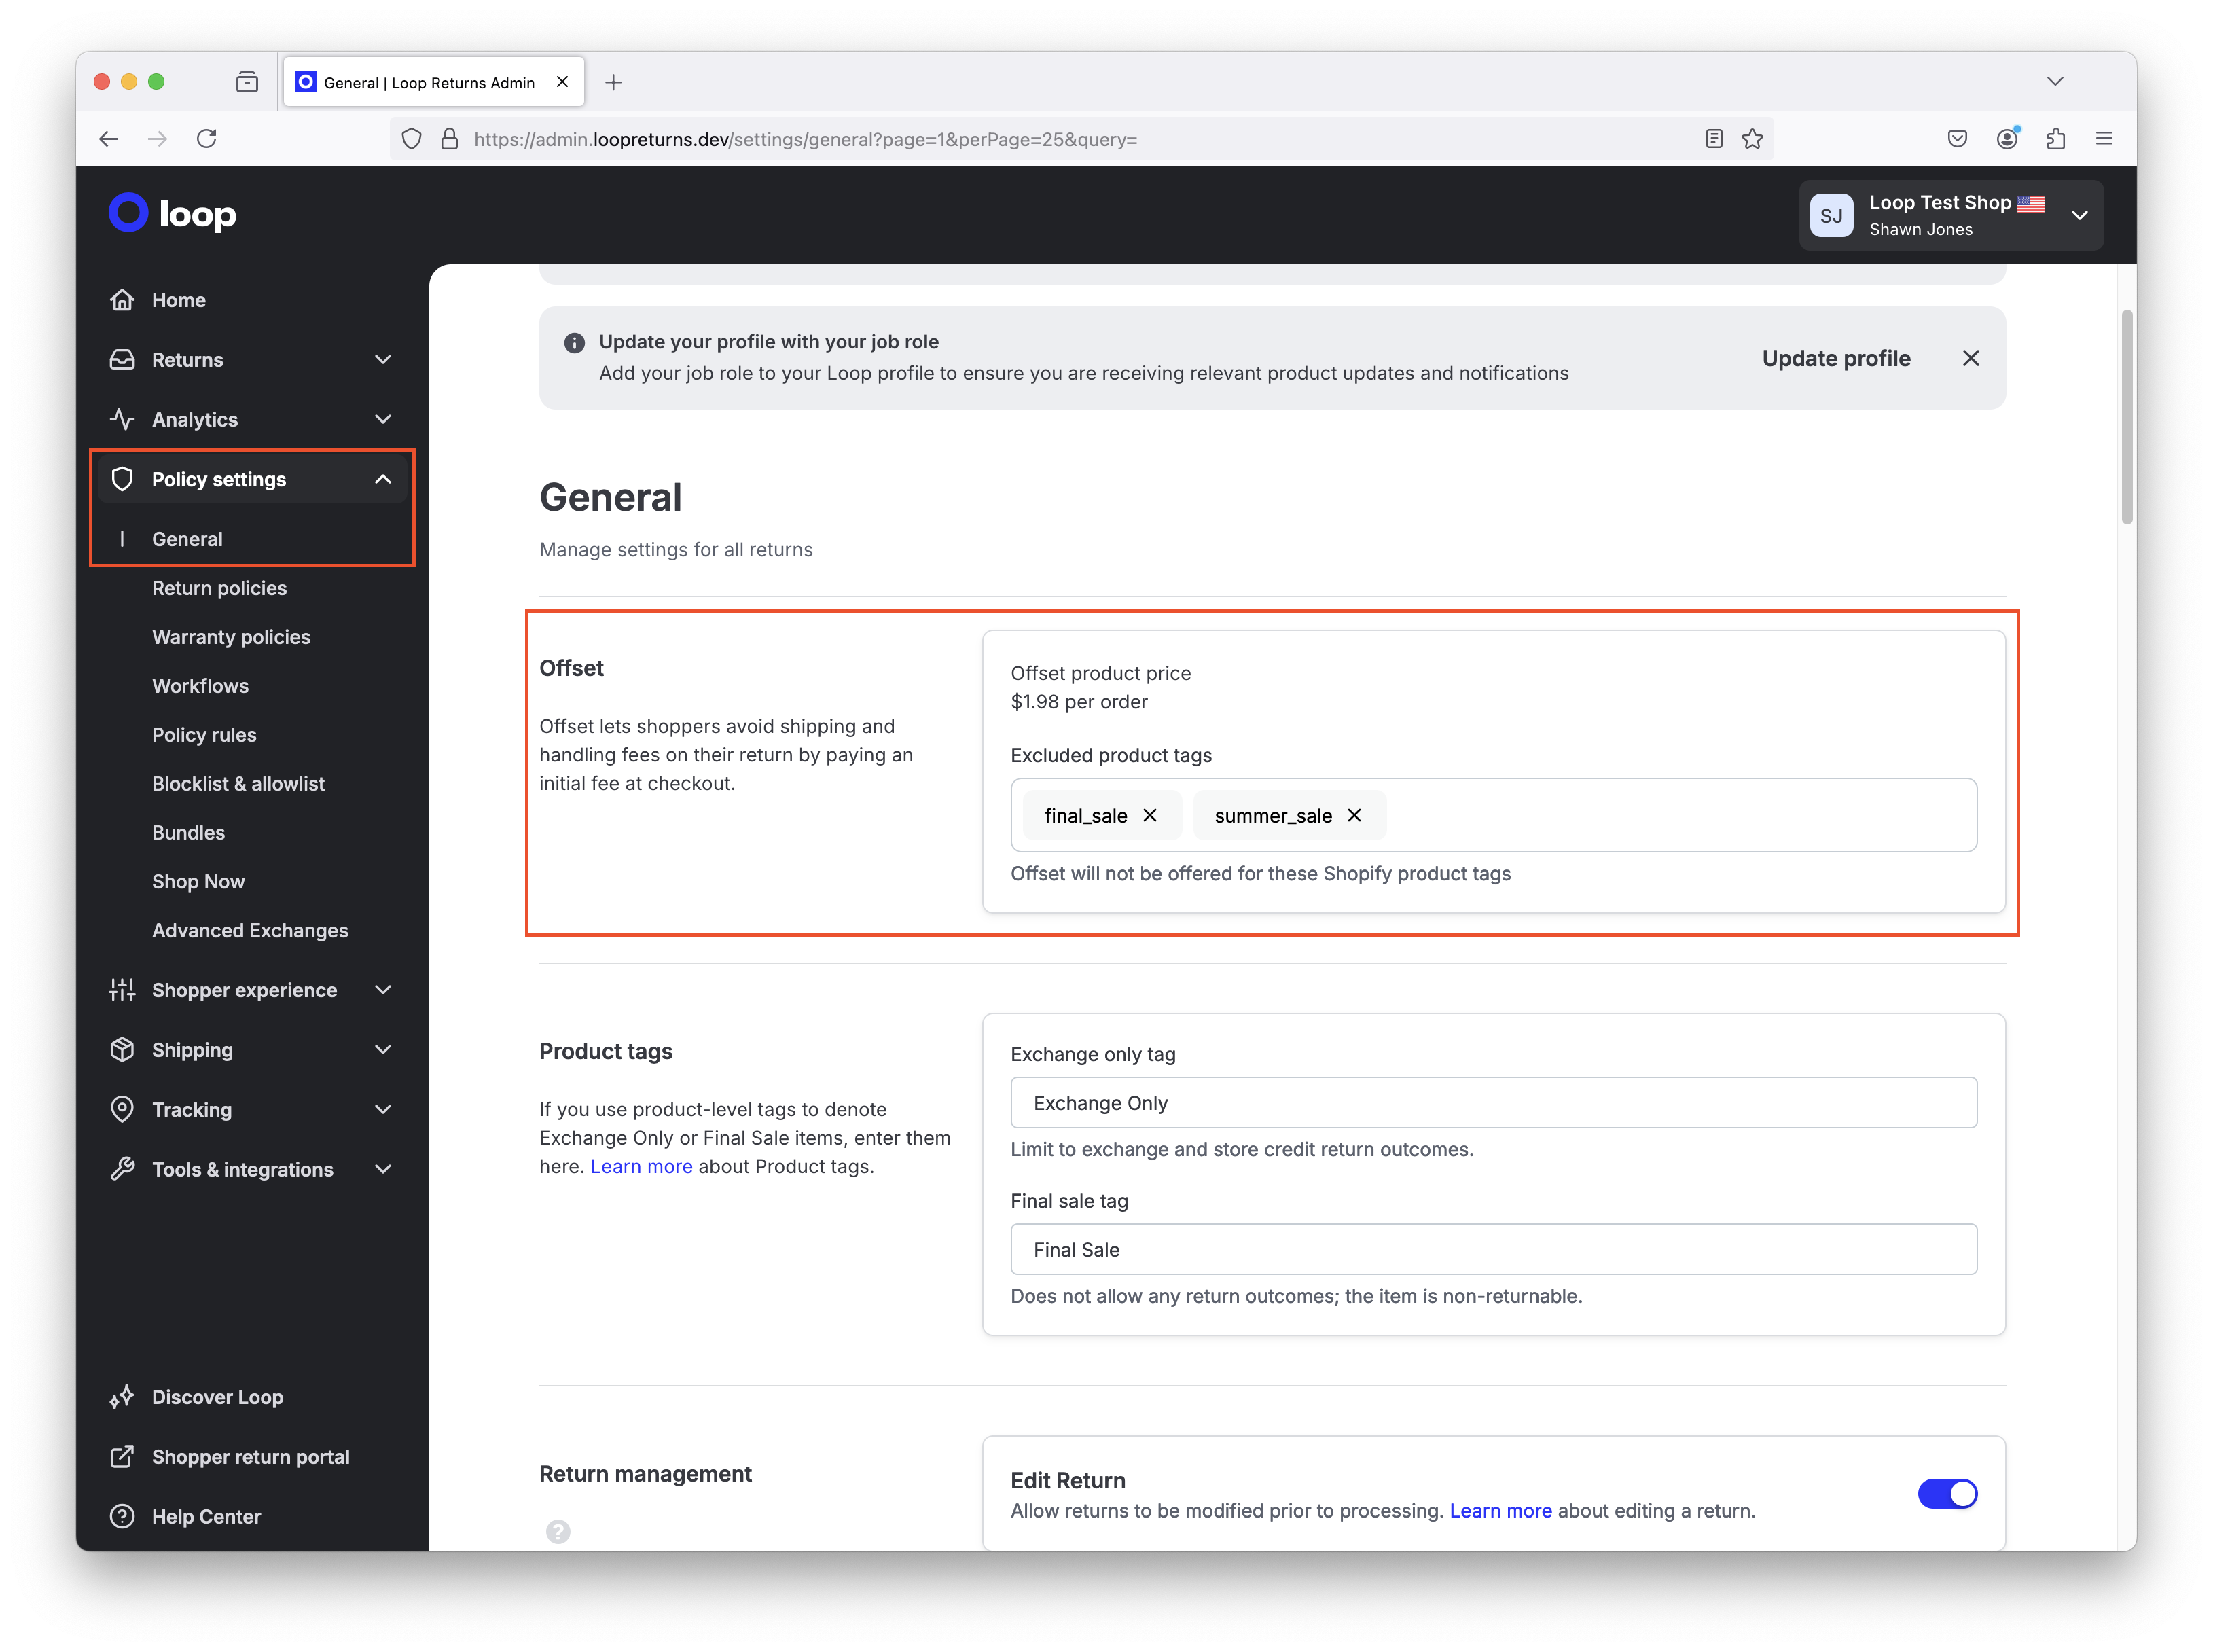
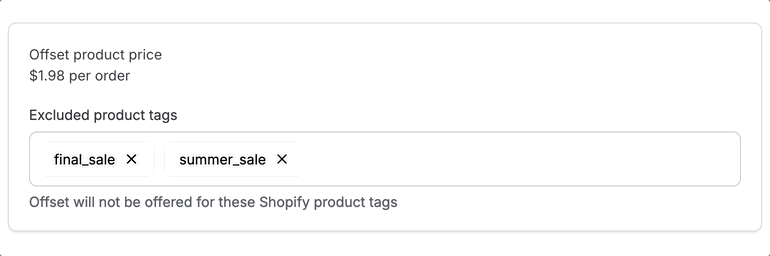
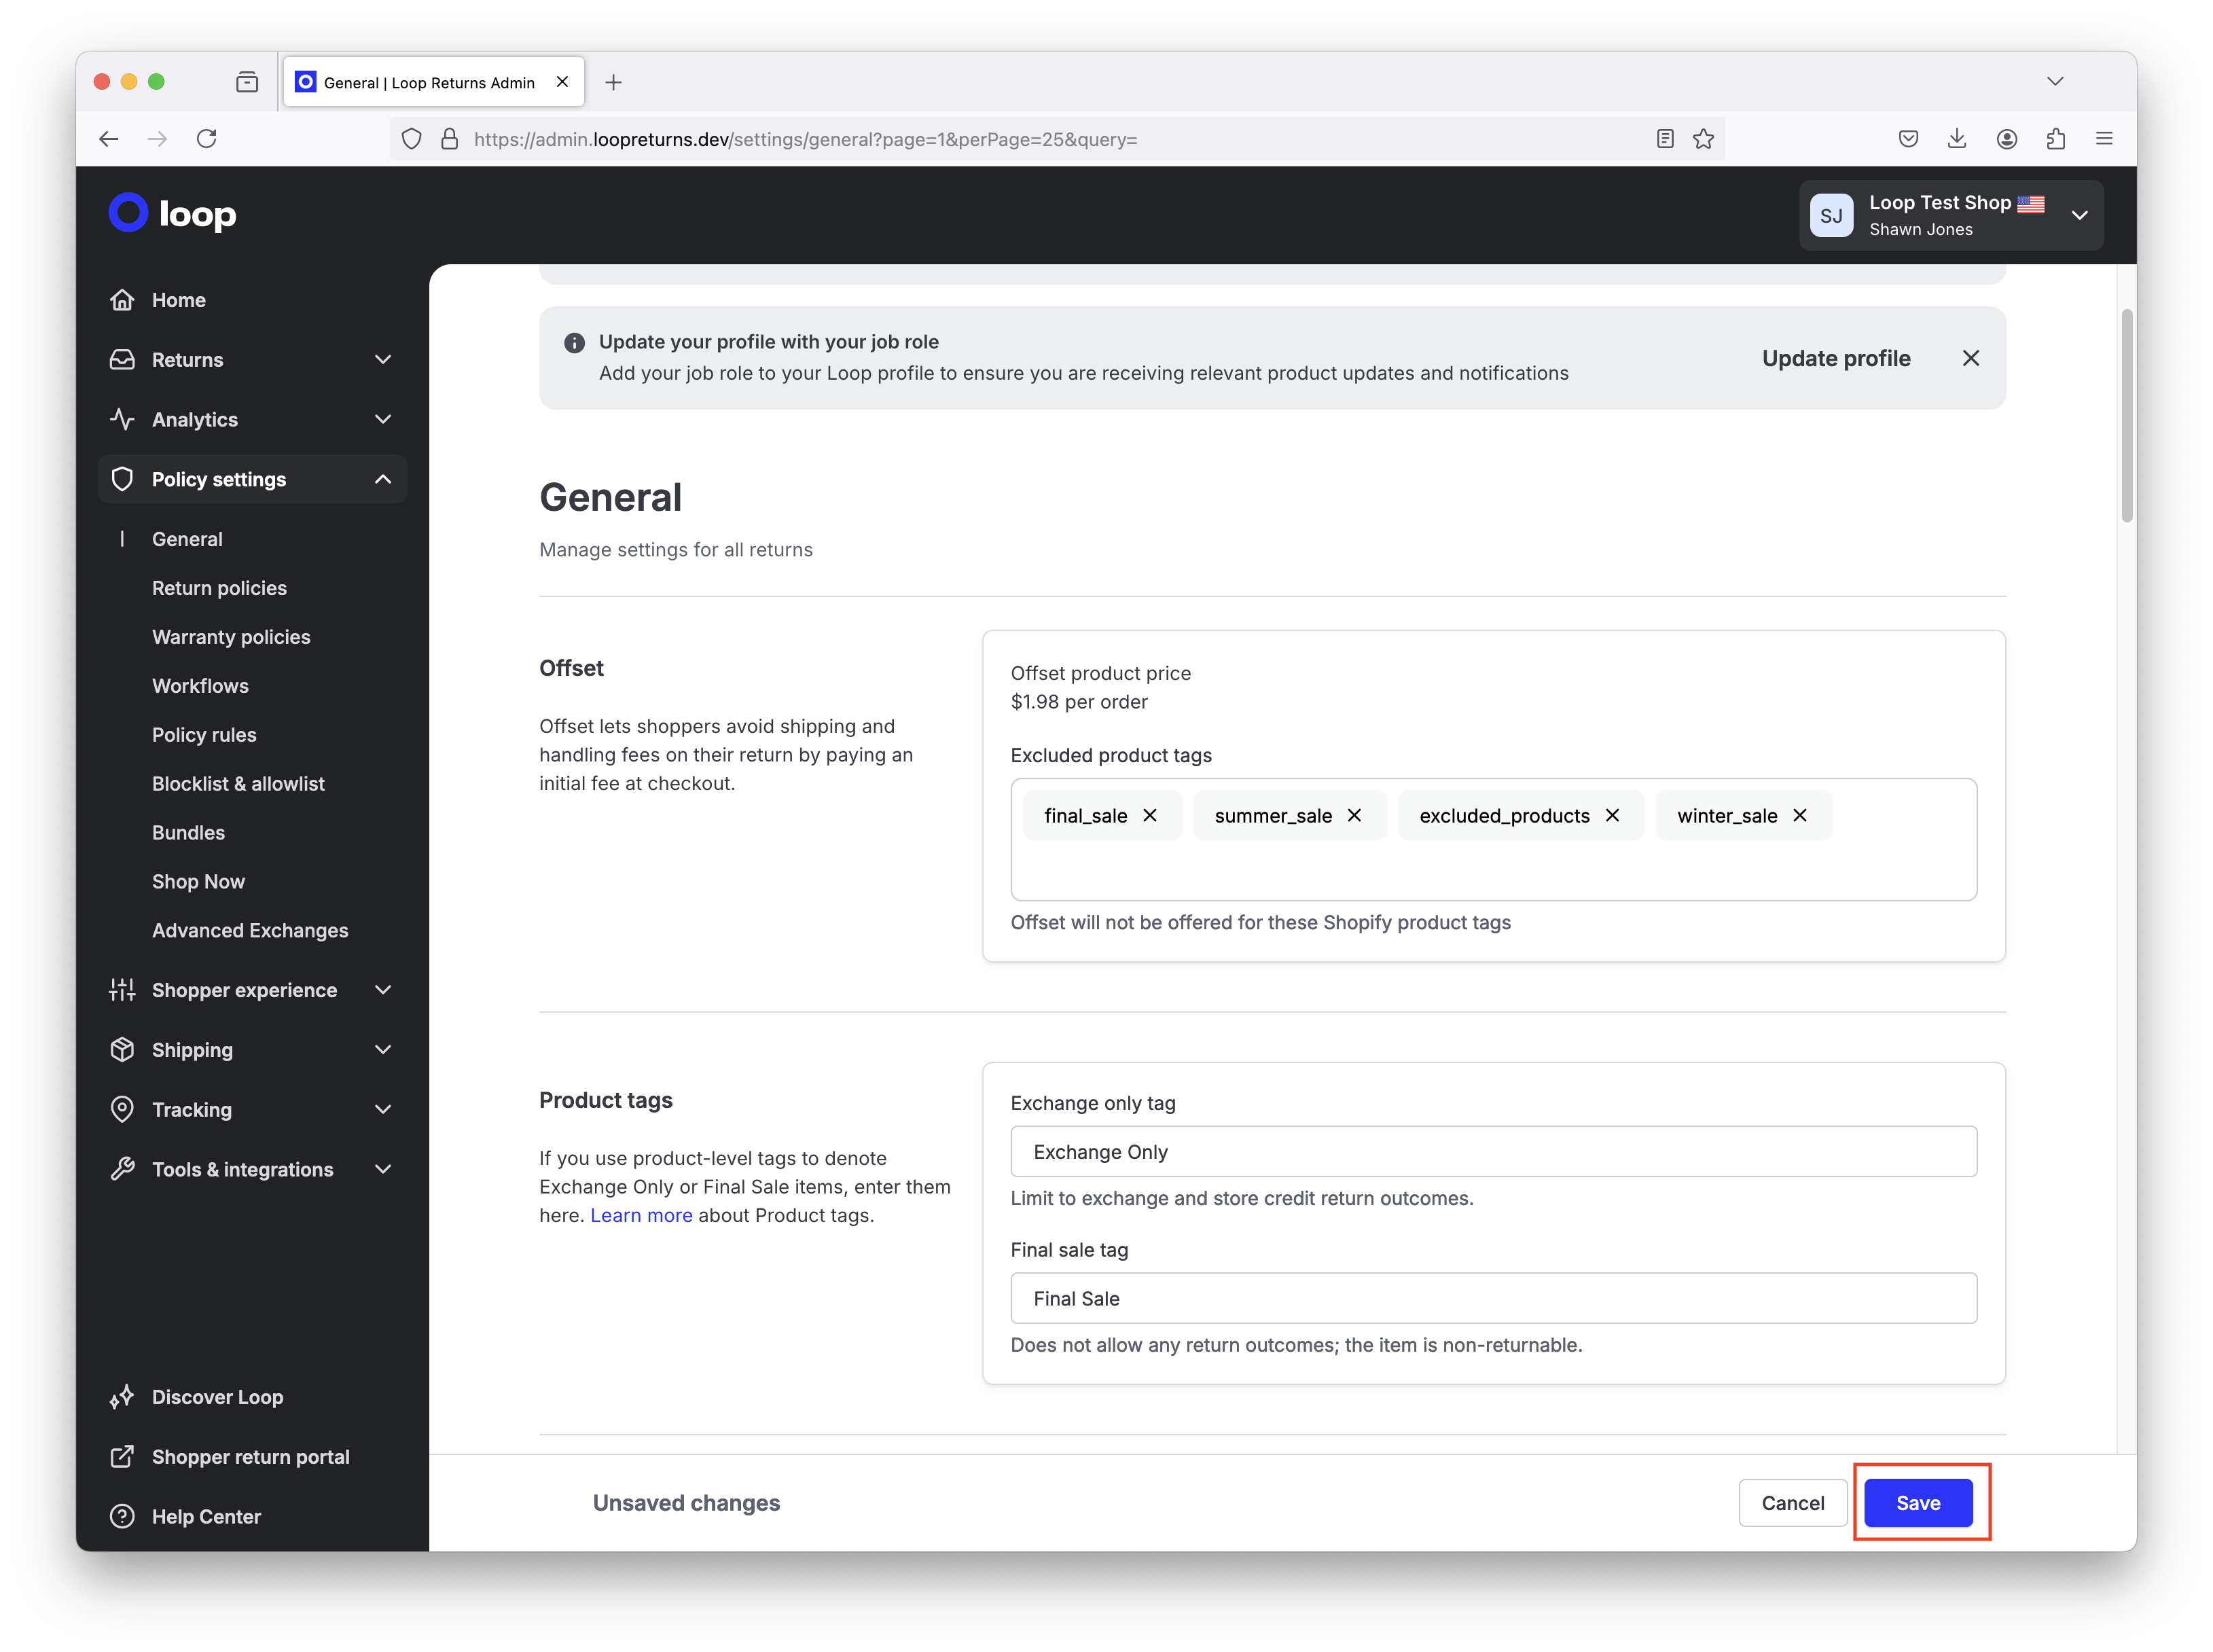
Within the Excluded product tags input, type in a tag name you'd like to use for excluded products and hit enter. You can add multiple tags. Offset will look for any matching tag when considering if the item is excluded. Feel free to use existing tags if they are already classified as a product grouping that shouldn't be offered Offset.
Note: Feel free to type in any style e.g. "finalsale", "final sale", "Final Sale", "finalSale", "final-sale", "final_sale".
Save your changes.
Mark Products with Excluded Tag in Shopify Admin
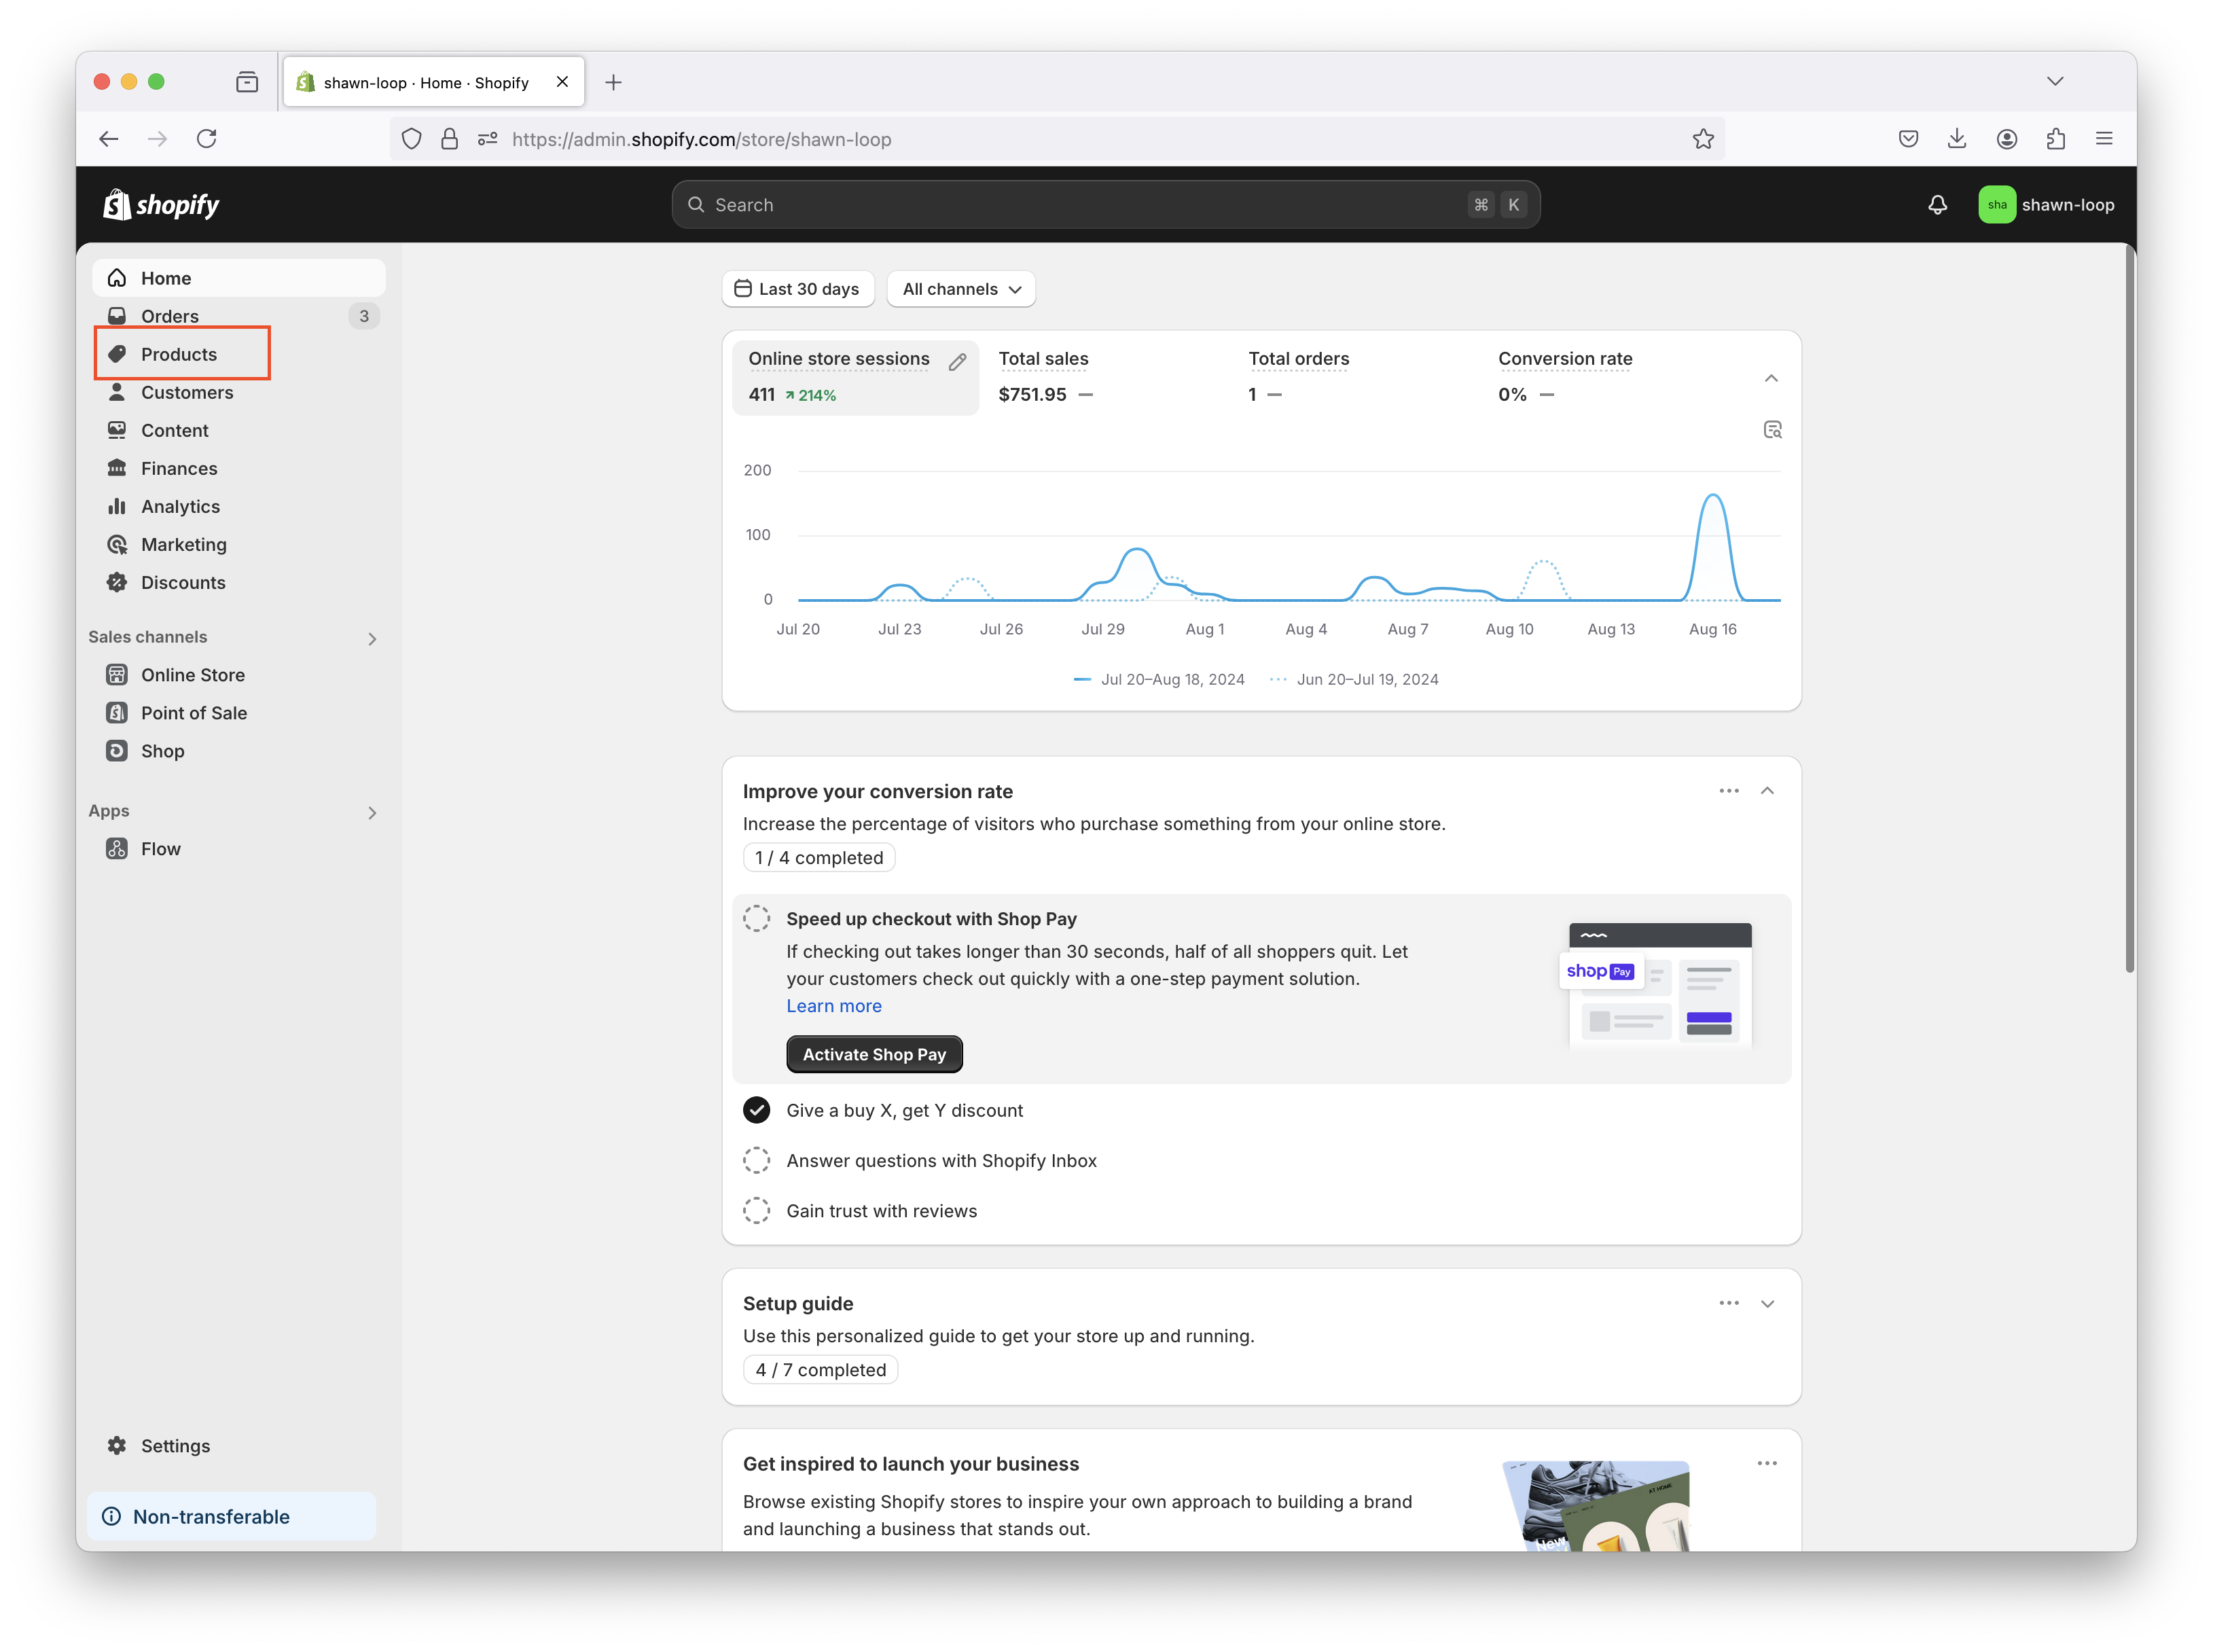
Navigate to your Shopify store's admin panel and select the products tab.
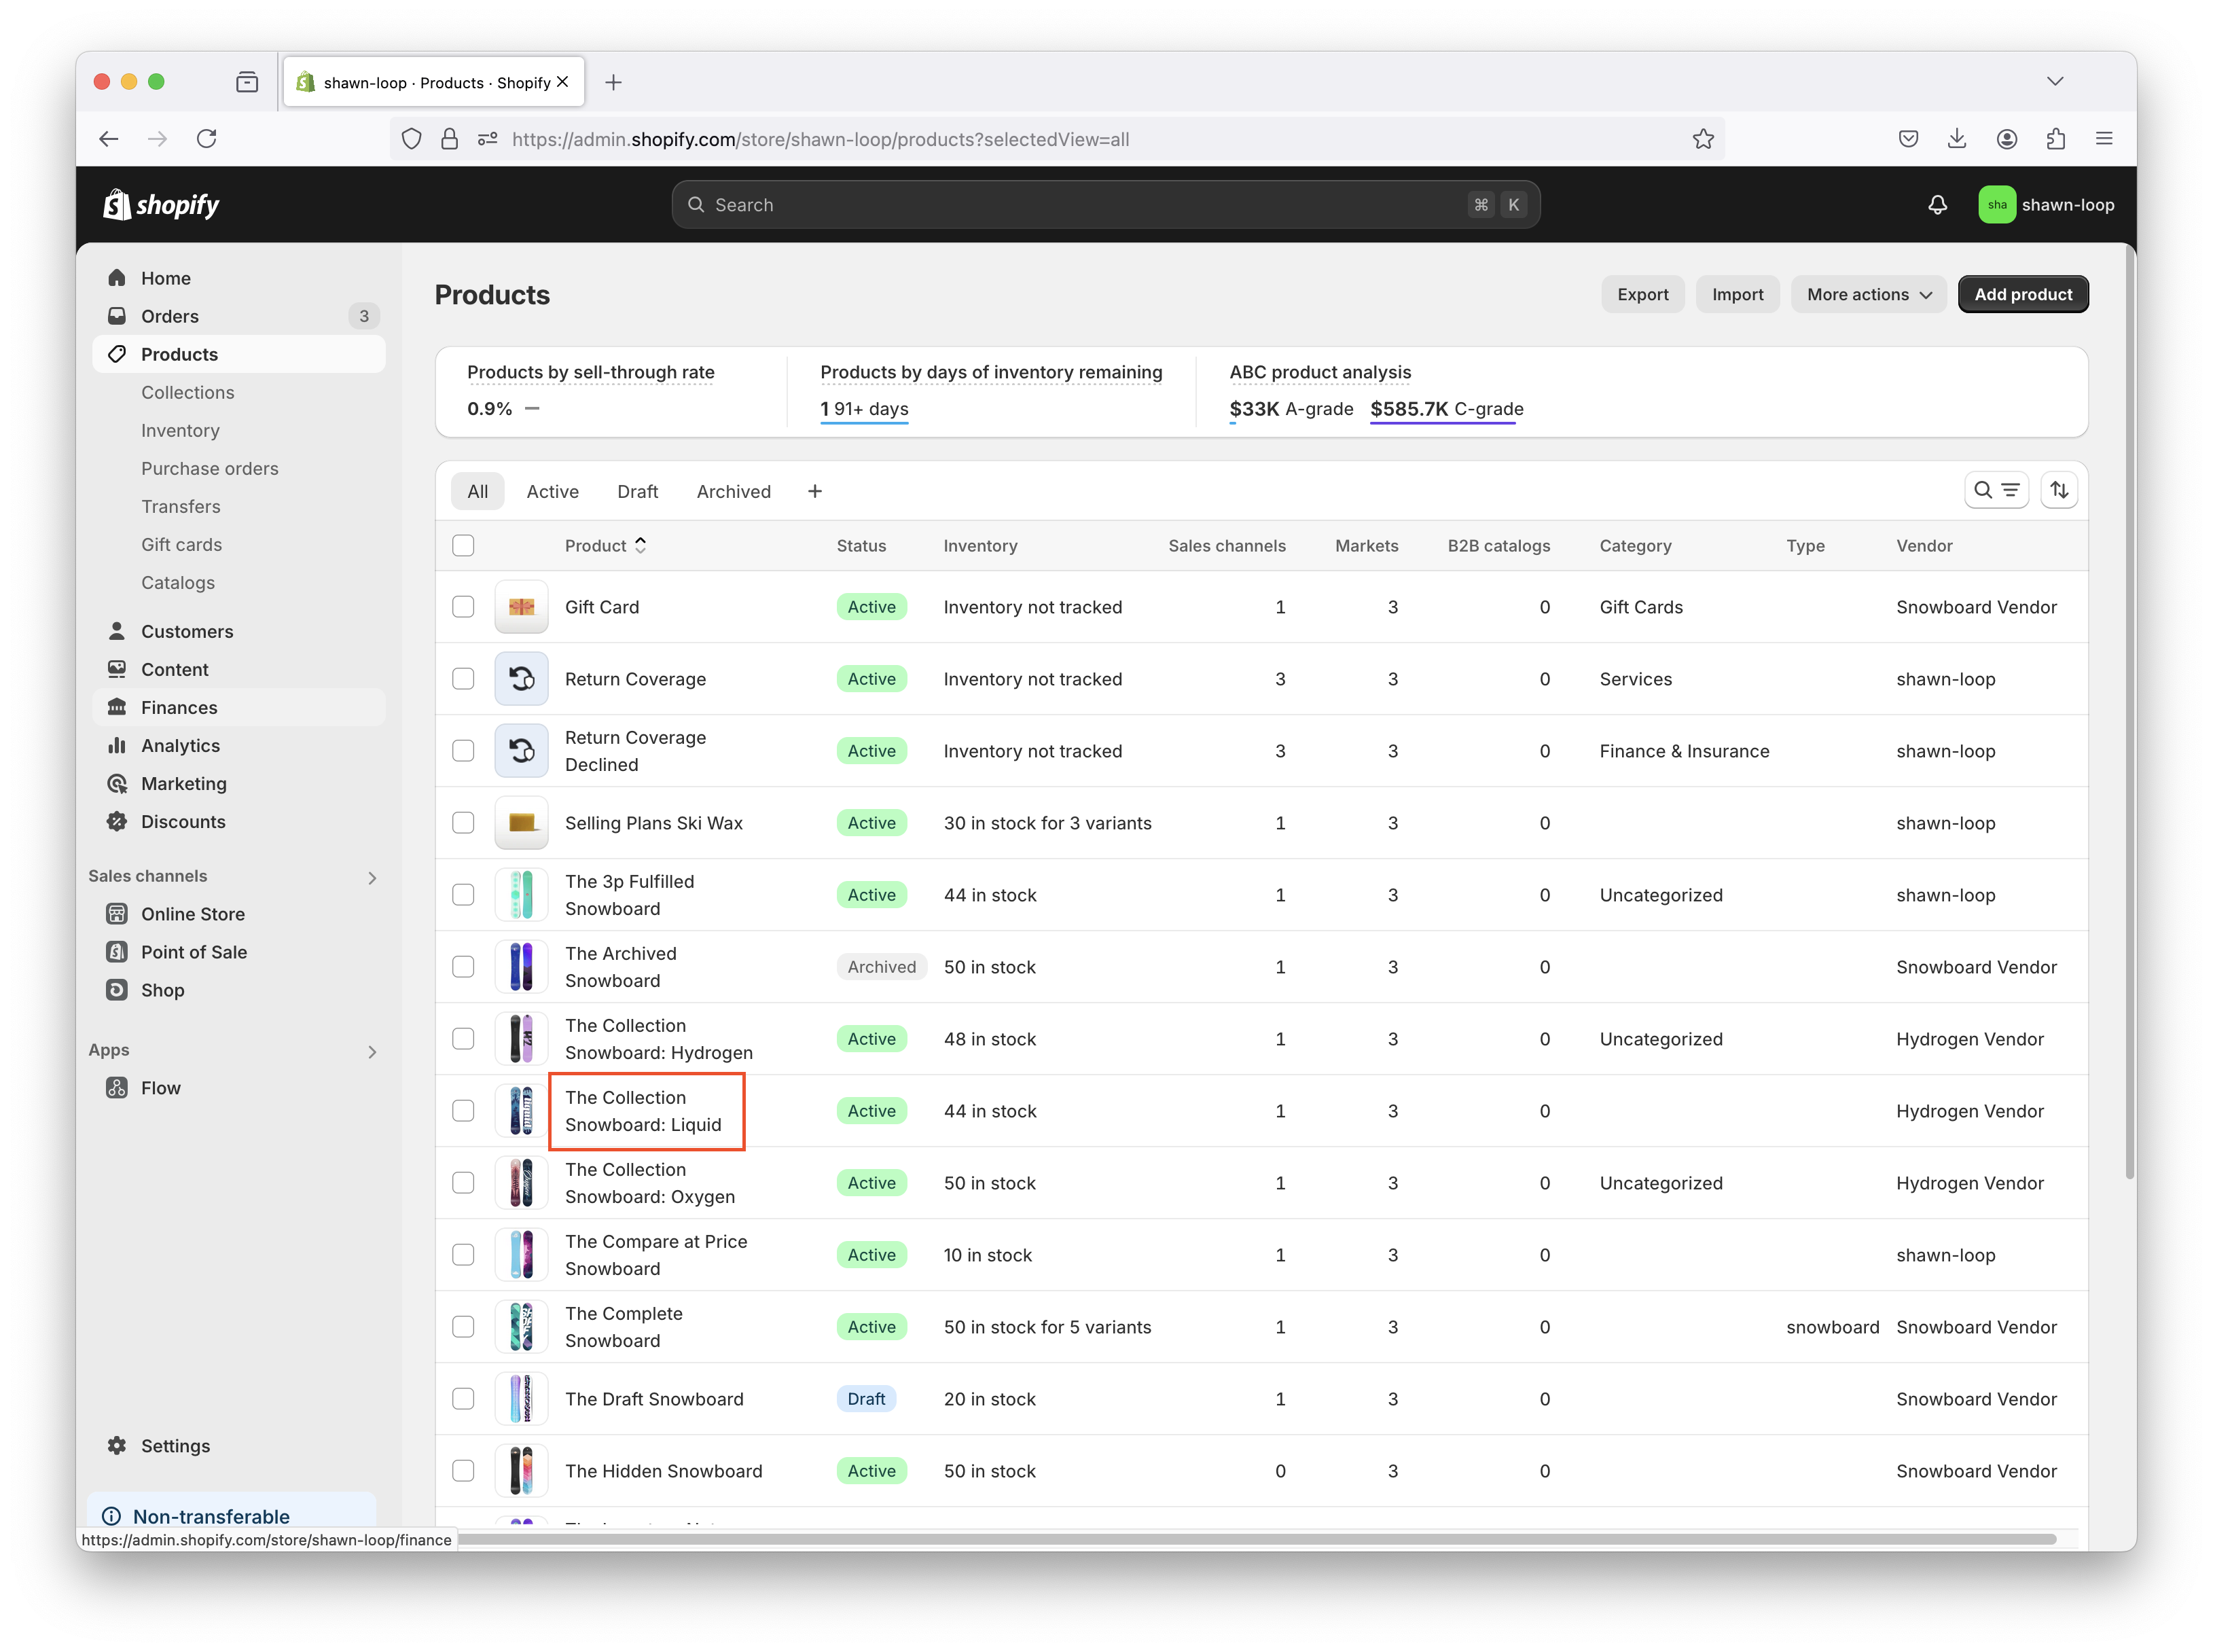
On the product's index page, select a product you'd like to exclude from offering Offset.
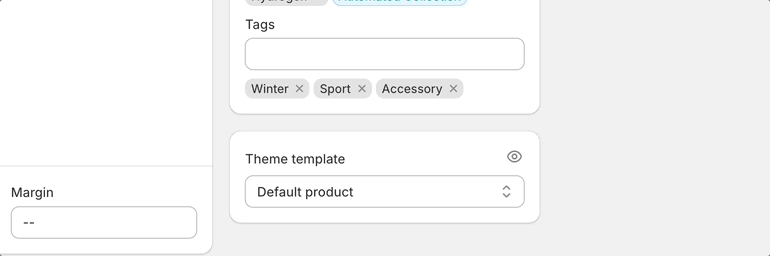
Find the Tags section in the far-right column.
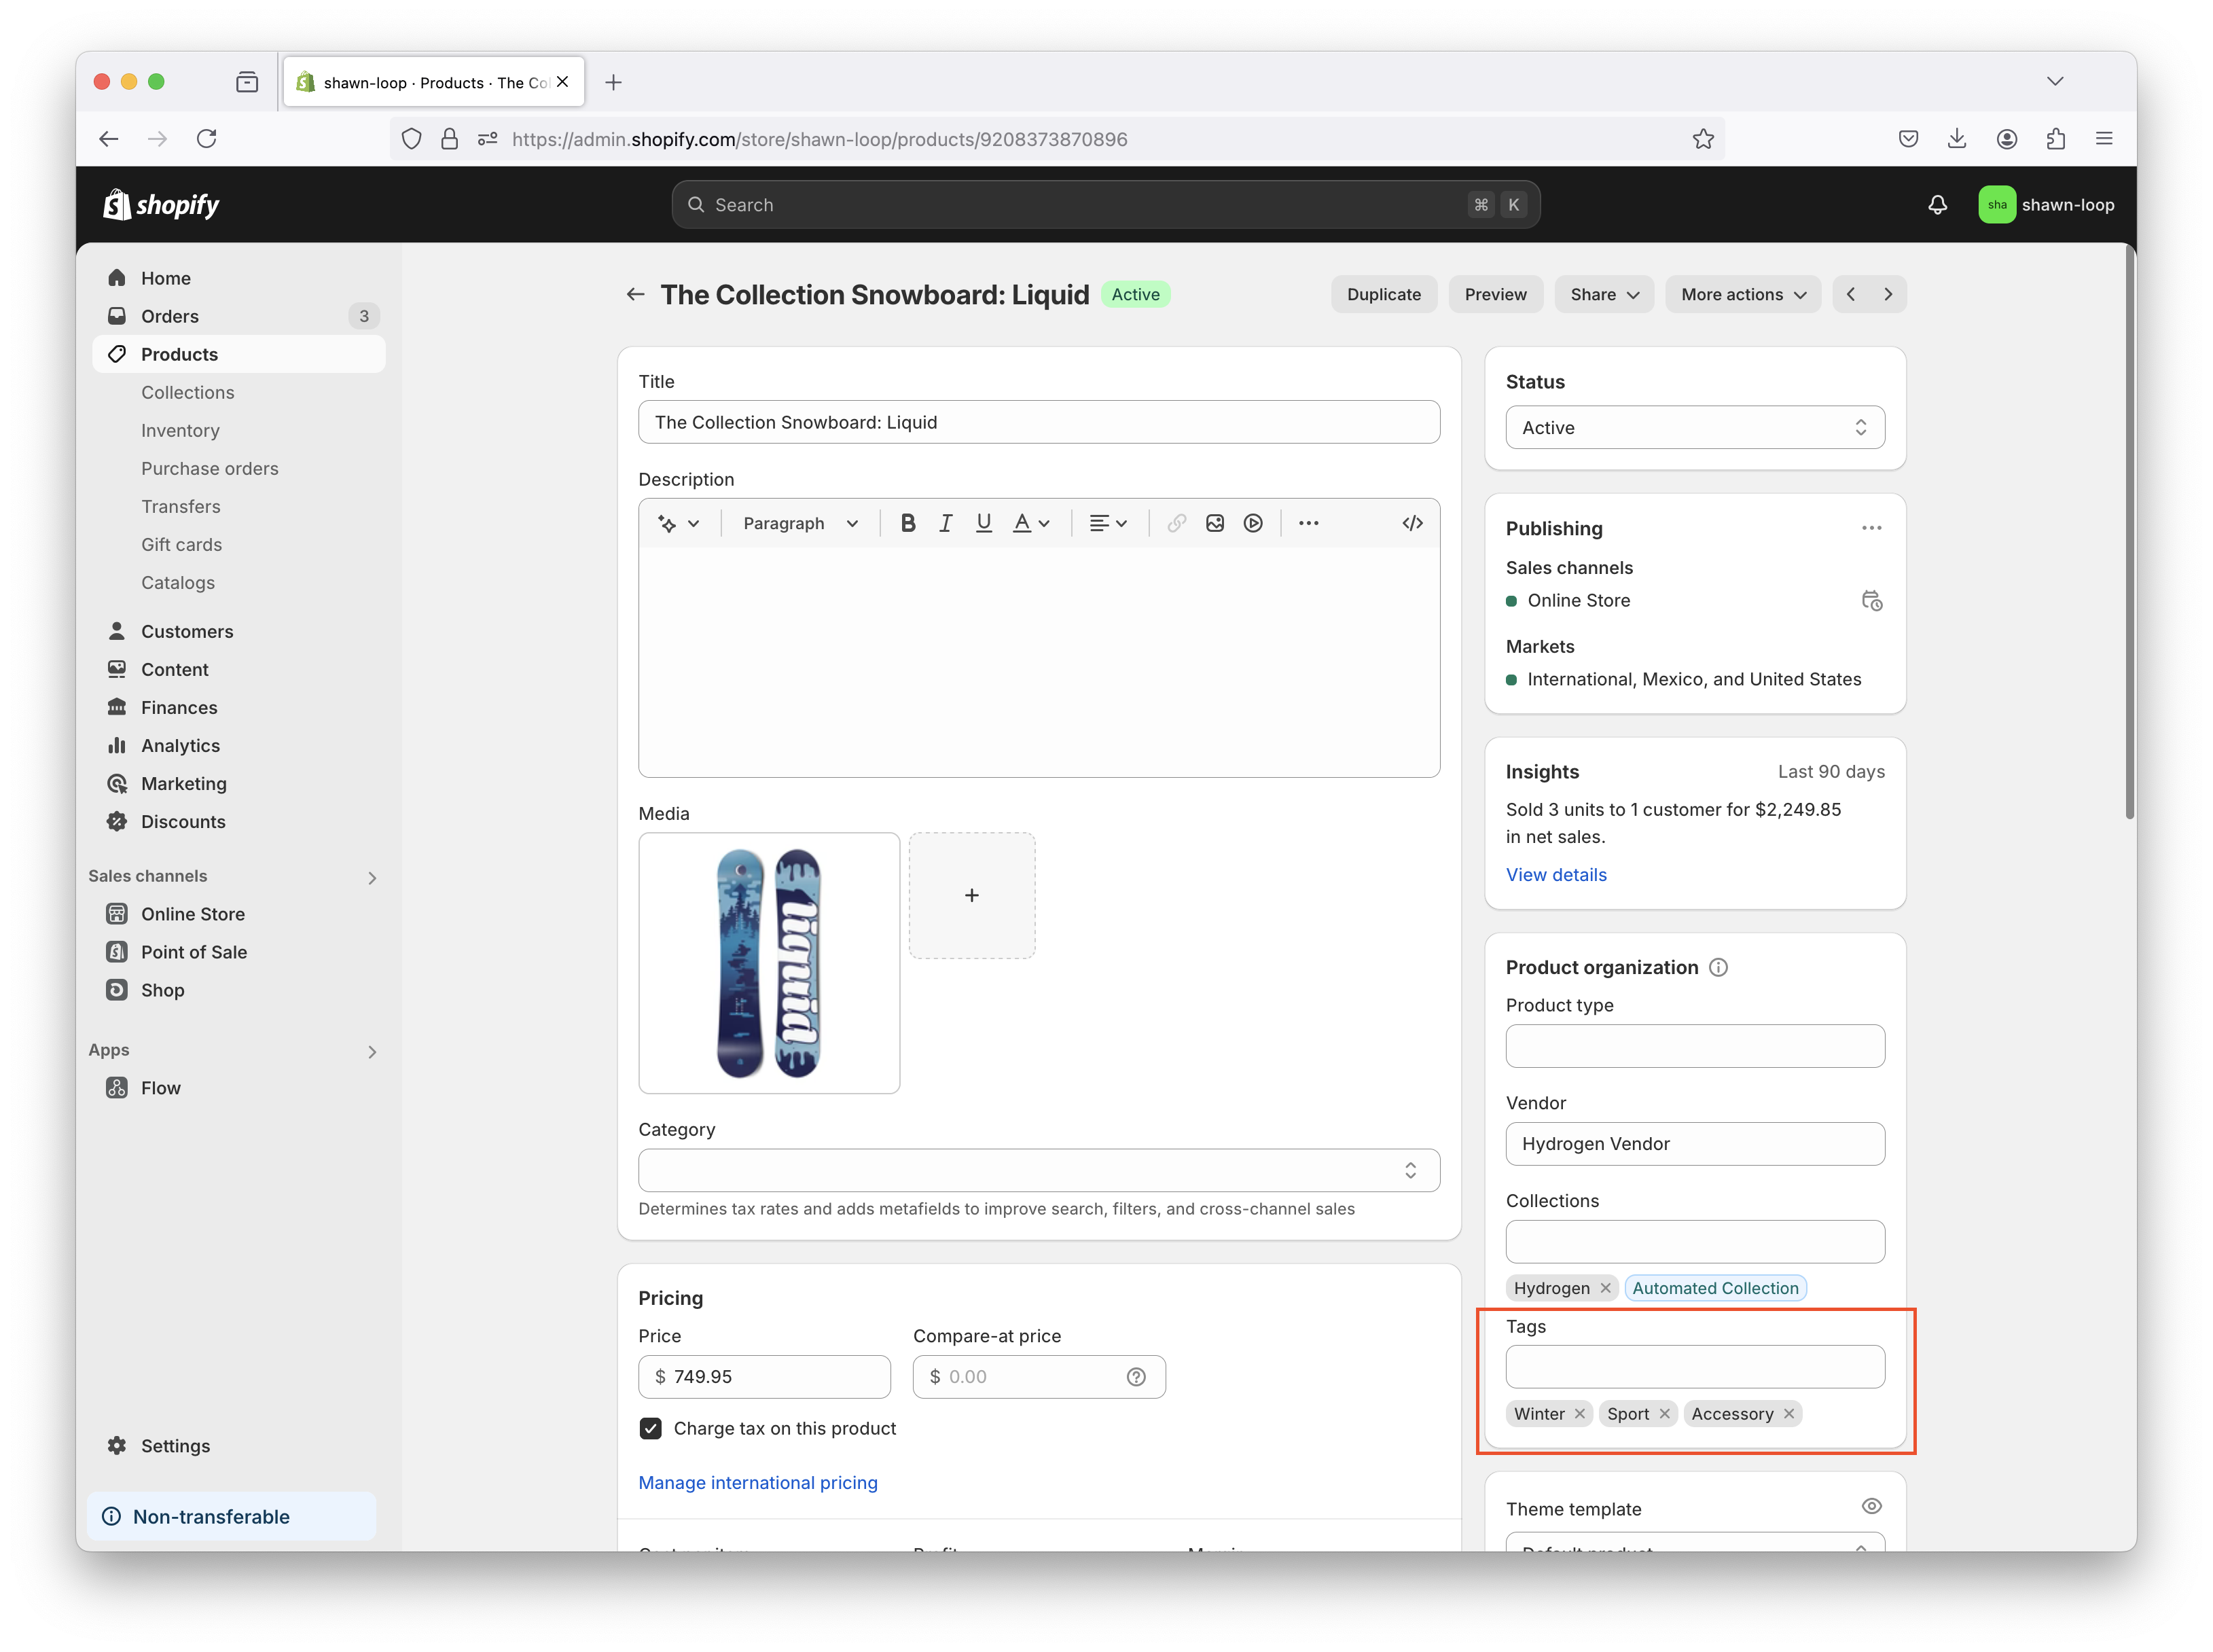
Enter the excluded tag you created from your loop admin panel.
Note: Tags are character and case-sensitive. Be sure to match the style of your tag precisely as it's entered in your loop admin panel to avoid any issues.
Confirm your excluded tag is set and save your changes.
Hiding Offset in your Shopify store
Shopify's 'closed-cart' system forces Offset to be added as an actual product in the merchant's store. However, merchants may not want Offset to show up under "All Products" on their storefront. This section reviews how to hide the Offset product from the storefront.
Note: Stores only need to hide the Offset product if they have a product collection that references all available store products. If there isn't an all-encompassing collection, and the store offers a variety of products with specific collections (for example, "Women's T-Shirts"), merchants don't need to hide the Offset product.
If the merchant currently has a navigable collection on its store that references all products in the store, please complete the following steps to hide Offset from the product listing:
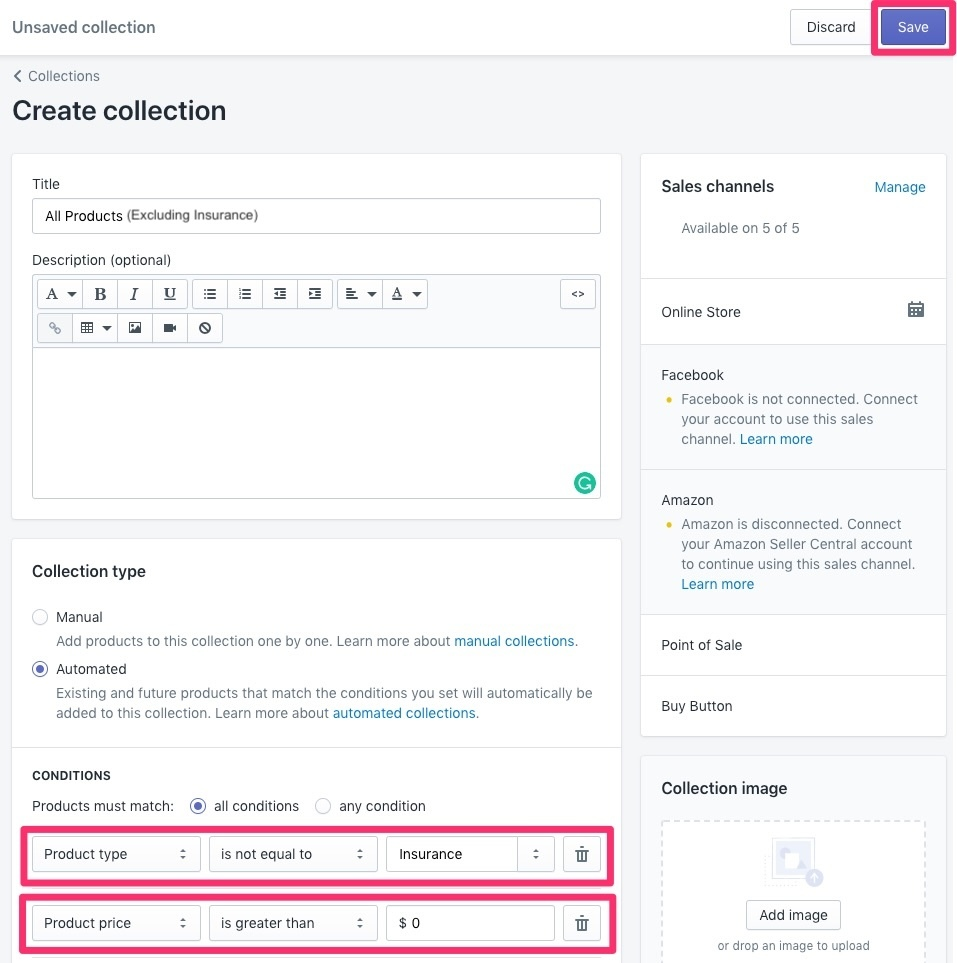
In Shopify, add a new collection that excludes Offset.
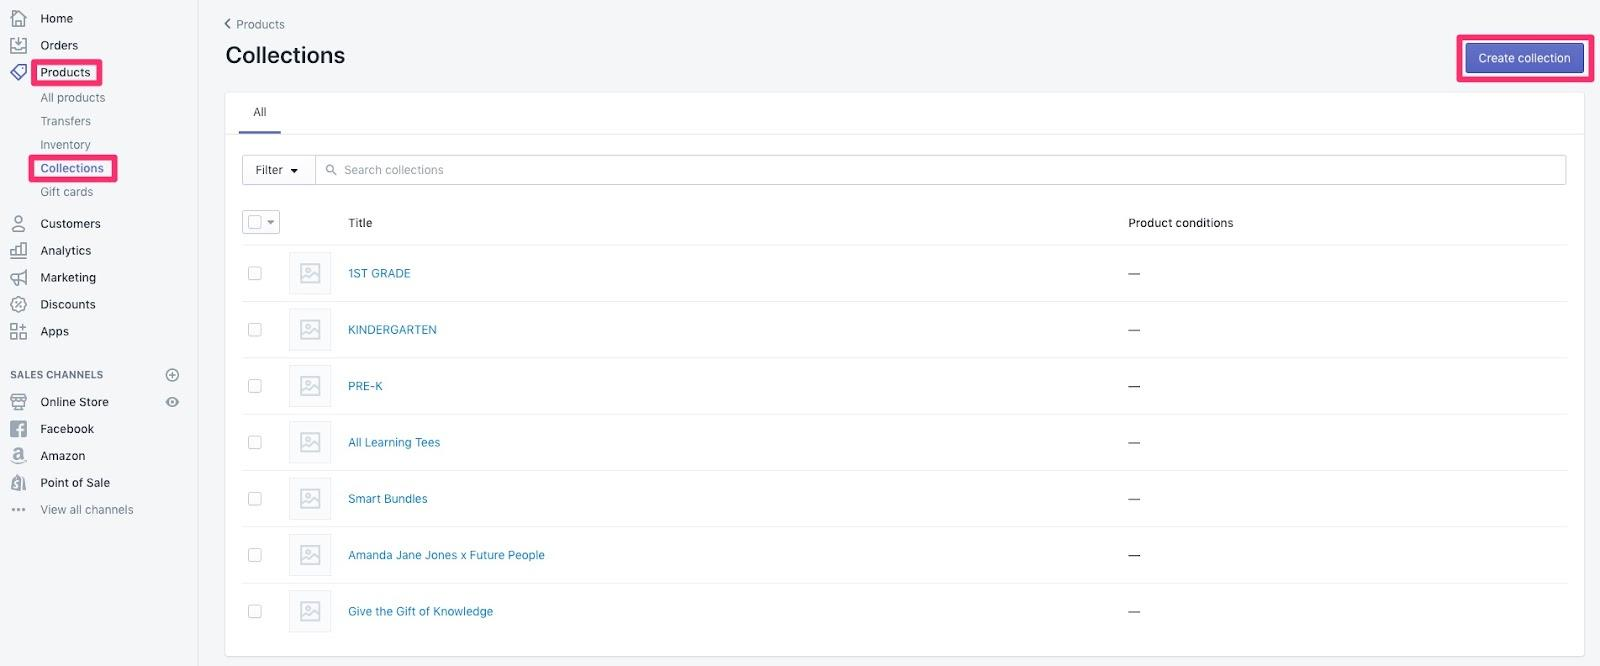
Set the collection conditions to reference All Products (excluding Offset), then click Save.
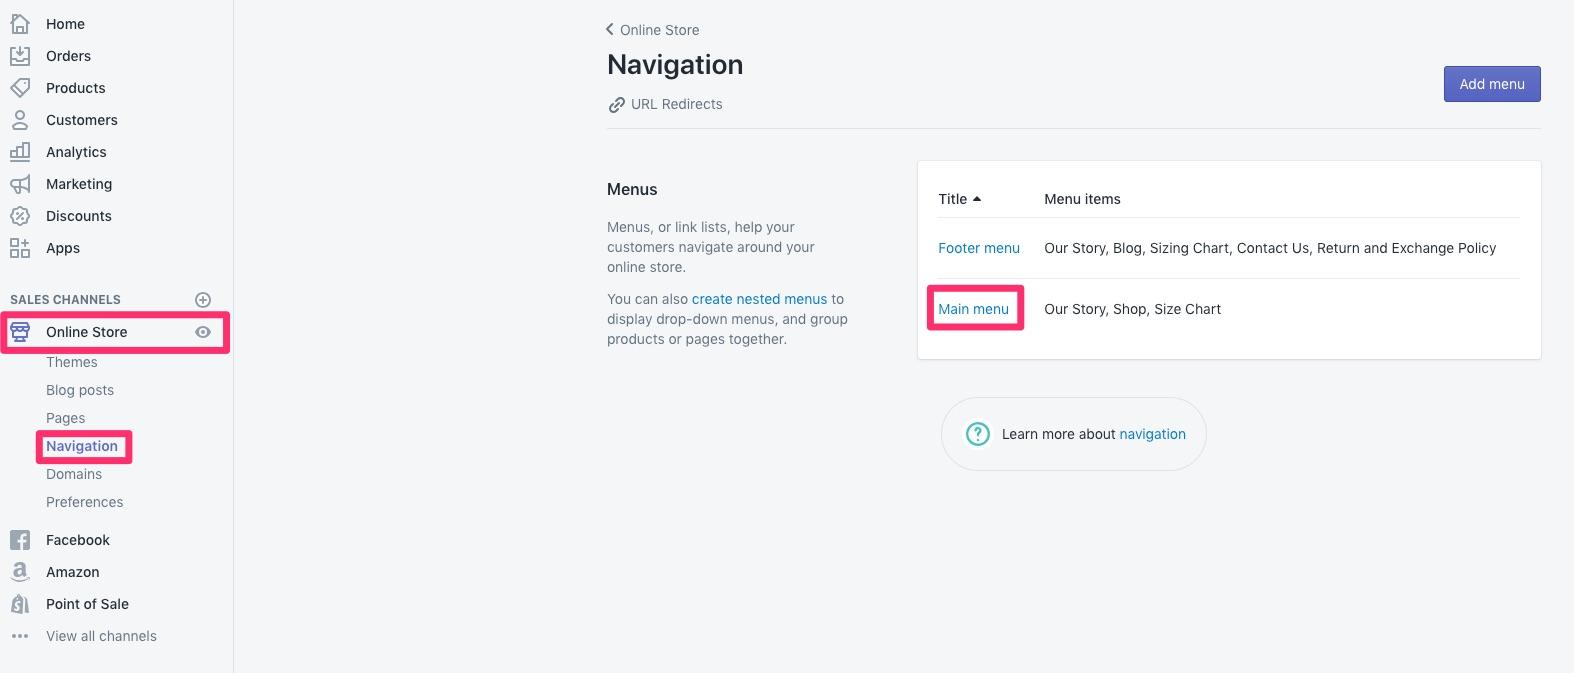
Change the main menu navigation to reference the new collection.
Select the Shop All navigation link.
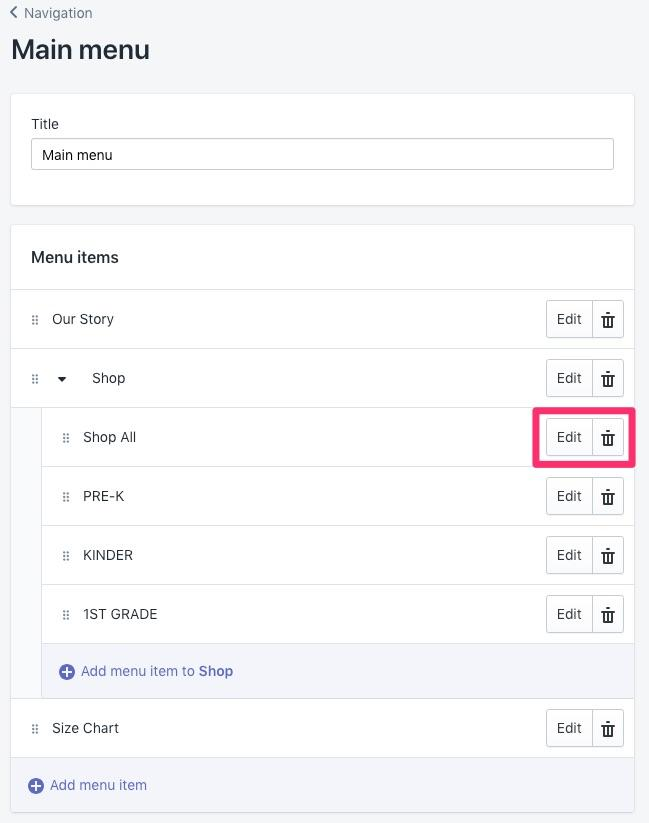
Remove the former collection reference.
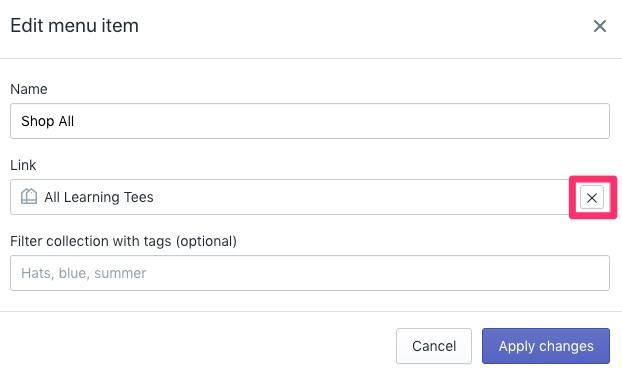
Select new collection All Products (Excluding Offset).
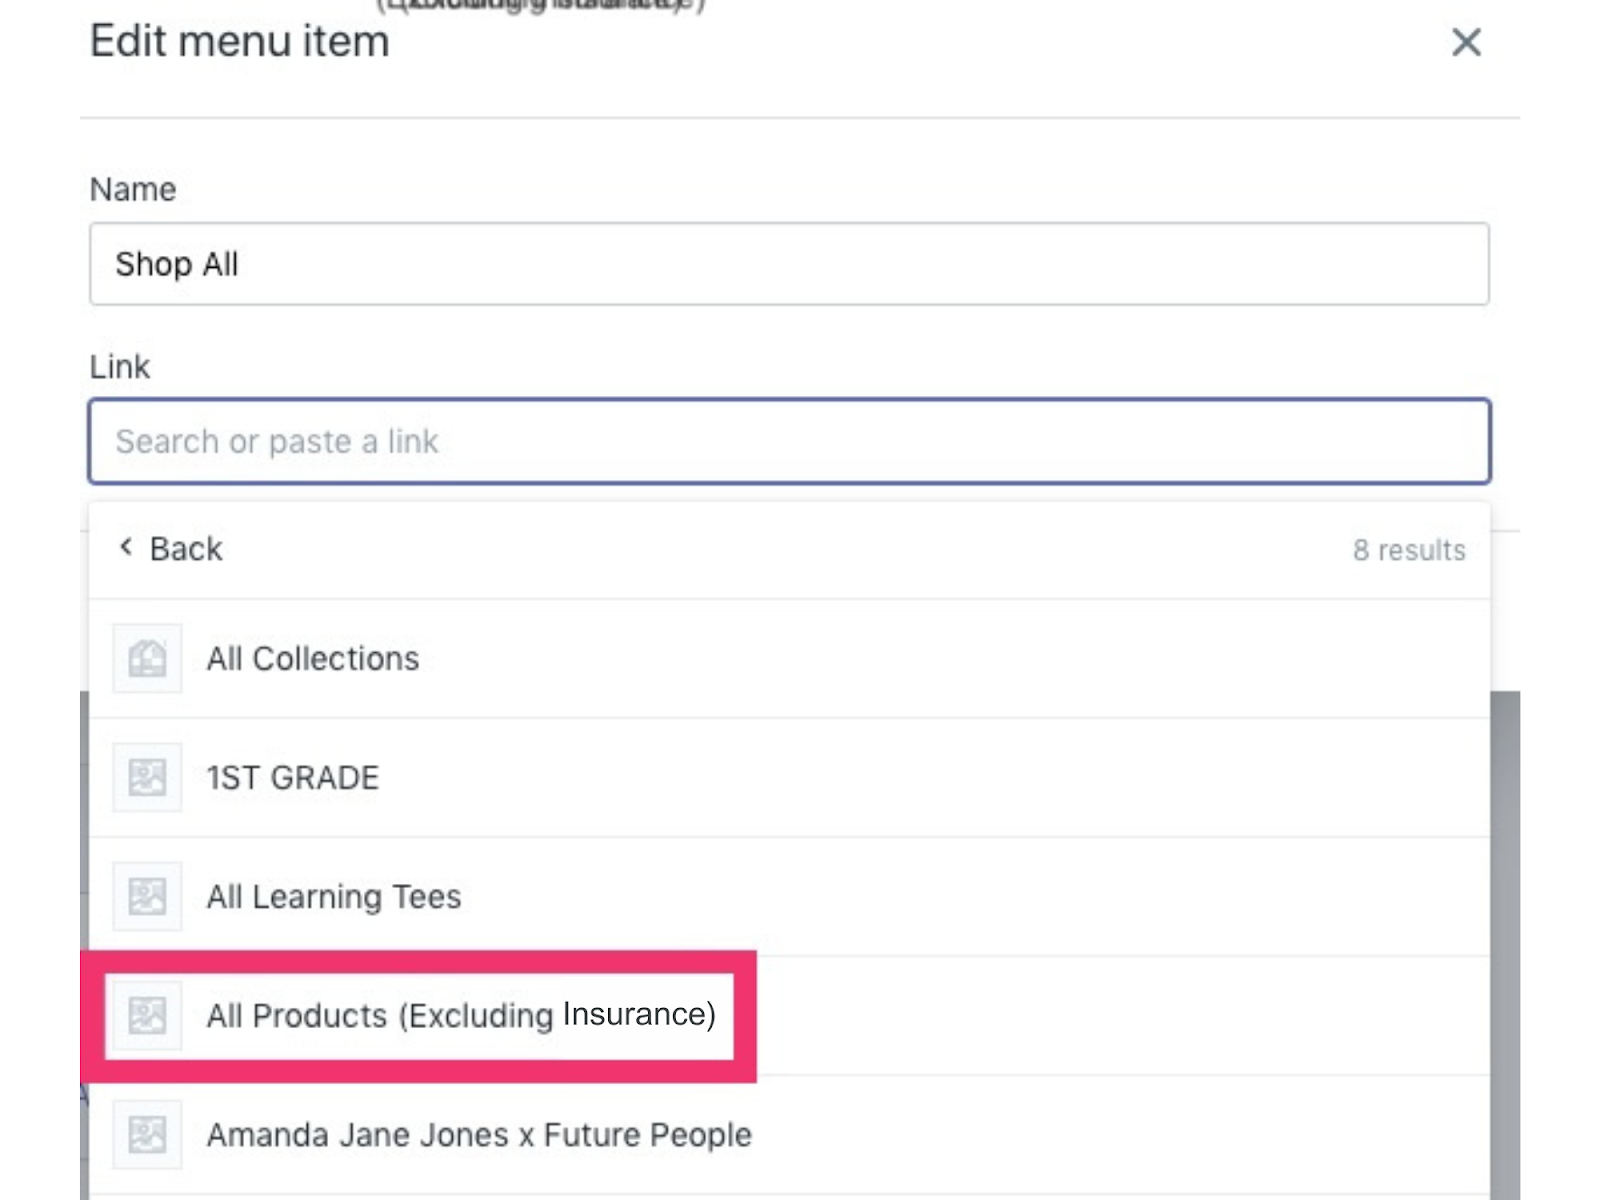
Click Apply changes.

Please reach out to support@loopreturns.com with additional questions.