
Packing Slips
OVERVIEW
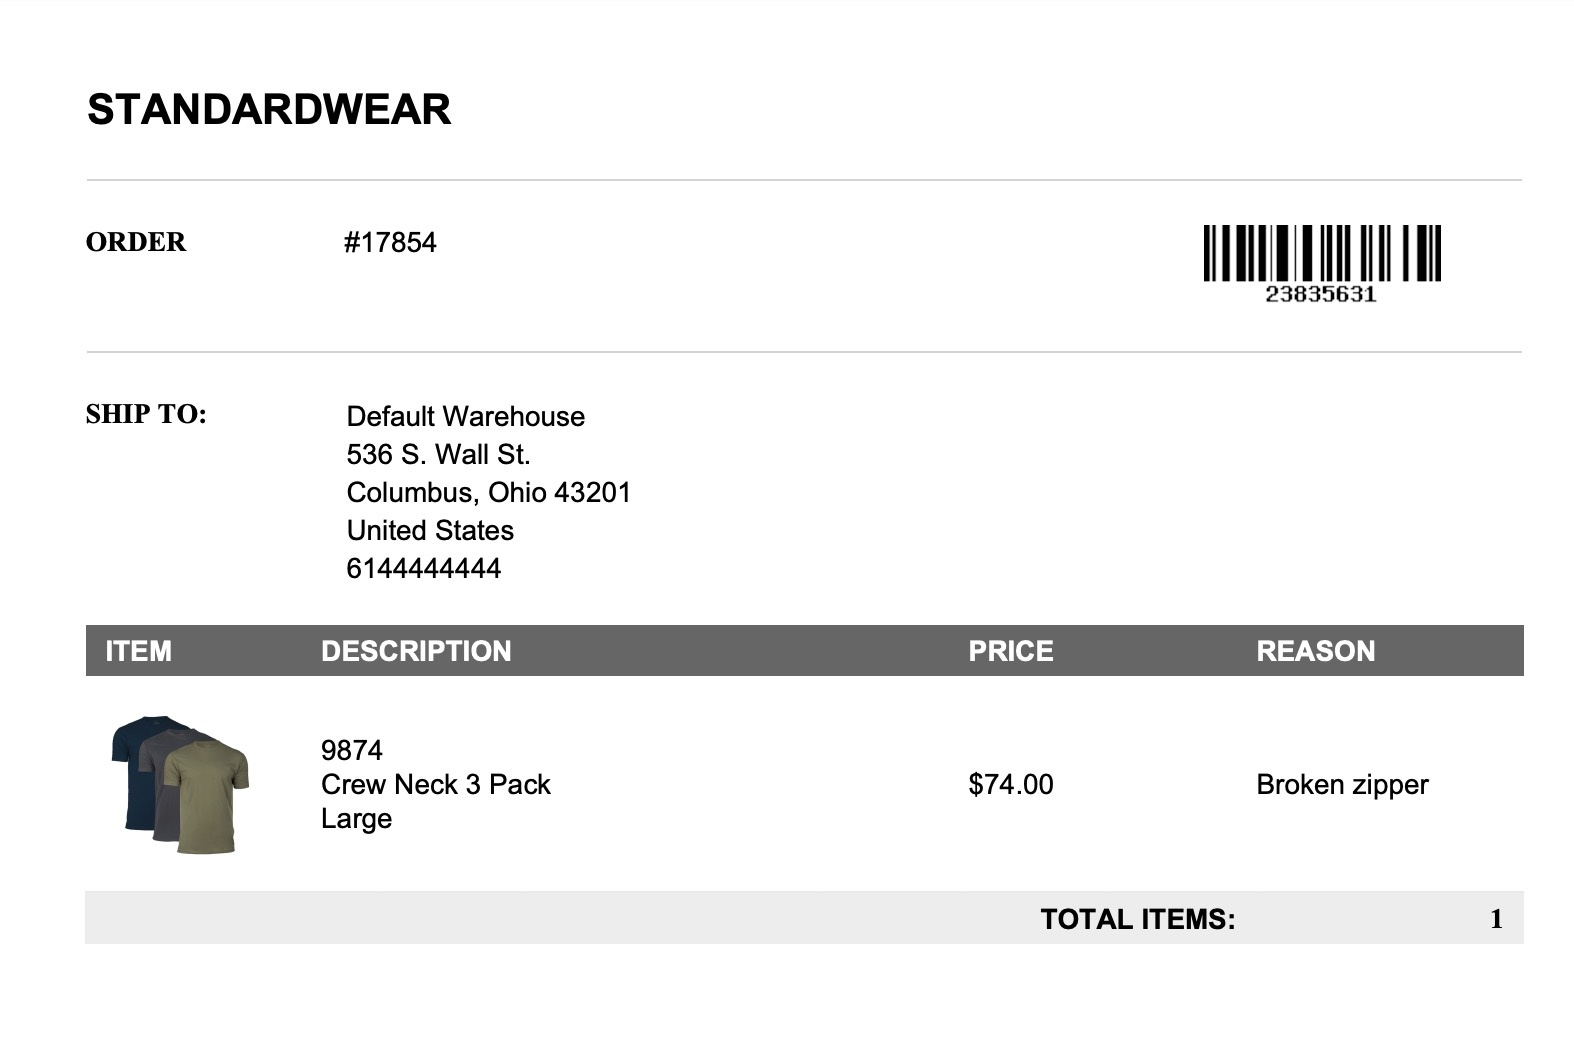
This article will guide you through the steps to enable packing slips, which provide improved warehouse efficiencies that include RMA numbers, product SKUs, and return reasons. It will also provide a video of the customer experience.
Use the menu on the left to quickly navigate this article
Setup video walkthrough
Enabling packing slips
In the Loop admin, go to Returns management > Policy settings > Return policies.
Click Edit for the policy having packing slips enabled.
In the "Policy Zone" section, toggle on Generate packing slips.
Select whether or not you would like a barcode on the slip.
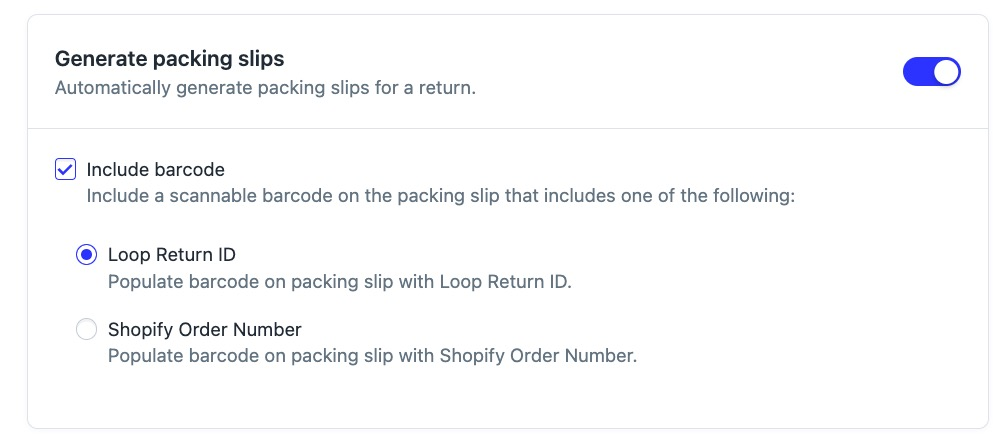
Click Save.
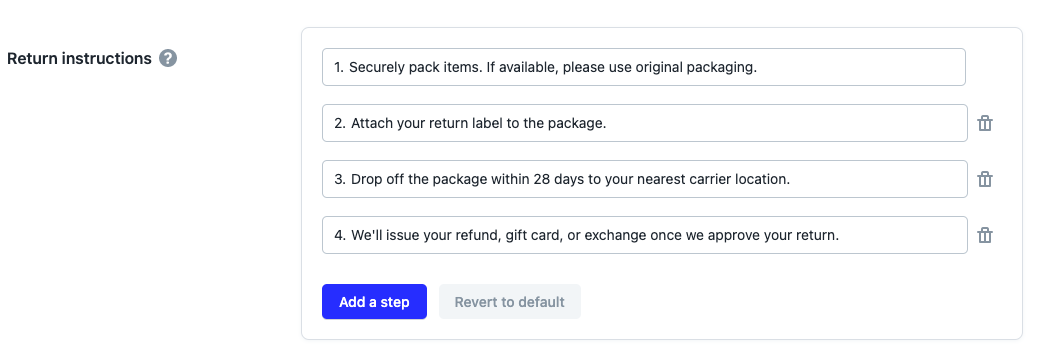
Note: Make sure to add step to the "Return instructions" section at the bottom of the page to tell customers to include packing slip in their return.
Customer experience
The customer will find the packing slip on the Return Status Page, included in the same PDF as their shipping label if the merchant is using EasyPost or Ship by Loop US Domestic. Once they click the button, a new window will open and a PDF of both the label and packing slip will be generated. If the customer doesn't print their slip right away, they can access the Return Status Page and the packing slip through the return confirmation email after submission.
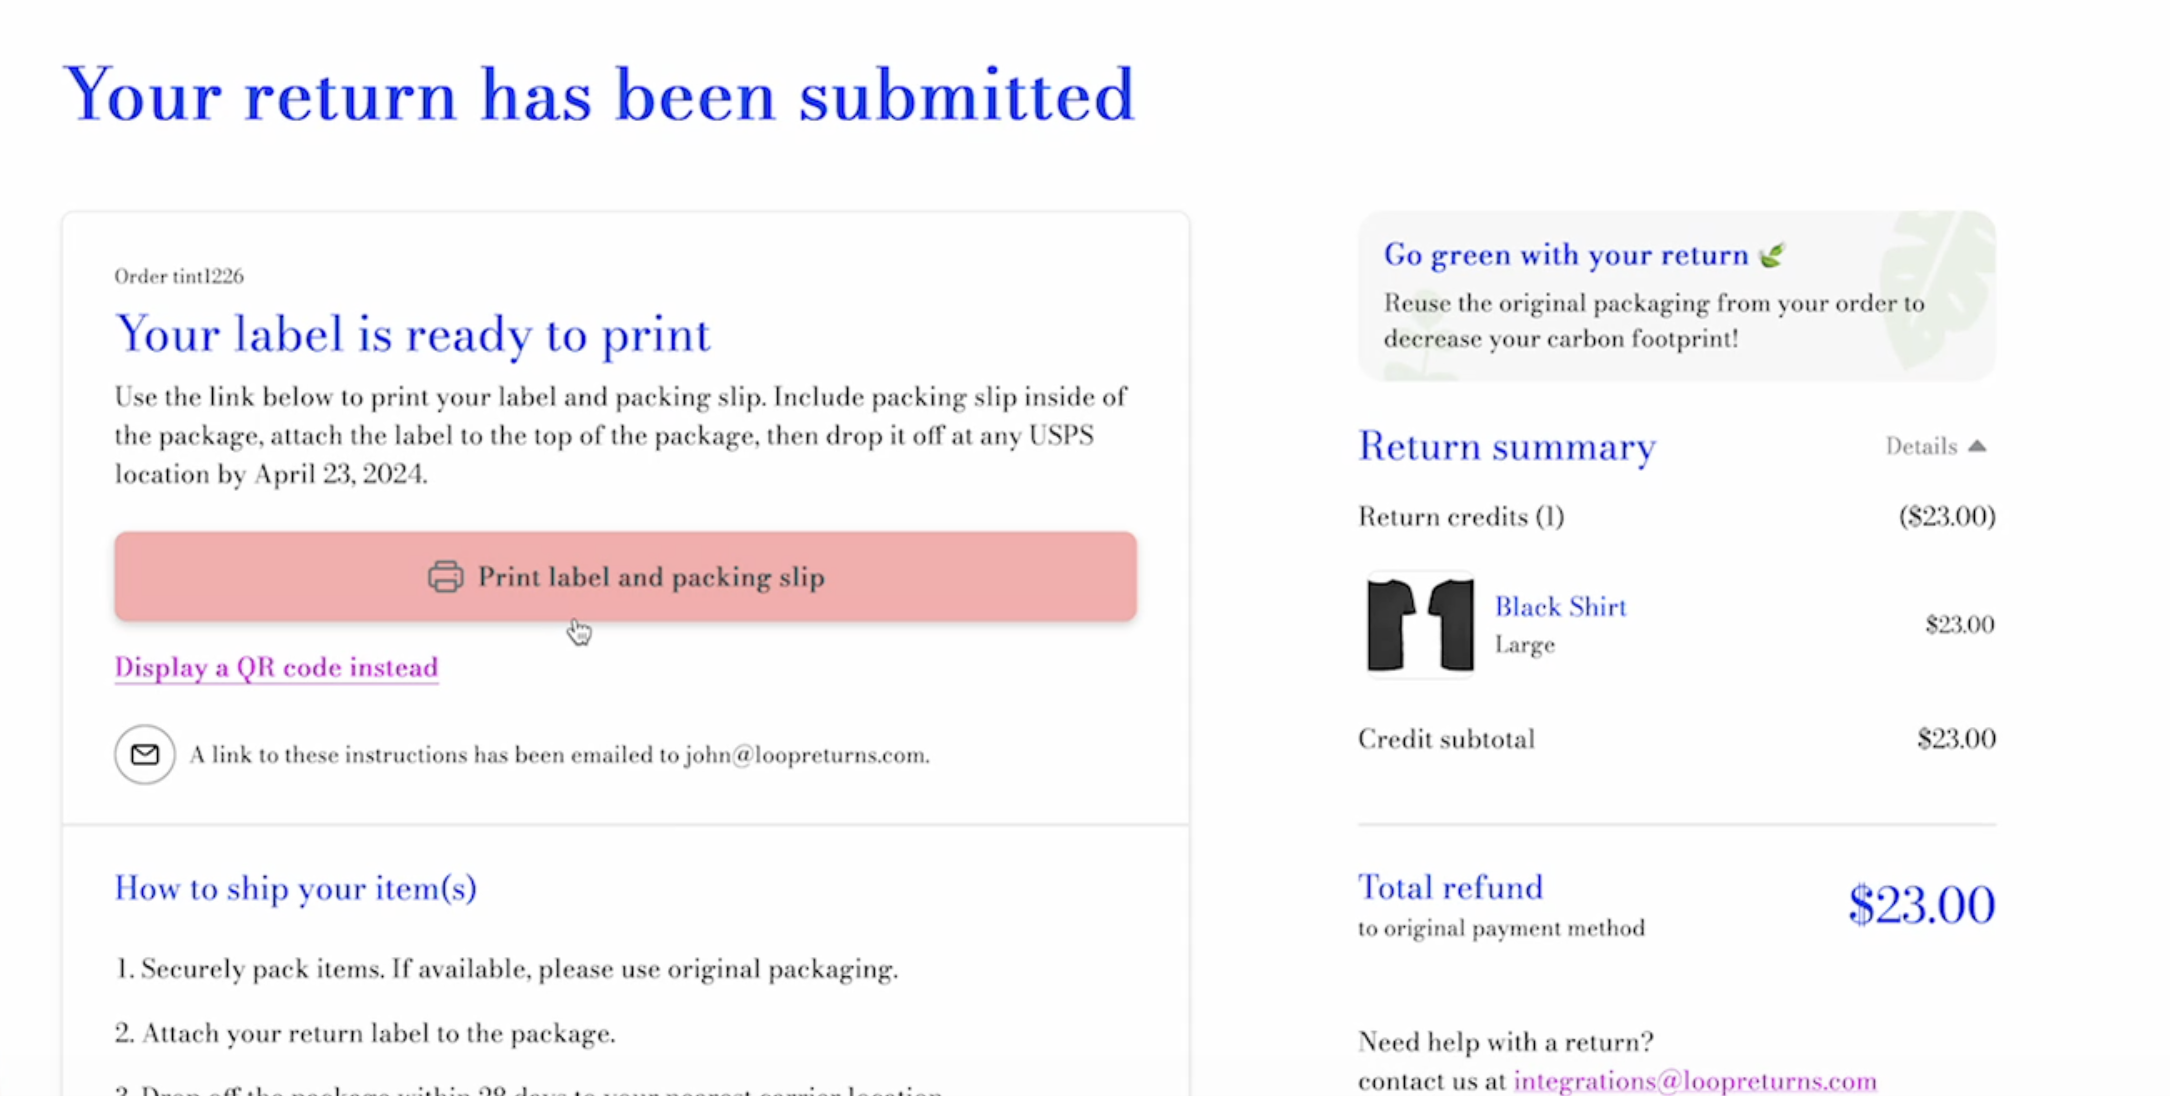
Note: The combined packing slip and label button is only available for merchants generating labels through EasyPost or Ship by Loop US Domestic. Other shipping services are not yet supported and the label and packing slip will generate separately.
FAQ
What Loop plans include packing slips? All Loop plans have access to generate packing slips
Can I customize the packing slip? Can it be branded? Merchants can customize the barcode on the packing slip to either include the Shopify Order ID or the Loop Return ID. Beyond that, no other customization options are available today.
Do I need to update the shipping instructions on the Return Status Page? Yes. We recommend that merchants include a new step in their shipping instructions that show up on the Return Status Page so customers aren’t missing this important step! You can customize your shipping instructions by navigating Policy settings > Return Polices > Return Instructions.
Please reach out to support@loopreturns.com with any additional questions.