EasyPost Labels
OVERVIEW
Loop integrates with EasyPost, a third-party service, to provide customers with automatically generated shipping labels. Once a merchant provides EasyPost with a list of carriers that they'd like to use, Loop shops available carriers and service types to offer the merchant the lowest possible shipping cost.
Setup walkthrough
Billing setup
Note: This section is only required for merchants using one of EasyPost's provided carrier accounts under the EasyPost Carrier Accounts tab.
When using one of EasyPost's Carrier Accounts, such as USPS, merchants will need to upload funds into their EasyPost wallets for those labels to bill from. Follow the below steps to add billing information and to initiate the first transfer of funds:
Begin the EasyPost sign-up process by clicking this Loop-specific link.
Important: Merchants must use this link rather than signing up at EasyPost's main site.
Click Account Settings and go to the Billing tab.
Connect a bank account to EasyPost by selecting Setup Wallet > Add a Bank Account.
Adding a bank account is the preferred primary payment method for US customers. Merchants who aren't based in the US and don't have a US bank account can use a credit card or wire transfer to add funds to their EasyPost wallet. We recommend merchants add a secondary payment method in case the primary payment method fails to charge.
Note: The initial bank account authorization and posting of funds to EasyPost can take up to seven business days.
Next, set up the Recharge Threshold and Recharge Amount so funds can be automatically loaded back into the EasyPost wallet when the wallet balance drops below the Recharge Threshold.
By default, the Recharge Amount is set $100 and the Recharge Threshold is set to $0.
Note: Automatic recharges can sometimes take a few days to post, so we recommend that the Recharge Threshold is set to to an amount high enough to leave additional funds in the account while the recharge is pending. This will ensure shipments don't get held up for insufficient funds.
Important: EasyPost's DHL Express carrier does not support domestic US shipments—this carrier account only supports international shipments with the from_address in the US. EasyPost's FedEx and UPS DAP carriers support both domestic US shipments and international shipments with the from_address in the US.
Add carrier accounts
USPS
The Loop-specific link to sign up for EasyPost automatically grants access to EasyPost's USPS account that is enrolled with Loop-specific negotiated rates. No additional setup is needed to access these rates.
For merchants using their own USPS accounts with negotiated rates, we recommend reviewing our rates to compare. To use a different negotiated rate account, delete the USPS account under the EasyPost Carrier Accounts tab and add the desired USPS account under the My Carrier Accounts tab.
Other carriers
In EasyPost, navigate to Account Settings and select the Carriers tab.
Select the Add Carrier button and use the search field to find a carrier.
Input the required account credentials to connect the carrier to EasyPost.
Repeat the above steps as necessary with any additional carrier accounts.
Note: Merchants not using one of EasyPost's carrier accounts will be billed directly from their own carrier as normal.
Supported carriers
Loop generates labels for the following carriers:
AustraliaPost - eParcel only
CanadaPost
DHL eCommerce
DHL Express
DHL Global Mail
FedEx
FedEx Smart Post
Interlink Express
Passport Shipping - Please reach out to your Merchant Success Manager to learn more
Purolator
Royal Mail OBA - Tracked Returns 48
Note: There is 2-5 day delay for connecting Royal Mail via Easy Post
UPS (UPS WorldShip or CampusShip accounts are not supported)
UPS EU
USPS
USPS Returns
Note: This is not an all-encompassing list of carrier support. If you do not see your carrier account on this list, please reach out to support@loopreturns.com or your Merchant Success Manager to confirm if your carrier is supported.
Loop admin setup
In EasyPost, navigate to Account Settings and select the API Keys tab.
Copy the Production API Key.
Navigate to the Loop admin and go to Returns management > Shipping.
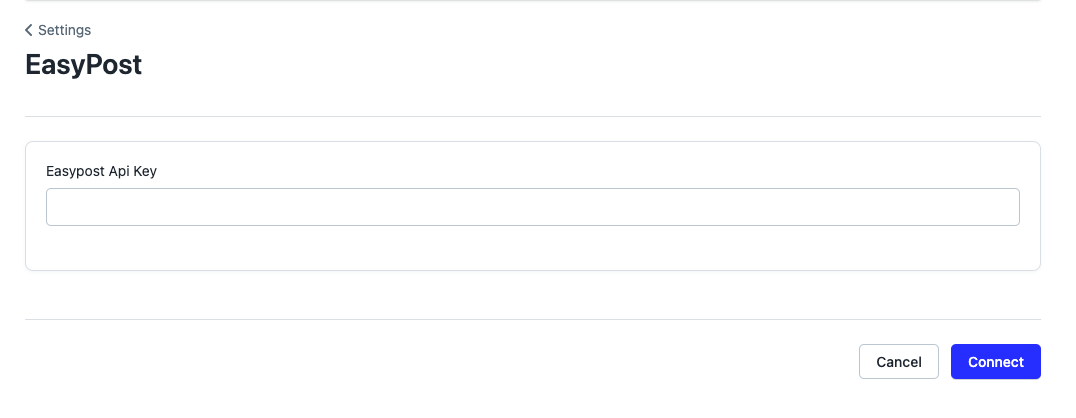
Select Connect Shipping Service, and then click the Connect button next to EasyPost.
Paste the EasyPost Production API Key into the EasyPost API Key field on the page.
Click Connect. After connecting EasyPost to Loop, all of the available carrier accounts will show in the Shipping tab.
Note: If you need a specific service type enabled for your carrier account(s), please reach out to support@loopreturns.com or your Merchant Success Manager.
Next, go to the Return Policy tab and follow the steps in the Enable Carrier Accounts by Return Policy article to enable carriers as needed.
Note: Merchants can enable carrier accounts to apply globally across return policies (by not selecting any of the carriers as Preferred) or associate a specific carrier account with a return policy.
Customize carrier service types
Shipping carriers often provide many service levels based on cost, timing, delivery speed, and more. Loop allows merchants to customize these levels for their chosen EasyPost carriers through the "customizable carrier service types" feature. To find examples of these levels, visit EasyPost's site, where merchants can review the service levels and parcels for all of EasyPost's supported carriers.
If wanting to customize the service types for a carrier, please complete the setup below:
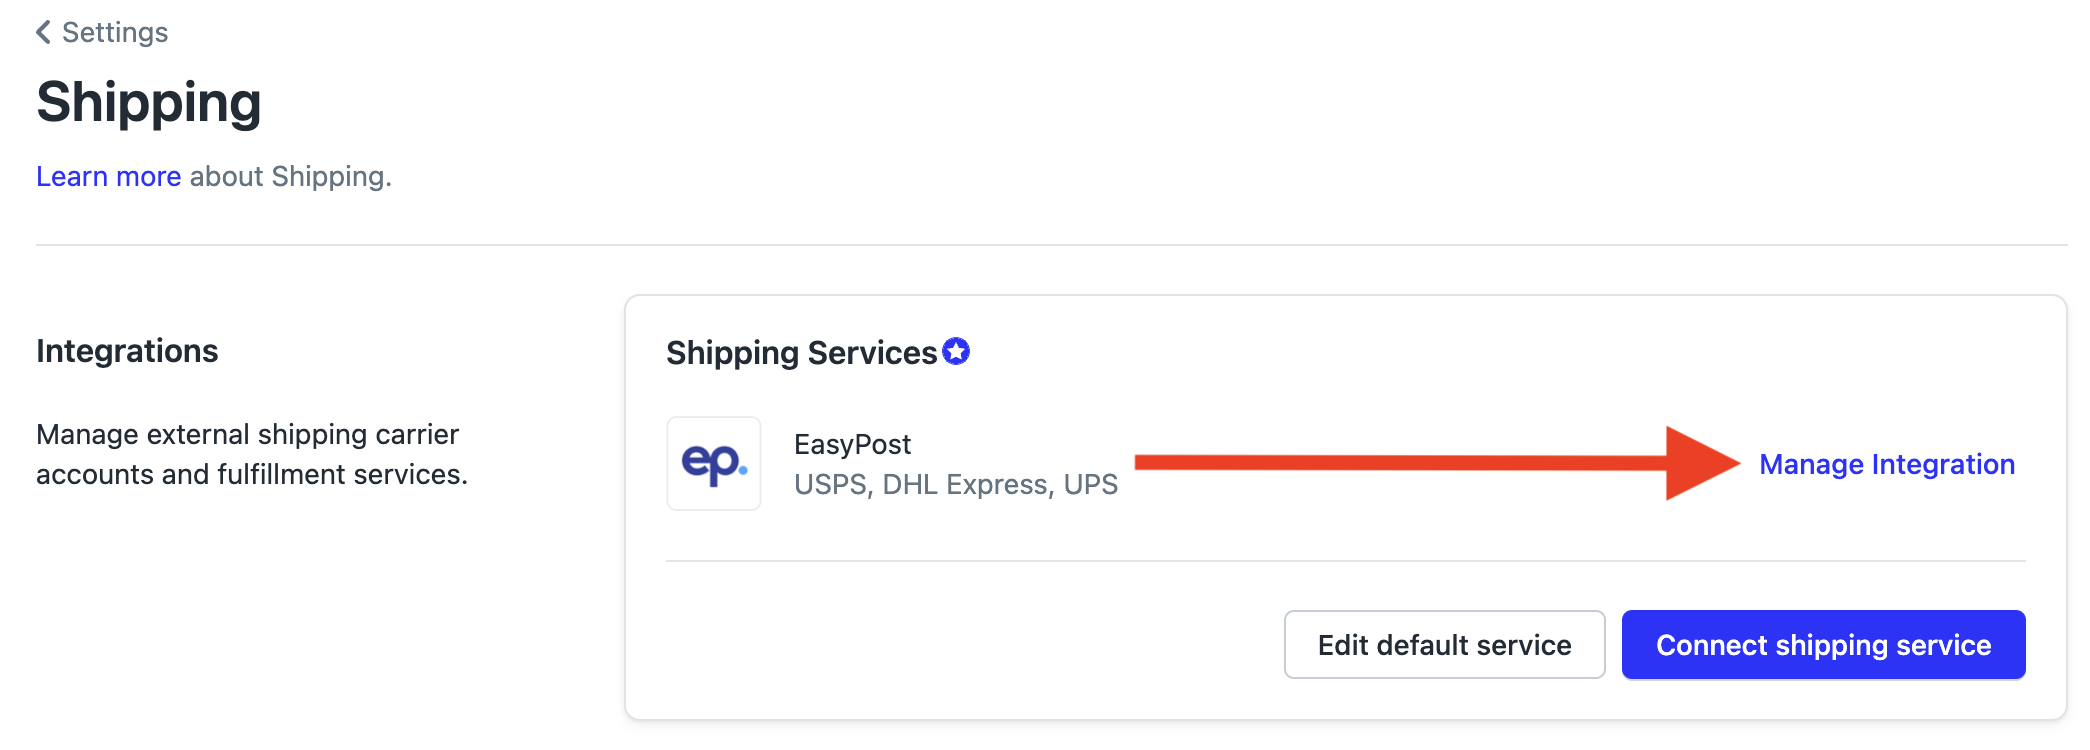
In the Loop admin, go to Returns management > Shipping > Shipping services.
Under Shipping Services, click Manage integration for EasyPost.
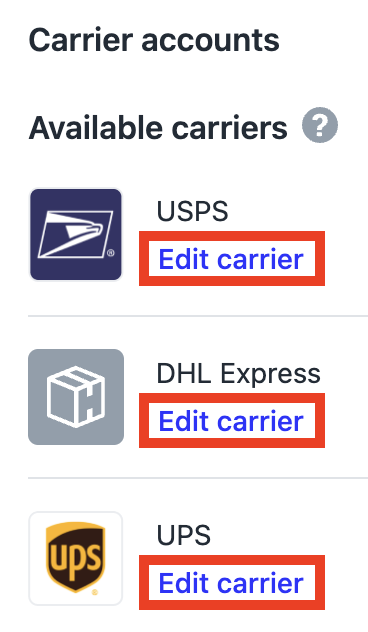
Click Edit carrier for the relevant available carrier.
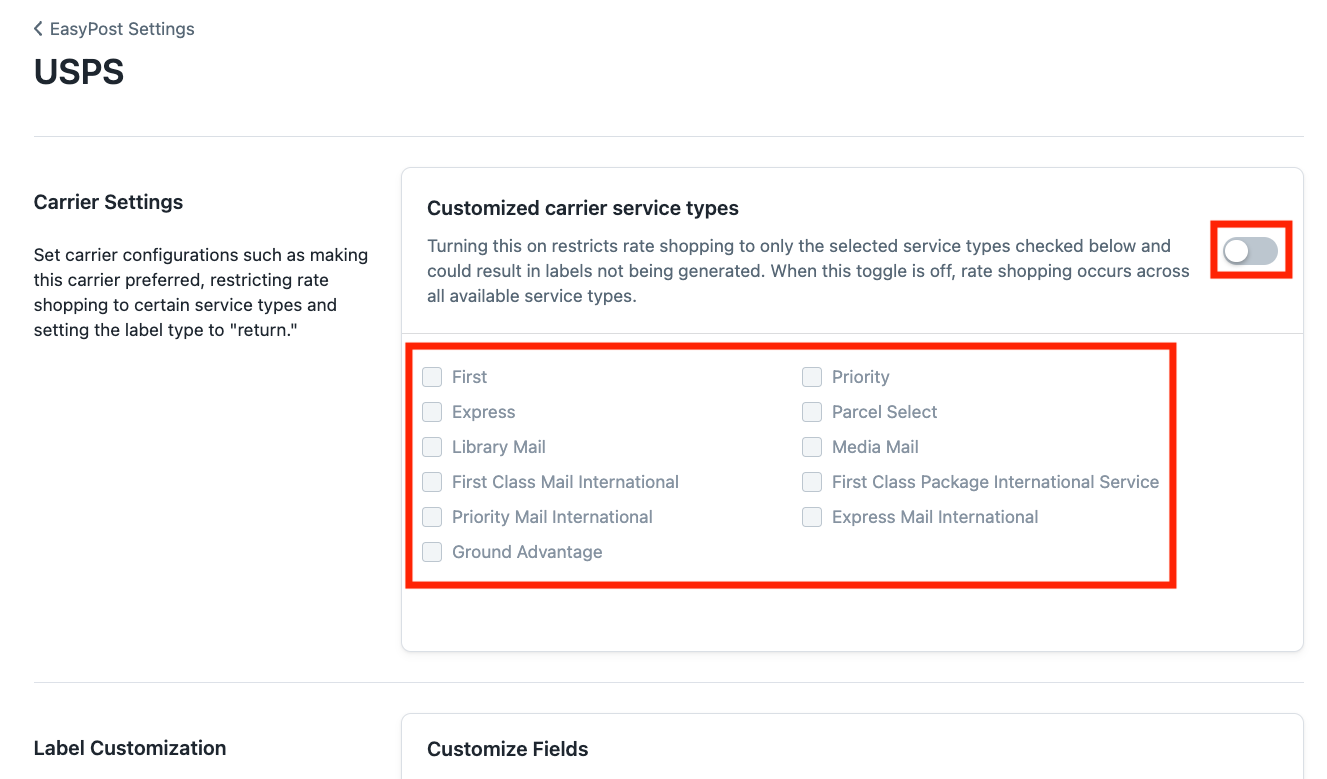
Click the toggle button, then select one or many service types as needed.
Important:
If a merchant selects one or many of these service types, Loop will restrict rate shopping only for the service types selected. If no service types are selected, Loop will rate shop across all service types.
If you don't see a Carrier Settings section or carrier service types on this page, please contact your Onboarding Specialist or support@loopreturns.com to double-check the shop's back-end settings for customized carrier service types.
Click Save at the top of the screen.
For more EasyPost questions and answers, please check out Loop's EasyPost FAQs.
Please reach out to support@loopreturns.com with any additional questions.


