
Carrier Accounts by Return Policy
OVERVIEW
This article explains how to manage carrier account assignments in Loop, both globally and at the return policy level. It covers two setup approaches: enabling carriers across all return policies at once, or attaching specific carrier accounts to individual return policies for greater control over shipping rates and expense tracking. This flexibility is particularly useful for merchants who use different carriers or accounts for domestic versus international returns.
Use the menu on the left to quickly navigate this article
Why it matters
Specific carrier accounts can be associated with return policies based on location and other criteria.
For merchants using EasyPost, there are two options for enabling carrier accounts in the Loop admin to create return labels with. Traditionally, carrier accounts enabled in the Shipping tab have been applied globally across Return Policies. Now, merchants can attach a carrier to a return policy. This ensures that they get the best shipping rates with the appropriate carriers for each return location, which streamlines operations and accounting.
Here are some examples where this may be helpful:
A merchant may have different accounts for the same carrier which they use at different times to keep track of expenses, so they need to be able to specify which account to use at the return policy level.
A merchant may want to use a specific carrier (or service type) for international returns and another carrier for domestic.
Enable carrier accounts globally
To set up globally-enabled carrier accounts:
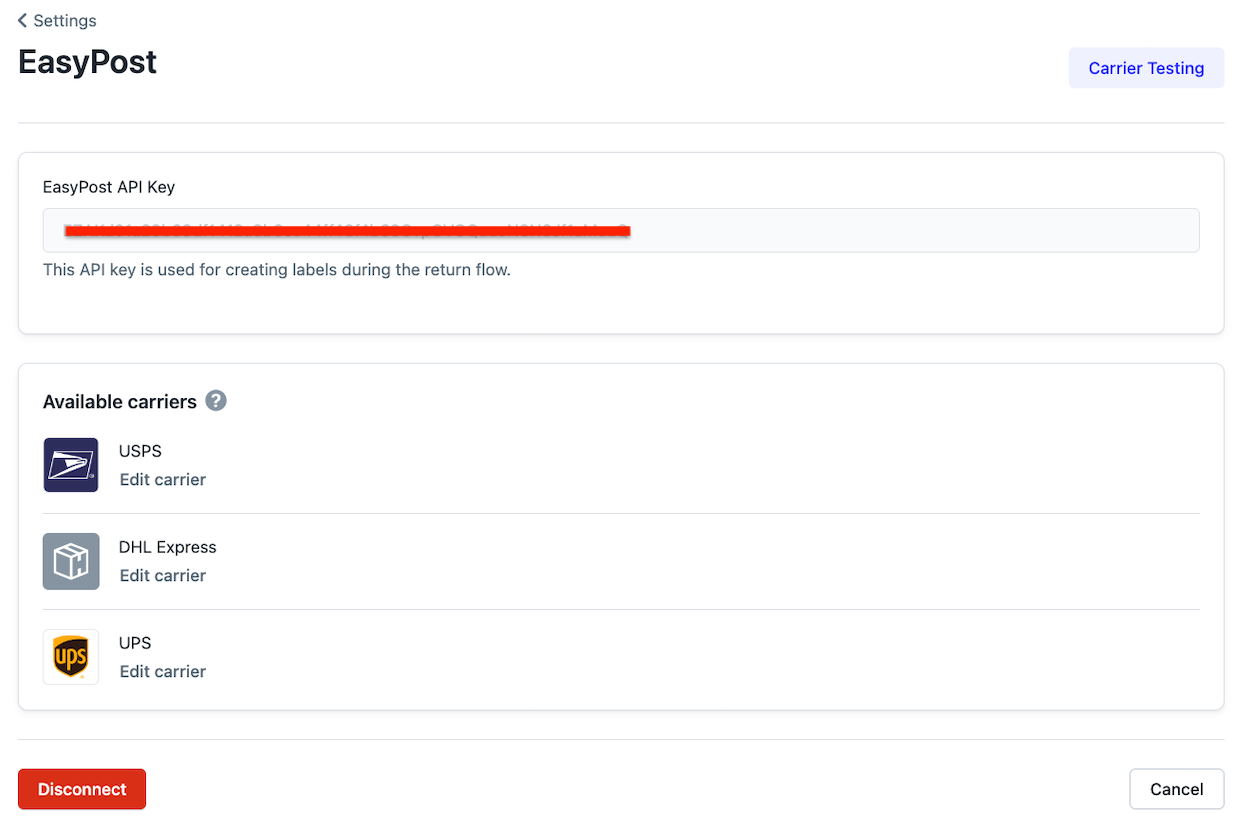
Review the EasyPost Shipping Labels or Ship by Loop (SBL) articles to configure carrier accounts.
Go to the Loop admin > Returns management > Shipping.
Select Manage Integration next to EasyPost or SBL to review and enable all the carriers available for return shipping labels. Click Save if making any changes.
Go to Policy settings > Return Policies and click Edit for the Return Policy to generate labels for.
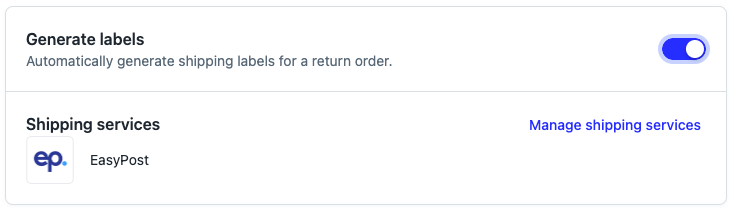
Select the Generate labels toggle to turn it on, then select EasyPost or SBL under Shipping Services.
Click Save.
Now, EasyPost will shop rates across all of the carriers connected to EasyPost for the customers covered by this Return Policy!
Please review the section below to specify which carriers should be used for certain return policies.
Enable carrier accounts by return policy
To set up return policy-enabled carrier accounts:
First, review the EasyPost Shipping Labels or SBL articles to ensure carrier accounts have been configured as needed within your shipping service.
Go to Loop admin > Returns management > Return policies.
Click Edit for the return policy needing label generation.
Click on the Generate Labels toggle, then click Manage shipping services for the EasyPost Shipping Services option.
Note: There should be a list of all the merchant's available carrier accounts underneath EasyPost on this page. The above example is from a test account and does not have a list.
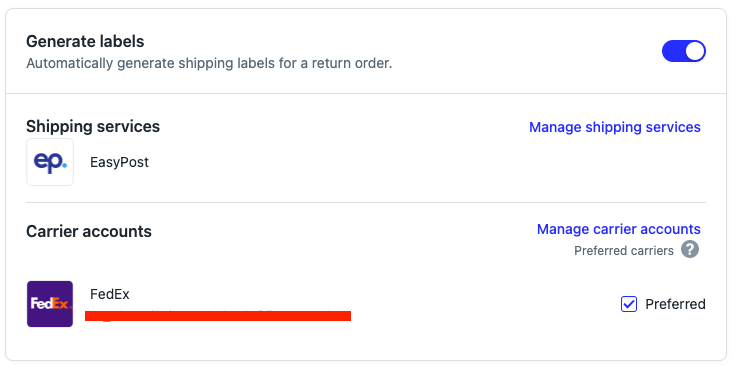
Click Manage Carrier Account.
Select the carrier account(s) the merchant wants to activate for this specific return policy. Leave all other carrier accounts unchecked.
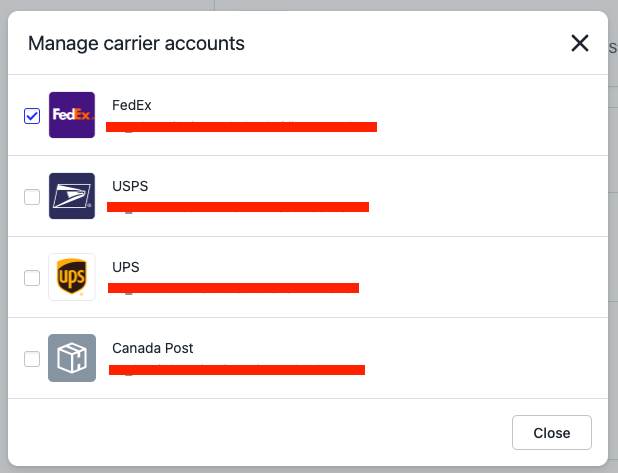
Note: If the merchant checks multiple accounts, EasyPost will use rate shopping.
Click Save after making any changes.
FAQ
Does this work with other shipping services? No, this only works with EasyPost.
What if one of my accounts is not showing up? In the Loop admin, navigate to Settings > Shipping and this should refresh your accounts. Make sure you are using EasyPost and the correct carriers are enabled in your Shipping tab.
I have other questions about setting up my carriers in EasyPost, where can I find more information? Please review the EasyPost Shipping Labels article for a helpful walkthrough video, as well as some important FAQ.
Please reach out to support@loopreturns.com with any additional questions.