
Shop Now: On-Store Optional Setup (Embedded)
OVERVIEW
This article covers optional customizations for merchants who want to further tailor their Shop Now On-Store experience. It explains how to modify the shopper experience by hiding conflicting elements like alternative payment methods and pop-ups, configure cart details for script discounts and line item customizations, preserve cart contents when shoppers navigate back to the store, customize the Shop Now redirect destination, and adjust the styling of the credit banner and checkout button.
Use the menu on the left to quickly navigate this article.
For initial integration instructions or a general On-Store overview, please refer to the original Shop Now: On-Store article.
Tip: Loop highly recommends having a developer or engineer present for these customizations.
Modify the shopper experience
Some functions typically available to shoppers may conflict with On-Store and the shoppers’ grasp of their return options. Loop suggests changing these functions in the store code to prevent confusion, simplify the checkout process, and clarify the On-Store journey while Loop runs.
Loop's recommended modifications include:
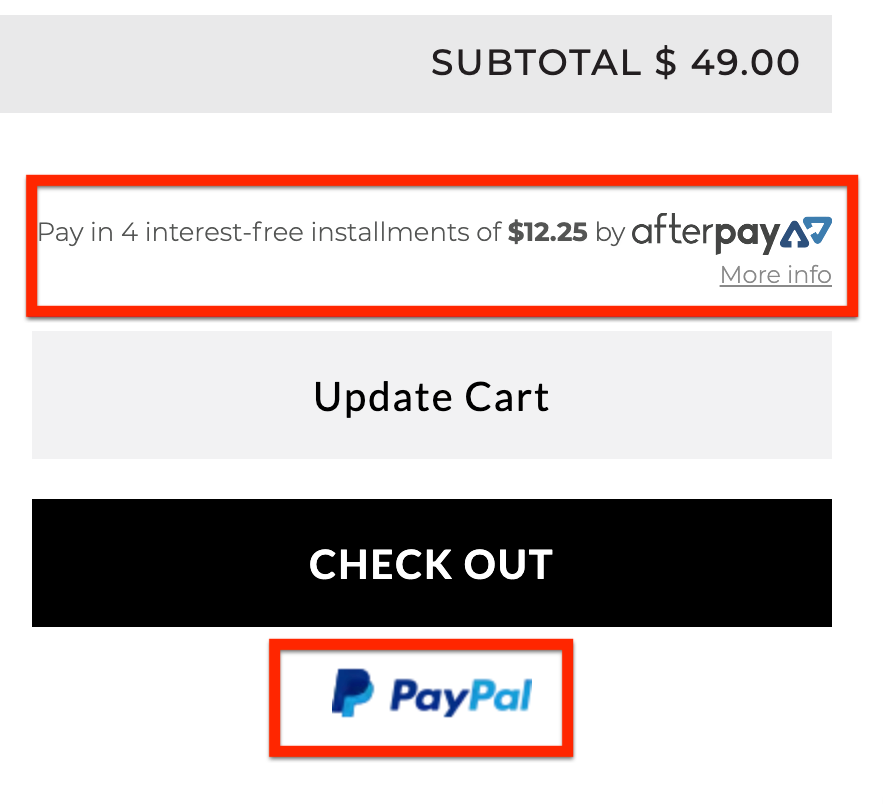
Hide any alternative payment methods the store offers with the typical Shopify checkout such as AfterPay, Google Pay, Apple Pay, and PayPal. These options are not compatible with Loop’s On-Store experience. This also applies to any buttons or options that offer a Home Try-On program.
Alter or hide help chat widgets on the website, as these conflict with the On-Store credit banner.
Adjust any mobile checkout or add-to-cart buttons, as these conflict with the On-Store experience.
Deactivate special offer pop-ups and discount code options. Although it’s common to show these when a shopper enters a site, they distract the shopper from adding products to their cart. In addition, these discounts will not apply to items purchased through the On-Store experience.
What are elements?
The best way to modify the functions above is to hide or change their respective elements in the store’s code. Elements are smaller parts of code making up the store's overall On-Store code.
For example: If the store offers alternate payment options such as the ones mentioned above, each option may have a button that shoppers can click to continue their payment (for example, the image below). Each button is an element within the store’s code.
Adjust elements
After activating On-Store, Loop added a Class to the store’s code called “.loop-returns-activated”. This parent Class contains all the elements merchants can modify, separated by hyphens (-). Each element also has a) a place to add its identifier, either a Class or ID, and b) a place showing its display parameters. The example code below shows these places at "ANY ELEMENT CLASSIFIER" and after:
.loop-returns-activated <ANY ELEMENT CLASSIFIER> {
display: none !important;
}Note: The code will contain the store’s specific identifiers for the elements being adjusted, rather than the wording “ANY ELEMENT CLASSIFIER”.
Play the video above or review the written instructions below for an example of how to hide an element.
Visualize the .loop-returns-activated Class
To hide elements, first bring the .loop-returns-activated Class into the theme's code. If a merchant's developers know where the back-end style sheet is, they can add the Class there. Otherwise, follow the instructions below:
Go to Shopify admin > Sales channels > Online Store.
Find the On-Store theme.
Note: If editing a previously published On-Store theme, do the steps below for the current theme. If making changes to a copy of the On-Store theme before publishing it, do the steps below for the relevant theme under the "Theme Library" section.
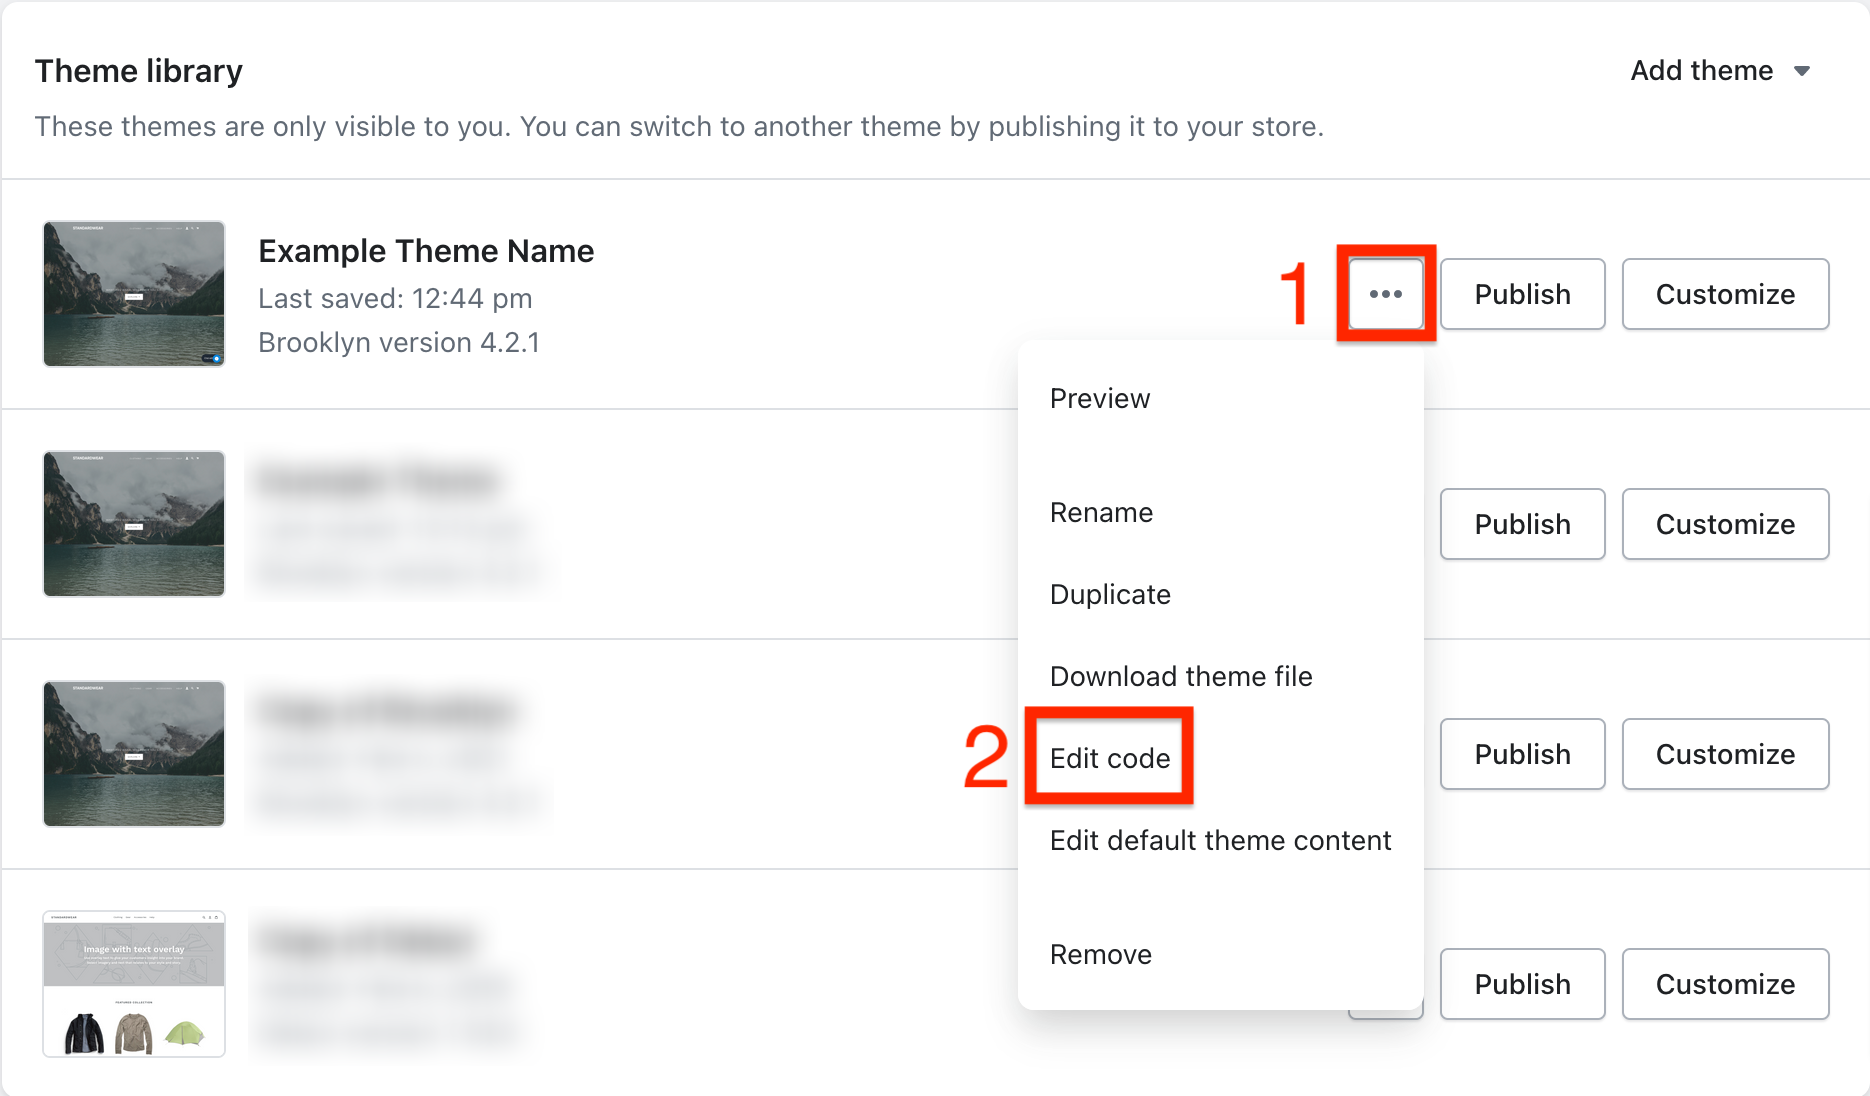
Click the ellipsis button on the theme (a set of three periods) > Edit code.
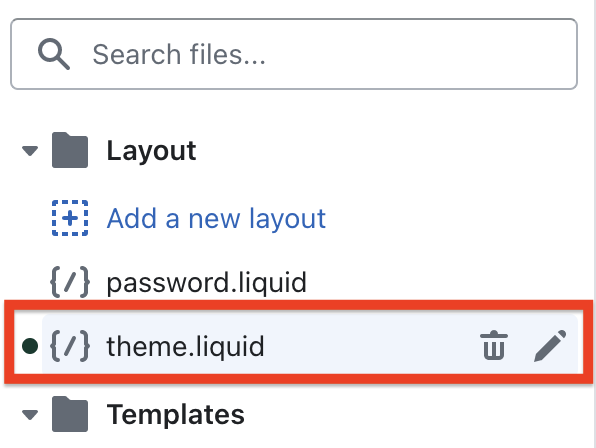
Under the Layout folder, click the file titled “theme.liquid".
Look for “<style>” and “</style>” tags in the code by scrolling or using the finder tool (Control F for Windows, Command F for Mac). Elements will be edited between these style tags.
If style tags are present, go to Step 6.
If style tags are NOT present, go to Step 7.
Copy and paste ".loop-returns-activated" right after the <style> tag (the first style tag). Confirm that its placement reflects the snippet under Step 7, then proceed to Step 8.
Copy and paste the snippet below under the " <head> " tag in the code:
 <style>
     .loop-returns-activated {
     //where the elements will live
   }
   </style>
Click Save in the upper right corner of the theme editor window.

Hide the elements
Now, add and adjust any elements within the “.loop-returns-activated” Class, such as those listed under the “Modify the shopper experience” heading. Below is an example of hiding an alternative payment method:
Open a view of the store in a separate tab or window.
Click on a product as if to review before adding to the cart.
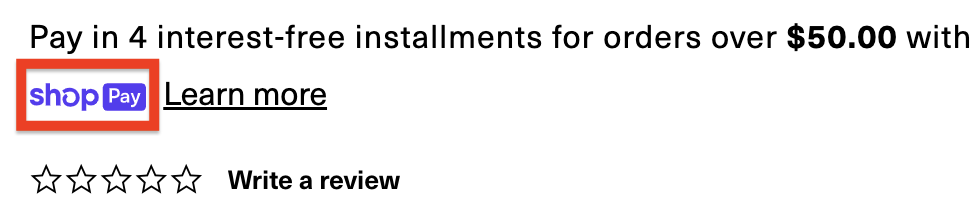
On this product page, right-click on the chosen element in the checkout view (for example, the Shop Pay button below).
Click Inspect.
Copy the Class or ID highlighted in the Inspector Tool. In rare cases, the identifier for this element could also be a tag within the code.
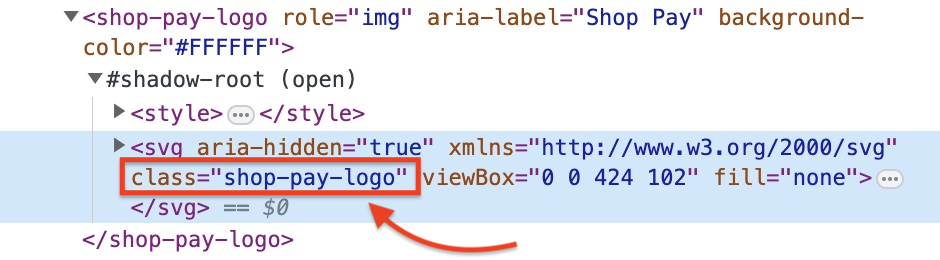
Go back to the theme.liquid code file and paste the previously copied Class or ID next to “ .loop-returns-activated ”. Remember to add a period (.) before a Class, and a hash (#) before an ID.
.loop-returns-activated .shop-pay-logoChange “display:” to “none !important;” to hide any chosen elements.
.loop-returns-activated .shop-pay-logo{
    display: none !important;
}
Click Save in the upper right corner of the theme editor window.
Note: Merchants can also move these elements around in the code to change where they appear. Again, these actions turn out best with a developer's help.
Tip: To hide an element by way of JavaScript, developers can add the " LoopOnstore.isActive() " flag to any JavaScript code running in their Shopify theme (Shopify > Sales Channels > Online Store > ellipsis button for desired theme > Edit Code > theme.liquid).
Another example
A merchant wants to remove the Shop Pay button and wording from their product pages because they don't want the Shop Pay button to conflict with the On-Store experience.
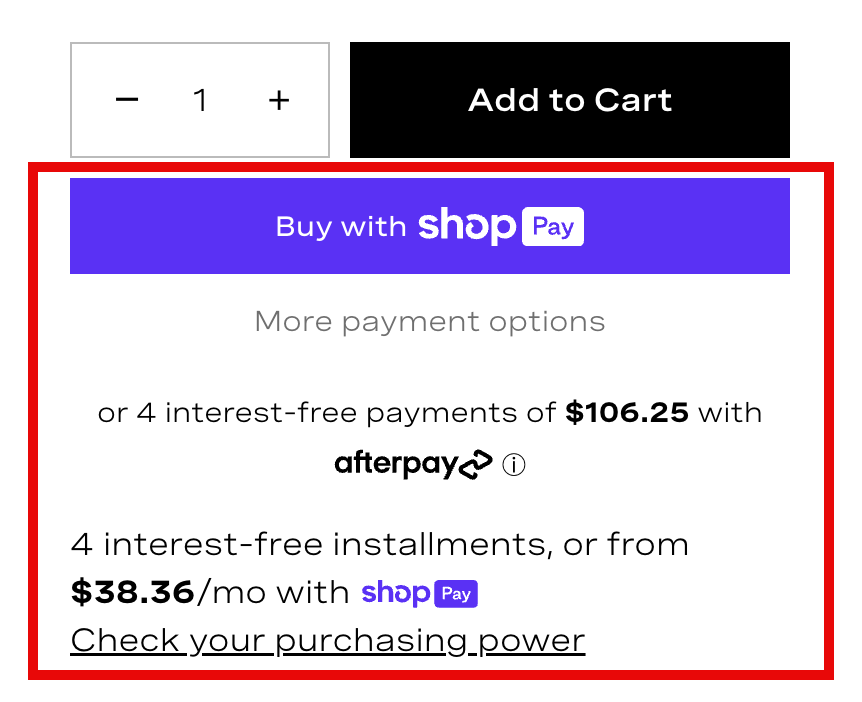
The merchant would right-click on the page, then click Inspect. The Inspector Tool would show them identifiers for each element making up the Shop Pay section. The image below shows how the Shop Pay button is only one element of all the Shop Pay text on that page.
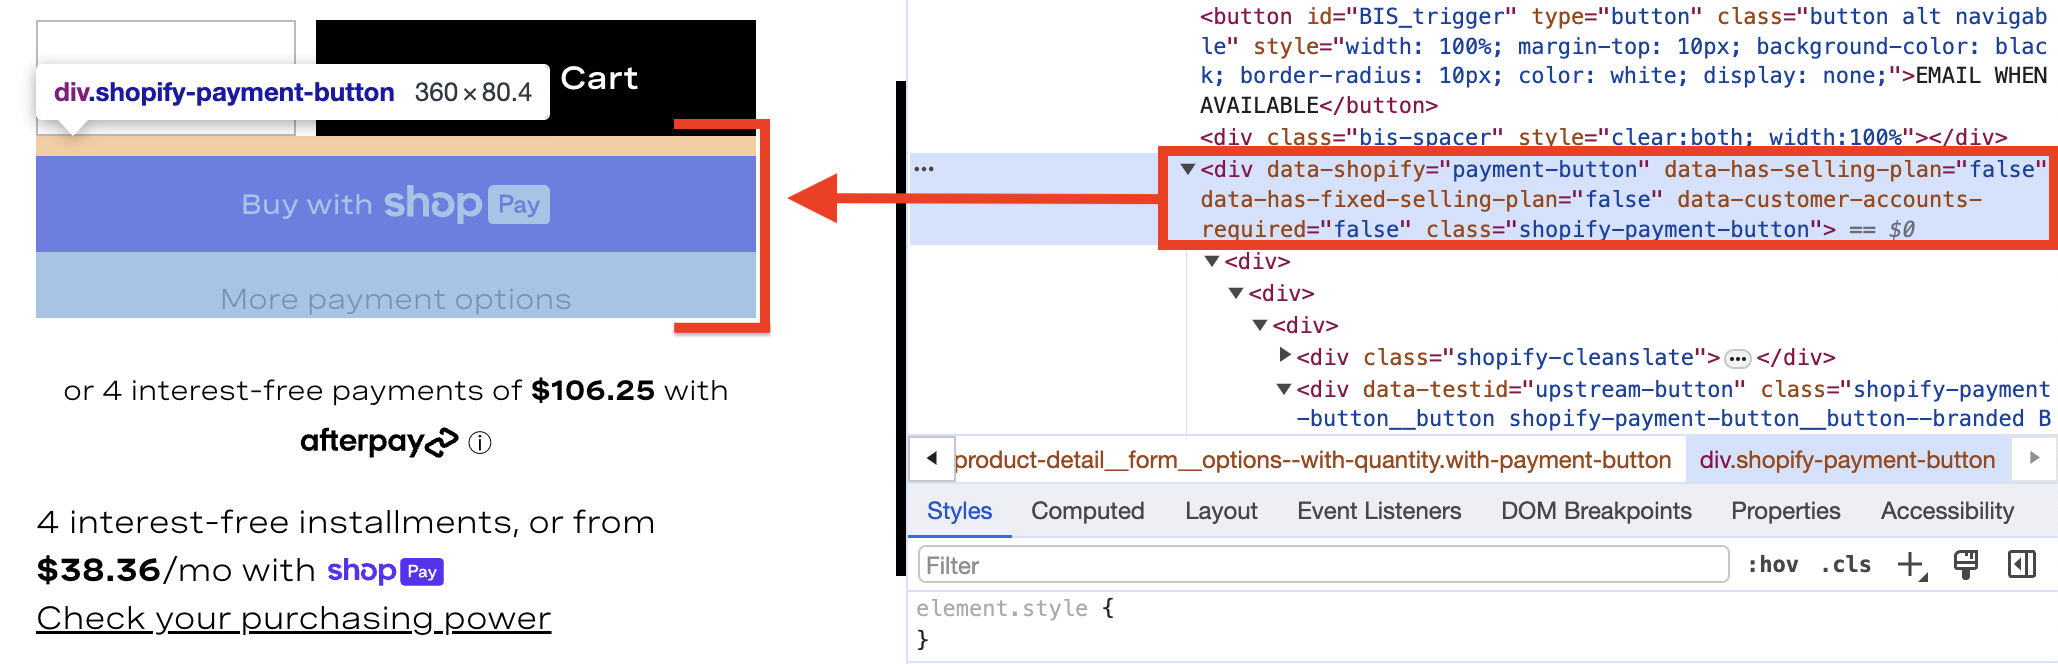
This article has explained that merchants can nest whichever selectors or elements they want to hide under a .loop-returns-activated CSS rule (CSS means "Cascading Style Sheets", a programming language). Here, the merchant would have to hide multiple elements, since the Class for the Shop Pay button, .shopify-payment-button, would only hide the button but not the rest of the Shop Pay text.
Important: Merchants must create a brand new CSS block for every element they want to hide.
Use cart details for script discounts and line item customizations
Loop’s Shop Now: On-Store experience can pull additional details from the shopper's cart to:
use a merchant’s existing Shopify cart and scripts to determine proper discounts for shoppers’ On-Store orders.
pull line item level customizations (embroidery, glasses prescriptions, etc) from your storefront and apply them to the new exchange orde
Important: Currently, only cart and order level discounts are compatible with On-Store. Due to script discount structure and variability, support is case by case. Loop cannot guarantee support on script discounts on the line-item level, but will help with configuration where possible.
For questions or help, please contact support@loopreturns.com.
How it works
The shopper adds items to their cart through the On-Store experience.
The On-Store code sends any products, applicable discounts and line item properties from the Shopify cart to Loop’s core API endpoint.
If there are script discounts, Loop’s core interprets any new cart prices and translates them to discounts in Loop's system.
If there are line item properties, Loop's core passed those customizations through to the line item on the new exchange order when the return is processed.
Setup instructions
To learn how to configure passing On-Store cart details, follow the video below, or review the written instructions underneath it.
To set up discount scripts in On-Store:
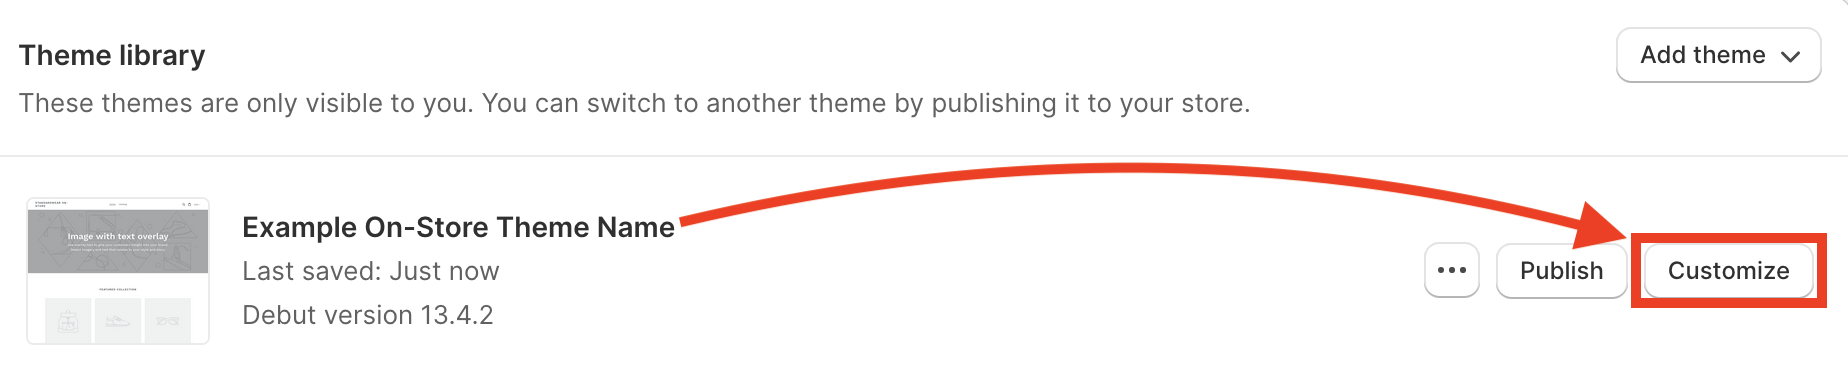
If the theme customizer is not open, go to Shopify admin > Sales channels > Online Store.
Find the On-Store theme being edited and click the Customize button.
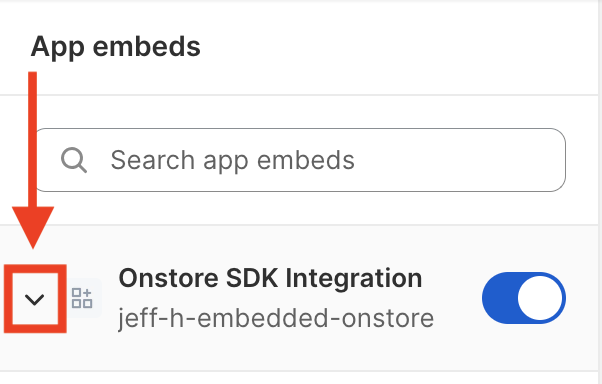
On the left, click the App Embeds button.
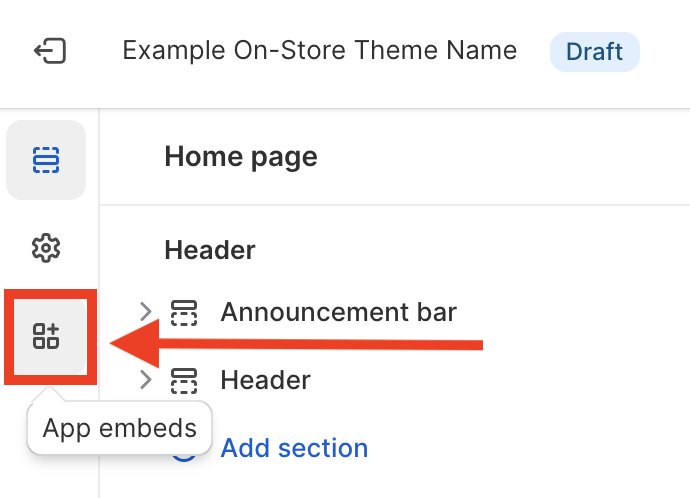
Click the carrot next to On-Store SDK Integration to expand the information underneath.
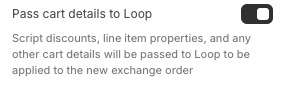
Scroll down to the checkbox labeled "Pass cart details to Loop".
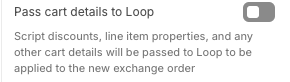
Flip on the "Pass cart details to Loop" switch.
Click Save in the upper right corner of the theme editor window.

Note: If clicking between browser windows, and the checkbox has trouble showing (even after saving), please refer to the "toggle or checkbox" section of the On-Store Troubleshooting article.
Update other customizations
Preserve items in the cart
On-Store sends shoppers to Loop to finish their returns once they click “checkout” in their cart on the website. From there, if shoppers use a back button or a back arrow to return to the shop, their carts will show as empty by default, even though the products they selected are still in Loop.
If a cleared cart sounds like it may confuse shoppers, merchants can alter their On-Store code to keep the products visible in their website's cart.
Important: Even preserved carts will not show when clicking the browser’s back arrow, as the browser arrows are separate from Loop’s software and therefore are not included in Loop’s configuration abilities. To see preserved carts when clicking back to the store, click Loop's back button instead, as shown by the image below.

To preserve items in the store's cart:
Ensure the Shopify theme customizer is open (refer to the instructions above).
Click the app embeds icon, then expand the On-Store SDK Integration section.
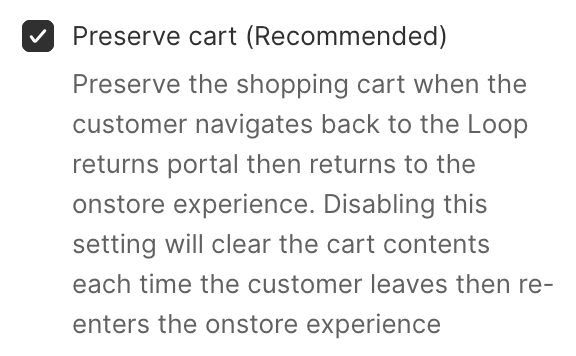
Scroll down to the checkbox labeled "Preserve cart (Recommended)".
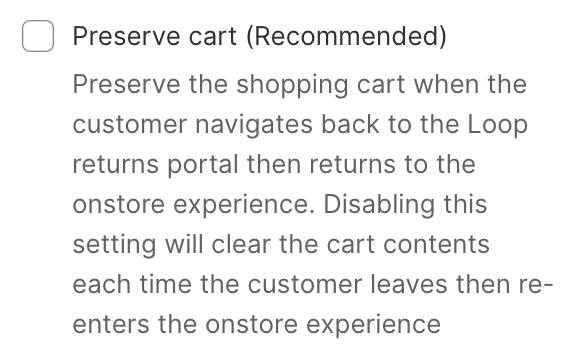
Check the "Preserve cart (Recommended)" box.
Click Save in the upper right corner of the theme editor window.

Note: If clicking between browser windows, and the checkbox has trouble showing (even after saving), please refer to the "toggle or checkbox" section of the On-Store Troubleshooting article.
Customize the Shop Now redirect
By default, Shop Now directs shoppers to the website’s home page. If, instead, the merchant wants shoppers led to a specific collection on the site for the Shop Now experience, they can use Loop’s event listeners to change that shopper redirect.
Important: Before using the event listener to edit the redirect, check your partnered apps and third parties to ensure they won't interfere with the event listener.
Please review the Events section of the On-Store software development kit (SDK) article, specifically information about adding event listeners for “Loop:Activated” events. Then, copy the code below, paste it into the “theme.liquid” file on Shopify, and replace “your-collection-name” with the name of the store's collection:
document.addEventListener('Loop:Activated', () => {
  if (window.location.pathname === "/") {     window.location.href='collections/{your-collection-name}';
  }
});
For help with this customization, please contact support@loopreturns.com.
Replace the checkout button
Merchants can customize their checkout buttons to lead shoppers back to the Loop returns experience while the shoppers are in the On-Store flow. To do this:
Refer to the instructions above to open the Shopify theme customizer and expand the On-Store options under app embeds.
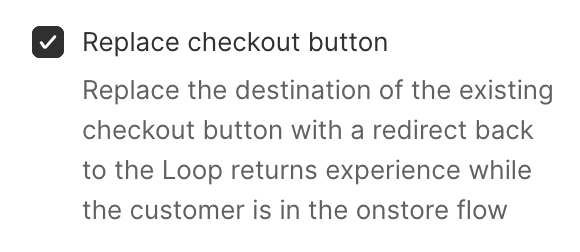
Scroll down to the checkbox labeled "Replace checkout button."

Check the "Replace checkout button" box.
Click Save in the upper right corner of the theme editor window.

Note: If clicking between browser windows, and the checkbox has trouble showing (even after saving), please refer to the "toggle or checkbox" section of the On-Store Troubleshooting article.
Refer to the initial setup article for a reminder on how to enter an existing or chosen checkout button selector (attach value) into the "Checkout Button Selector" field above this checkbox.
Change the styling
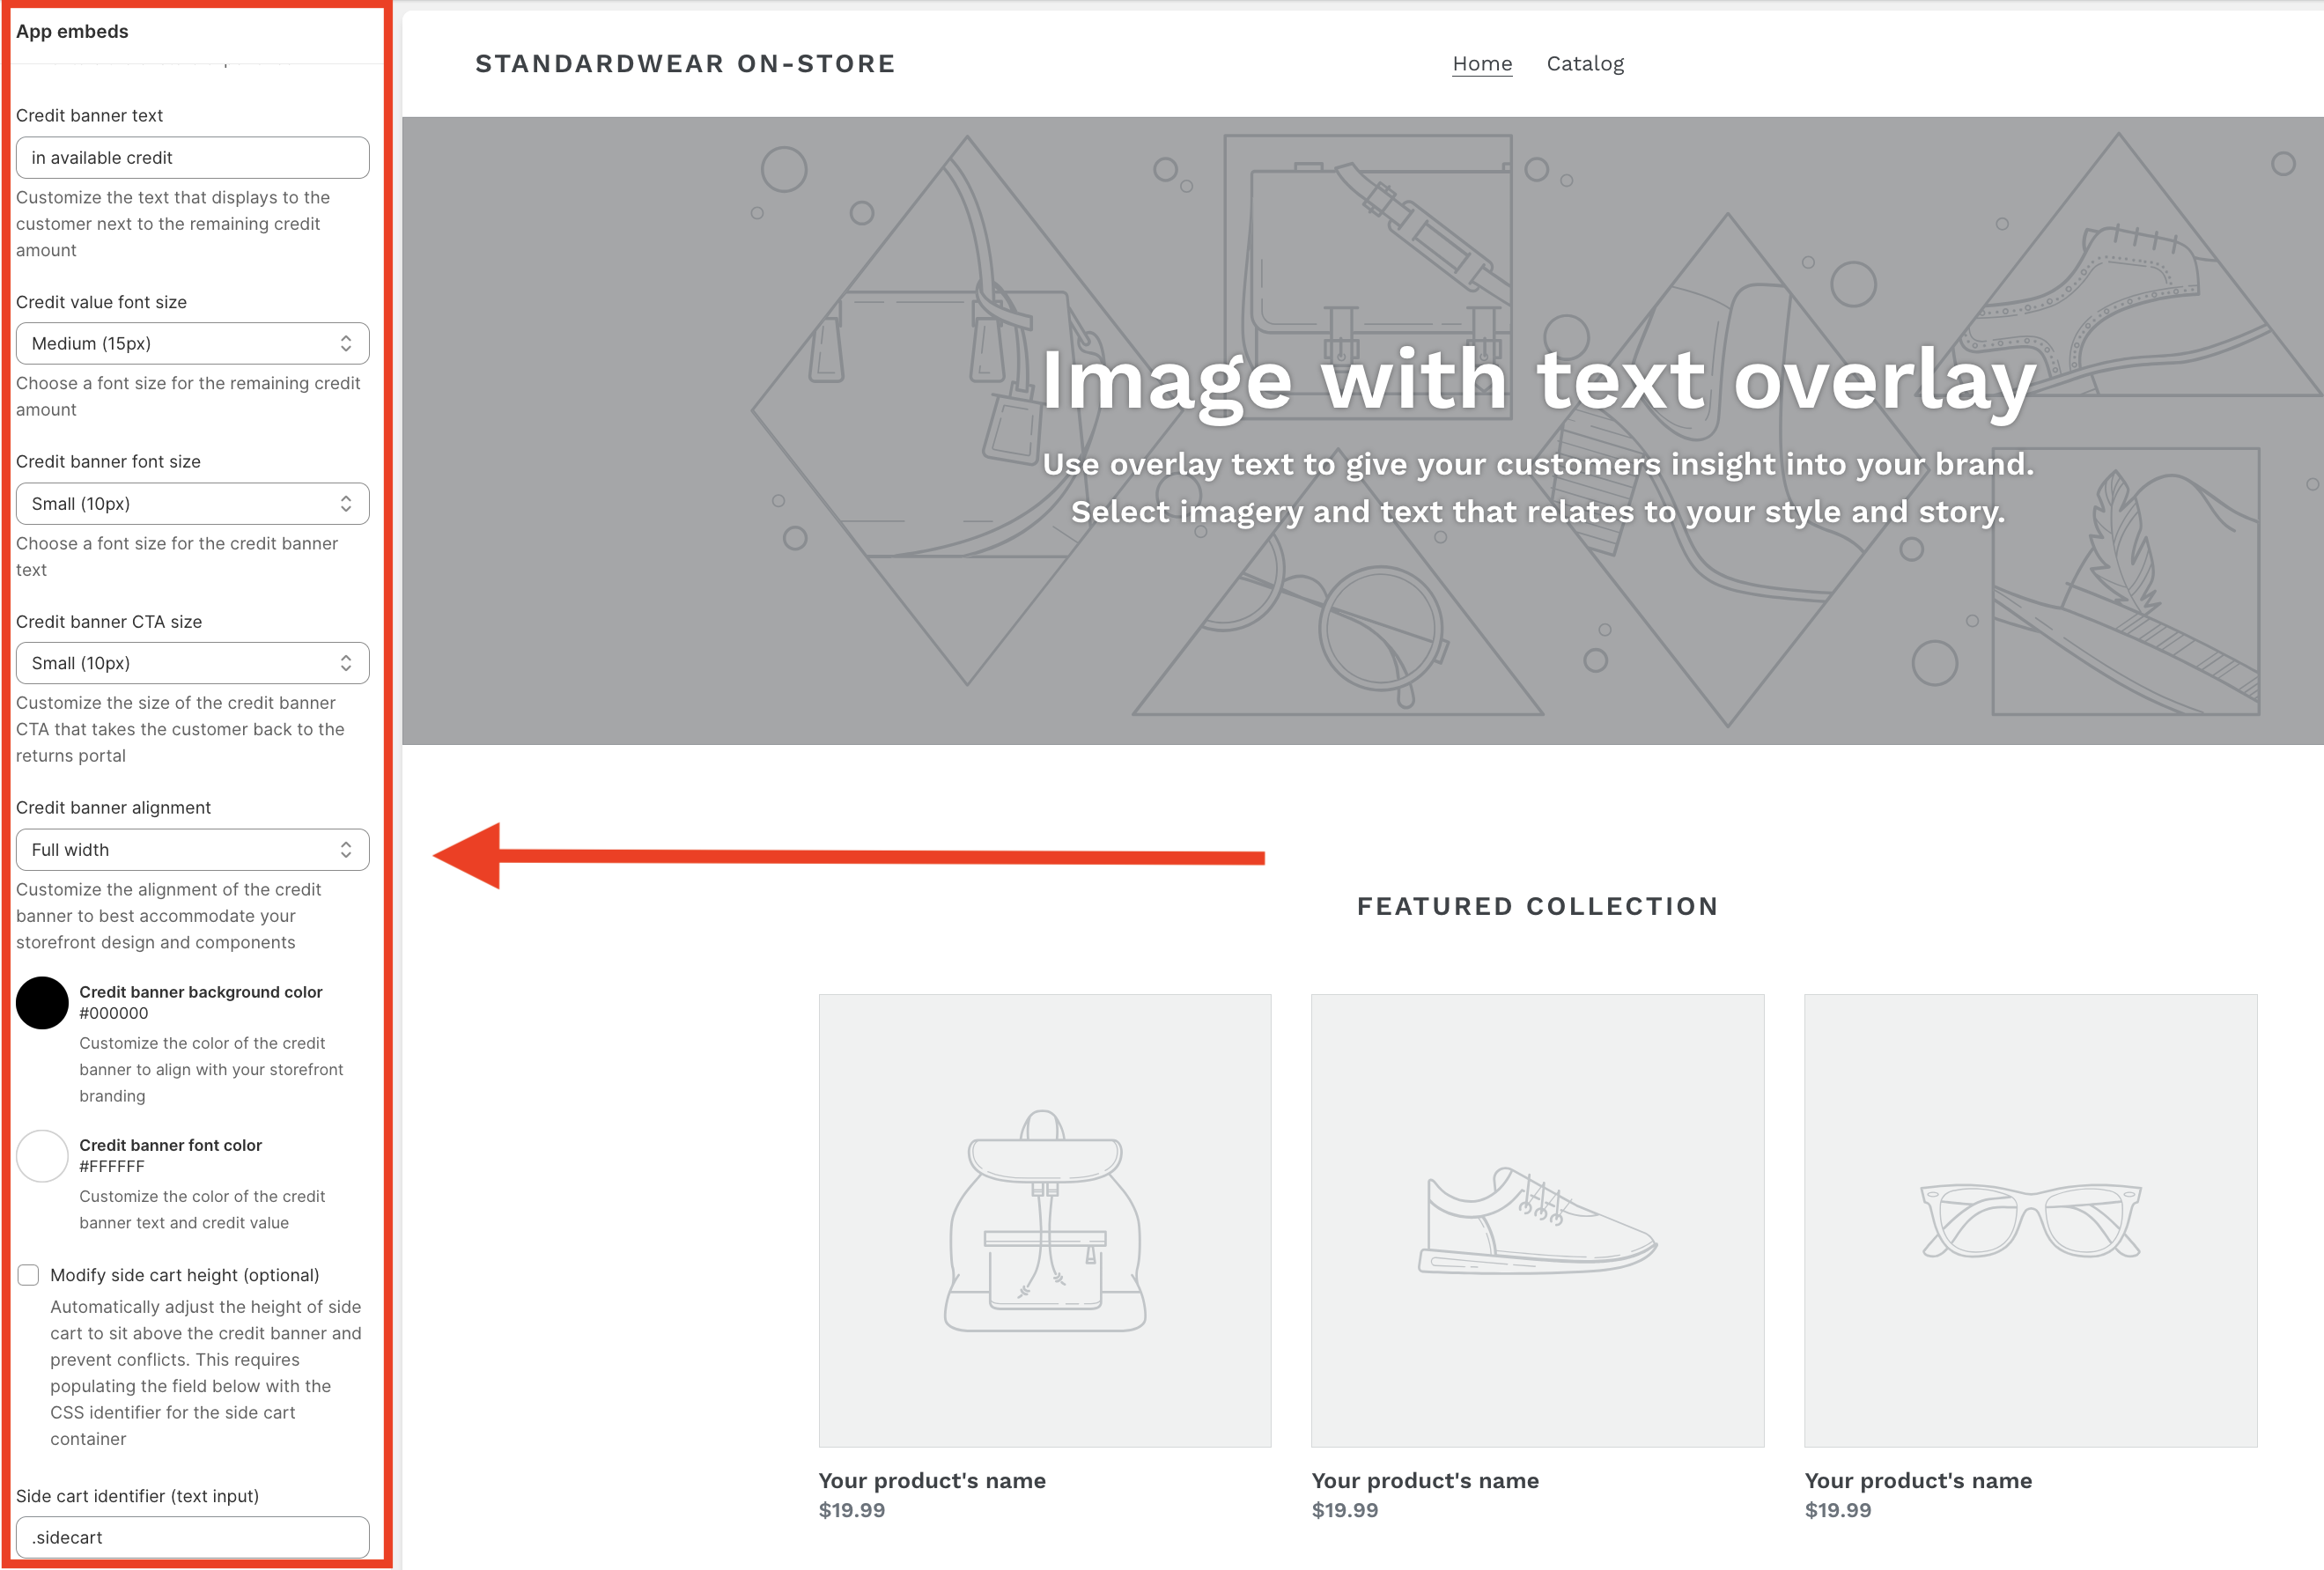
Although default styles apply to functions such as the checkout button or the credit banner, merchants can alter these to suit their brand’s needs, as well, through the Shopify theme customization tool (refer to the instructions above).
After expanding On-Store SDK Integration in the app embeds, scroll to the bottom of the sidebar. There will be options for styling the credit banner and its contents. This styling can also help prevent items overlapping on the website so that each shopper's experience is as clean as possible.
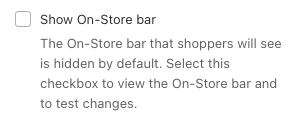
Tip: Make sure to click the the "Show On-Store bar" checkbox so that the theme shows all styling changes for testing purposes before saving.

Test and publish your changes
After making all desired changes to the store code, be sure to test the changes by way of these testing instructions. Once testing is successful, follow the publishing instructions to apply the changes to the theme.
FAQ
Can I still edit my theme in these ways, even though I’ve already integrated Shop Now: On-Store? Absolutely! Loop recommends you save a backup of your previous theme and test the O-Store experience thoroughly after making any changes. Refer to the “Test your work” section of the original setup article for instructions.
I made a theme change and now my Checkout button isn’t working correctly through the Shop Now: On-Store experience. What should I do? Review the steps for “Set up a development theme in Shopify“ from the original setup article. If the problem continues, please contact your Merchant Onboarding Manager or support@loopreturns.com.
For further questions, please contact the merchant's Merchant Onboarding Manager or support@loopreturns.com.