
Point of Sale: Getting started
OVERVIEW
This article will walk through the functionality and setup process for Point of Sale (POS).
Please review the other POS articles as well:
How it works
Loop POS app is a standalone app that merchants can use alongside Shopify POS to process returns and exchanges in-store. Shoppers can bring their product(s) in-store to be returned or exchanged, and a store associate will process the return by navigating through the returns flow on the app. The app has a user experience similar to the customer portal.
POS Video walkthrough
Prerequisites
The following must be in place to use Loop POS:
iOS devices in-store
Shopify POS
Stores are located in US, CA, AU, or UK
Enabled Stripe integration
Notes:
At this time, the app is only offered in English and cannot be translated.
If the merchant uses ShipBop, ShipHero, or Bluecherry, Loop advises waiting to roll out Loop POS.
Setup
Reach out to support@loopreturns.com to enable Loop POS for the store.
Once enabled, merchants will be able to see POS settings in the Loop admin.

On the Point of sale screen, click Import Locations to import the shop’s locations from Shopify into the POS app. The locations should appear after clicking the button (refer to the image in the next step). The locations will correspond with the store locations that merchants can select in the POS app.
Tip: If the desired store location isn’t on this list, merchants can add it in their Shopify accounts by way of settings, then import locations again here.
Notes:
The locations loaded in here will be available for selection as restocking locations in the POS app if you have Loop restocking enabled. If Loop restocking is disabled, then the locations will not appear in the app.
If you would like restocking to be enabled for just POS and not online returns, please contact your Account Manager or support@loopreturns.com.
Scroll down to click Add Associate.
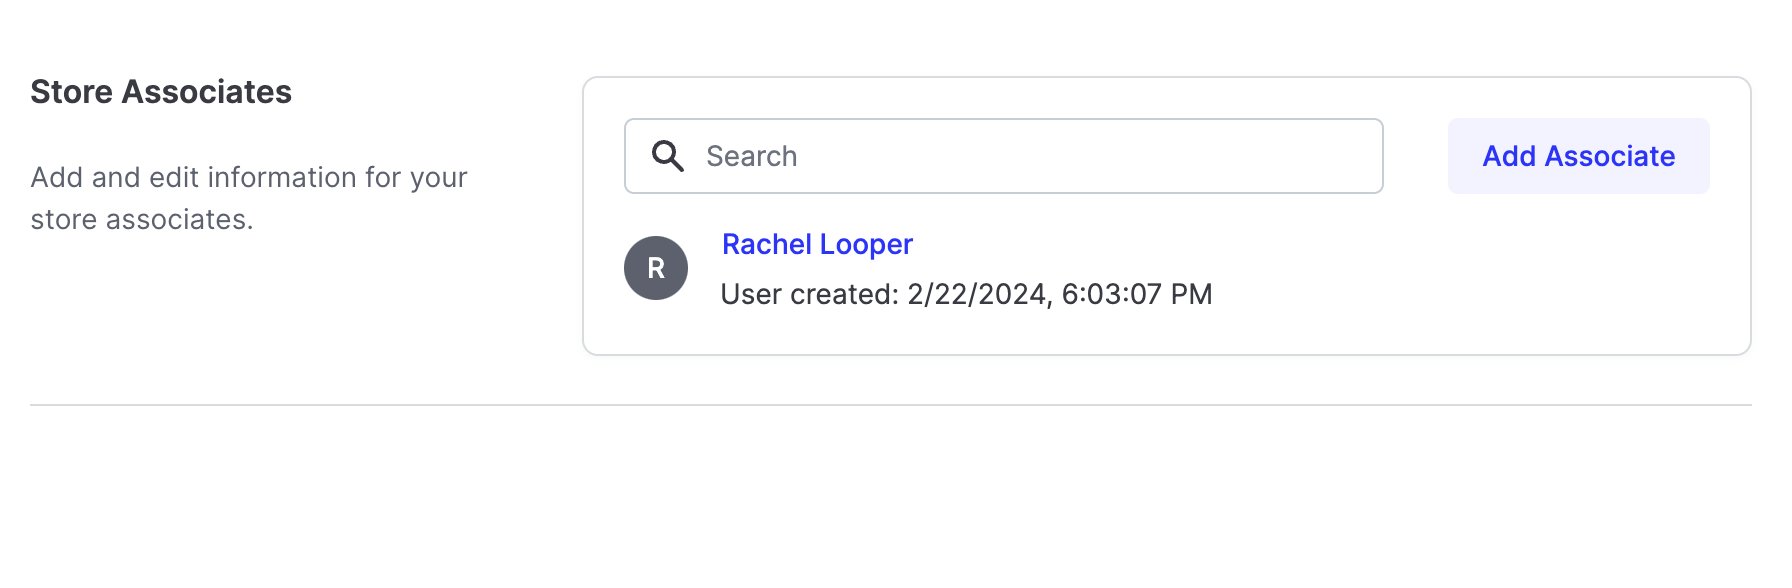
Enter the associate’s first name and last initial. A random PIN will be pre-filled, which the associate will use each time they want to log in to the POS app. Merchants can generate another random PIN or type in a PIN of their choice, as long as that PIN is not already assigned to another associate.
Important: Make sure to note down the PIN that will be used, as it cannot be viewed after leaving this screen.Click Save. Merchants can view, edit, or remove associates, as well as change their PIN from the main POS settings page at any time.
Refer to the information below to learn about restocking.
When POS restock setting is off:
Note: Merchants will see no change in behavior until they edit this setting, so they should update all store devices first.
Items will default to ‘do not restock’ within the POS app.
When a return is processed in POS, it will not be restocked through Loop.
When POS restock setting is on:
Items will default to the restock location chosen within the POS app, or you can choose to not restock a specific item.
When a return is processed in POS, Loop will send the restock data to Shopify. At this time we have not built out the equivalent Webhook sub-setting that exists for “Loop Restock Functionality”. We will consider adding this if we hear more from merchants.
This data will also be available in the provider_restock_location_id in the Detailed Returns List endpoint in the Loop API as well as the Get Return Details endpoint.
This replicates the behavior seen in the app before we made the change to mirror restock settings between online and POS.
Please reach out to support@loopreturns.com with any additional questions.