
Shop Now: On-Store Troubleshooting (Embedded)
OVERVIEW
This article provides troubleshooting guidance for common issues merchants encounter when setting up or monitoring Shop Now On-Store. It covers resolving the "On-Store feature not available" pop-up, fixing toggle and checkbox display issues, troubleshooting checkout buttons that redirect shoppers to Shopify instead of Loop, addressing credit banner overlap, and resolving redirect issues caused by incorrect API keys.
Use the menu on the left to quickly navigate this article.
Note: This article pertains to merchants with the embedded version of On-Store. If troubleshooting for the original On-Store setup that requires manual code entry to activate, please review the original troubleshooting article. For guidance on switching from original On-Store to embedded On-Store, please review Loop's On-Store switching instructions.
Tip: Loop highly recommends having a developer or engineer present for these customizations.
Important: If partnering with certain third-party applications (apps) such as SpurIT Pre-Order or Preorder Manager, merchants must create a new checkout button. Otherwise, their current checkout button(s) will direct shoppers to the Shopify checkout instead of Loop's On-Store checkout. Check out the section about third parties.
"On-Store feature not available"
When activating On-Store for the first time (Sales > Online Store > Customize on the Shopify theme), the pop-up below will always show for merchants .
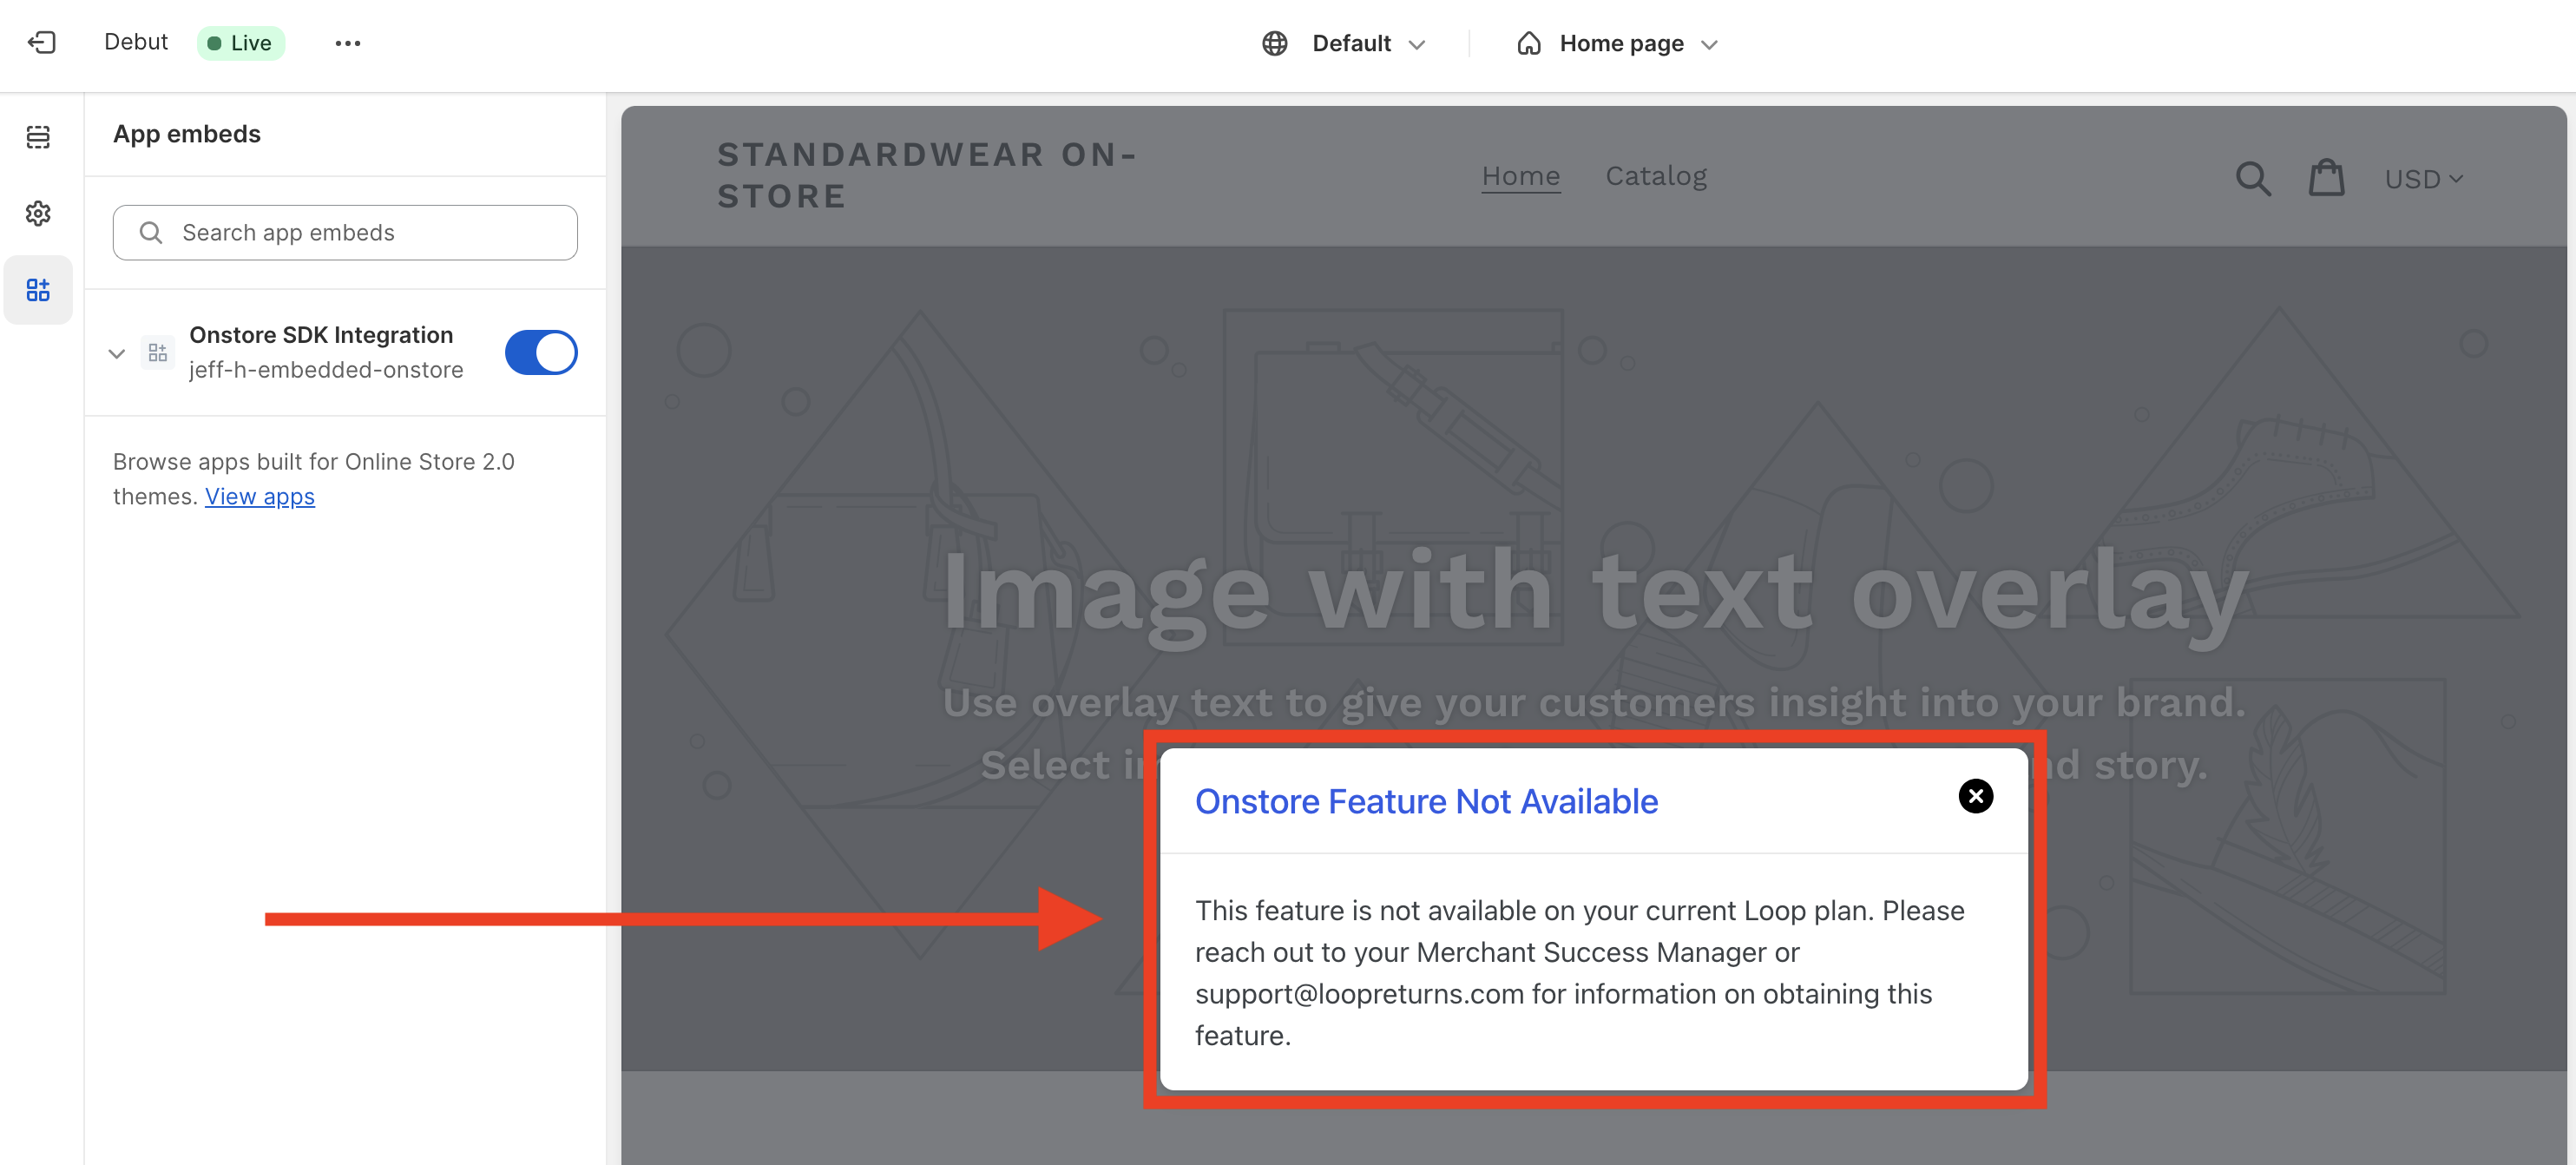
Note: The pop-up should disappear once the merchant enters the API key. If the API key is present and the pop-up still shows, the reason(s) may include the sub-heading topics below.
Shop settings do not allow On-Store
Ensure the store's Loop admin account has the Shop Now and On-Store settings turned on:
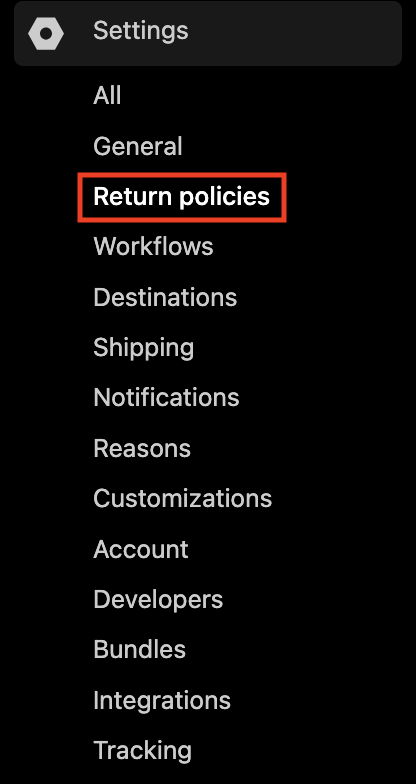
Go to Loop admin > Returns management > Policy settings > Return policies.
Find the policy or policies needing checked, then click Edit on the right.

Look under the Return Outcomes section, or use the finder tool (Control F for Windows, Command F for Mac), to find the Shop Now outcome.
Ensure the "On-Store enabled" checkbox is ticked, as pictured below.
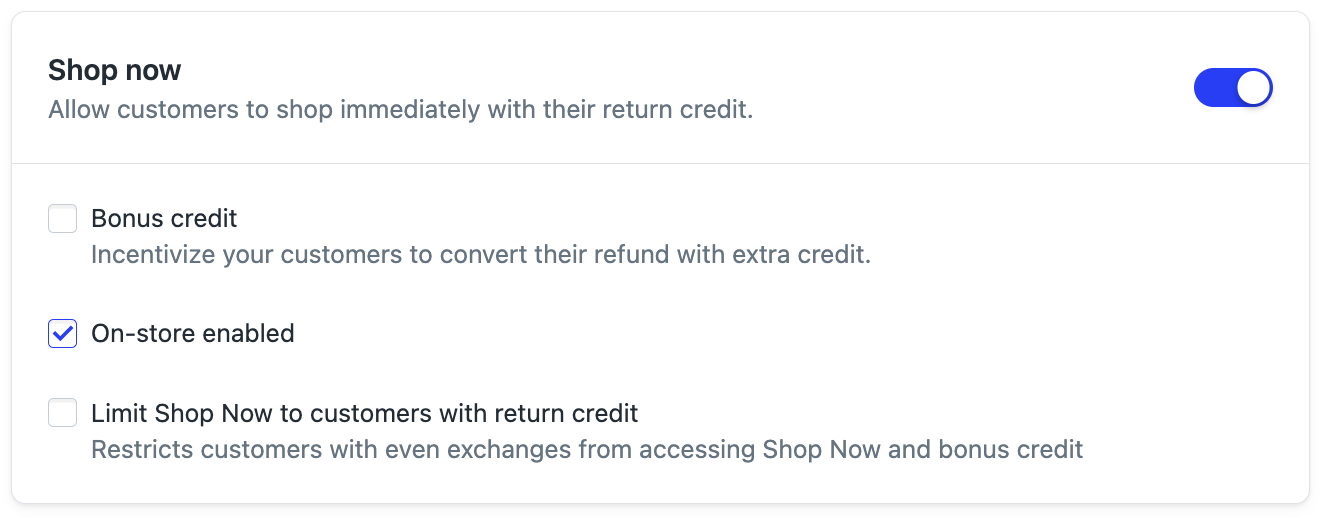
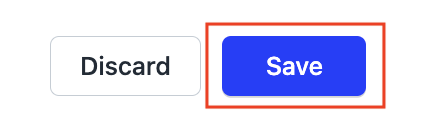
If the On-Store box is empty, click it, then click Save.
Tip: If either the Shop Now or the On-Store option from Step 4 do not show, please reach out to support@loopreturns.com.
Merchant plan does not include On-Store
If updating the API key and Loop admin settings does not get rid of the pop-up, check the shop's Loop plan to ensure it includes On-Store functionality. If it does not and you believe it should, please contact your Merchant Success Manager (MSM).
Back-end bug
If a) the API key is present, b) On-Store settings are turned on, and c) the Loop plan should include On-Store, but the "On-Store feature not available" pop-up still shows, please contact support@loopreturns.com to have Loop check the store's back-end settings.
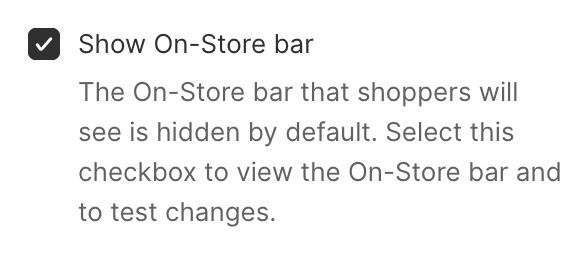
Toggle or checkbox changes not showing
Merchants may need to refresh the On-Store customizer to see recently-made changes to toggle buttons or checkboxes if they click out of the customizer. The edits would still be active in the app and the On-Store builder, but may not show visually in the user interface (UI).
For example: A merchant clicks the “Show Onstore bar” checkbox in the customizer, goes to a different page, and then returns to the customizer. But the “Show Onstore bar” box is no longer checked, even though the On-Store bar shows on the theme.
In cases like these, merchants should do the following:
Click Save in the upper right corner to keep progress.

Refresh the browser page.

Check that any toggle button or checkbox changes show as expected after refreshing.
Checkout button still takes shoppers to Shopify
There are a few common scenarios that can lead shoppers to their typical Shopify checkout instead of the Loop On-Store checkout. Review the scenarios below to troubleshoot any issues.
Note: These descriptions and instructions pertain to the Google Chrome browser. However, the steps should be similar in any browser in use.
Review the written instructions below to double-check the attach value(s) and code placement.
1. Check the attach value(s)
Mismatched checkout button selector(s), or "attach value(s)," are the most common reason for shoppers being led back to the Shopify checkout instead of staying in the Loop On-Store checkout. Merchants enter these values into the On-Store app embed in Shopify. When they don't match the ID or Class of the store’s checkout button, shoppers will be taken out of the Loop On-Store flow.
To double-check the attach values, follow the instructions below for each checkout button (this could also include a Cart page or a side cart):
Go to Shopify admin > Sales channels > Online Store.
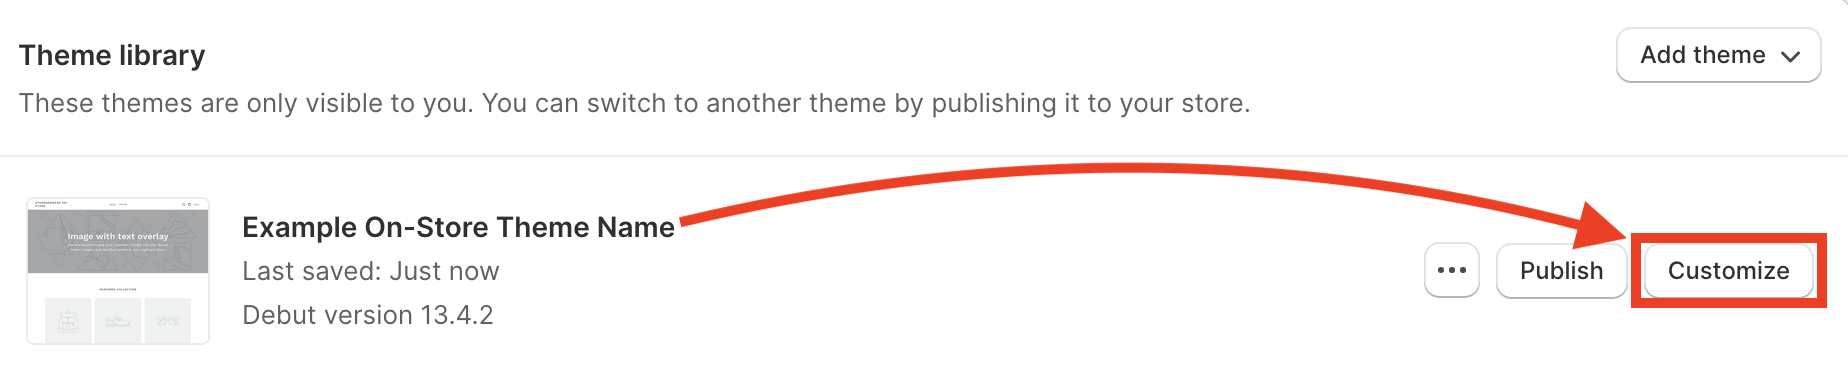
Find the unpublished theme under the "Theme library" section. Click the ellipsis button > Preview.
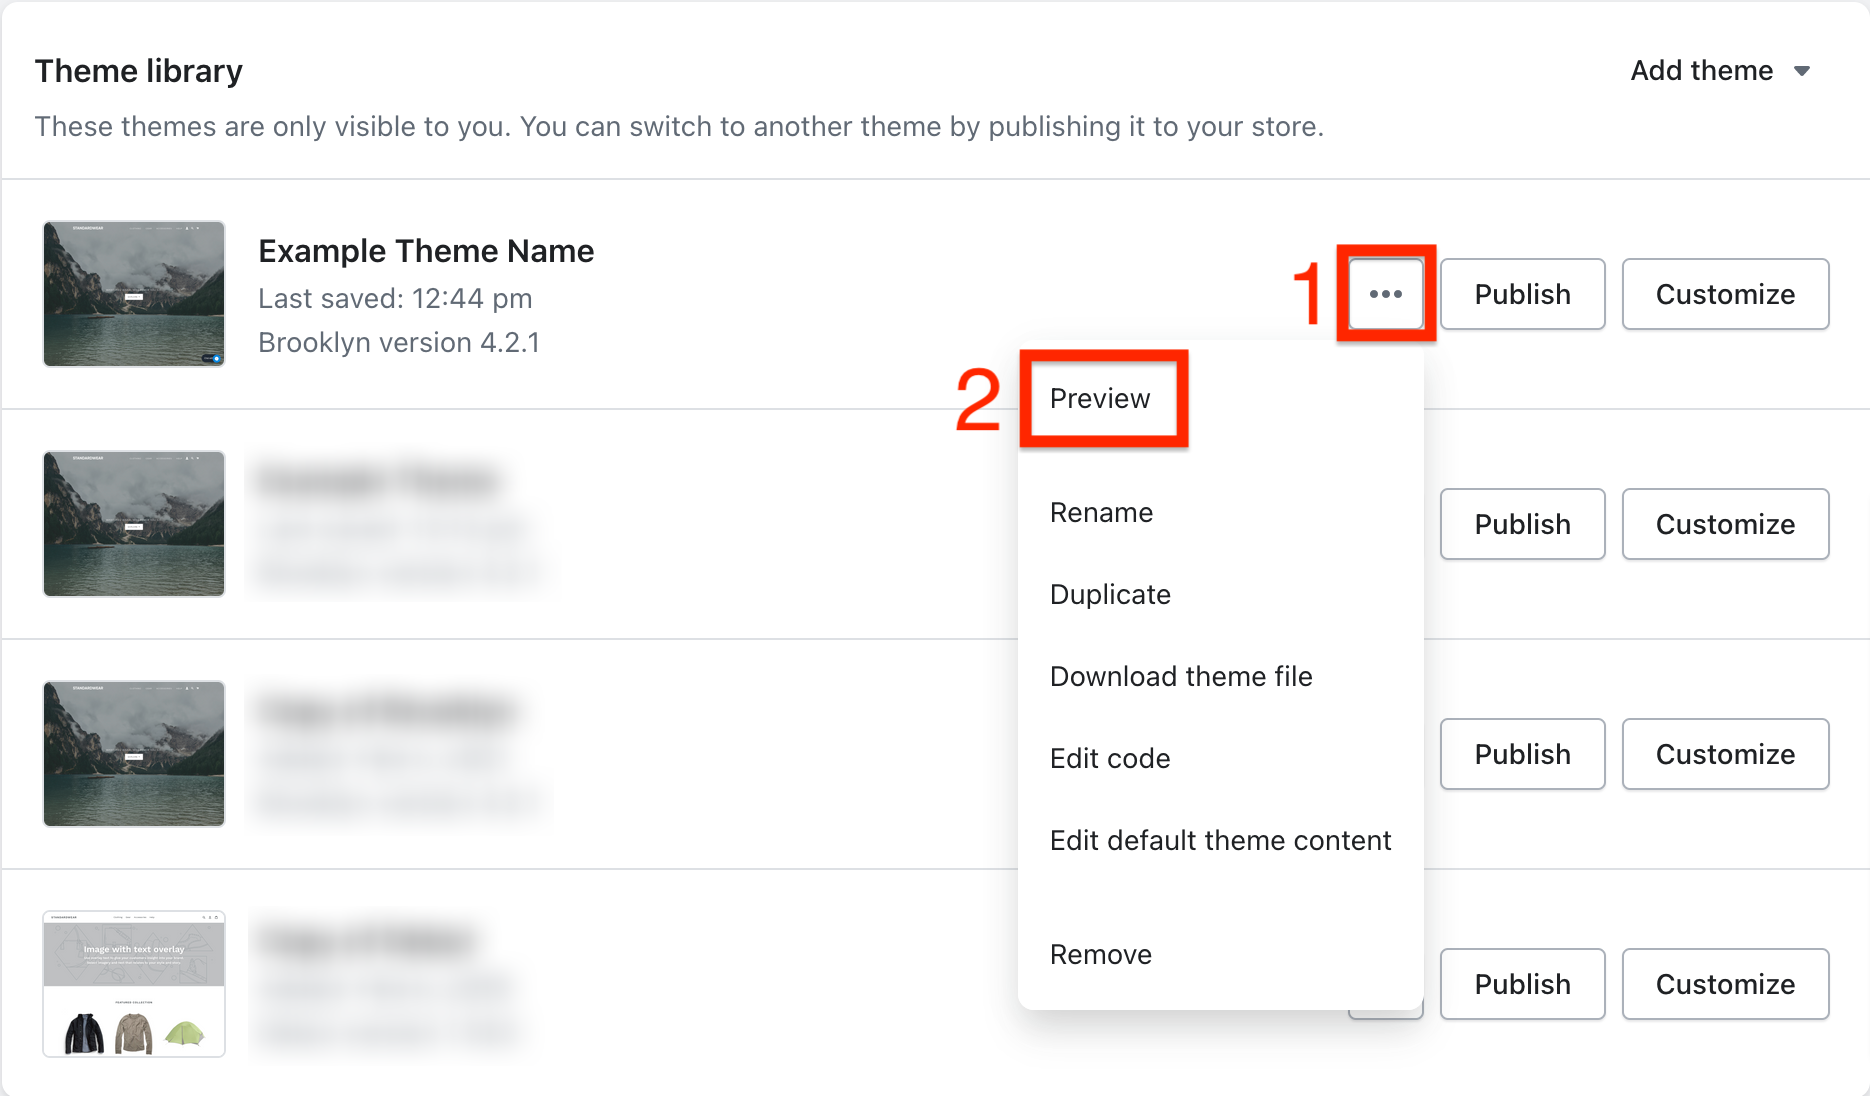
In the store preview, go to where the checkout button lives.
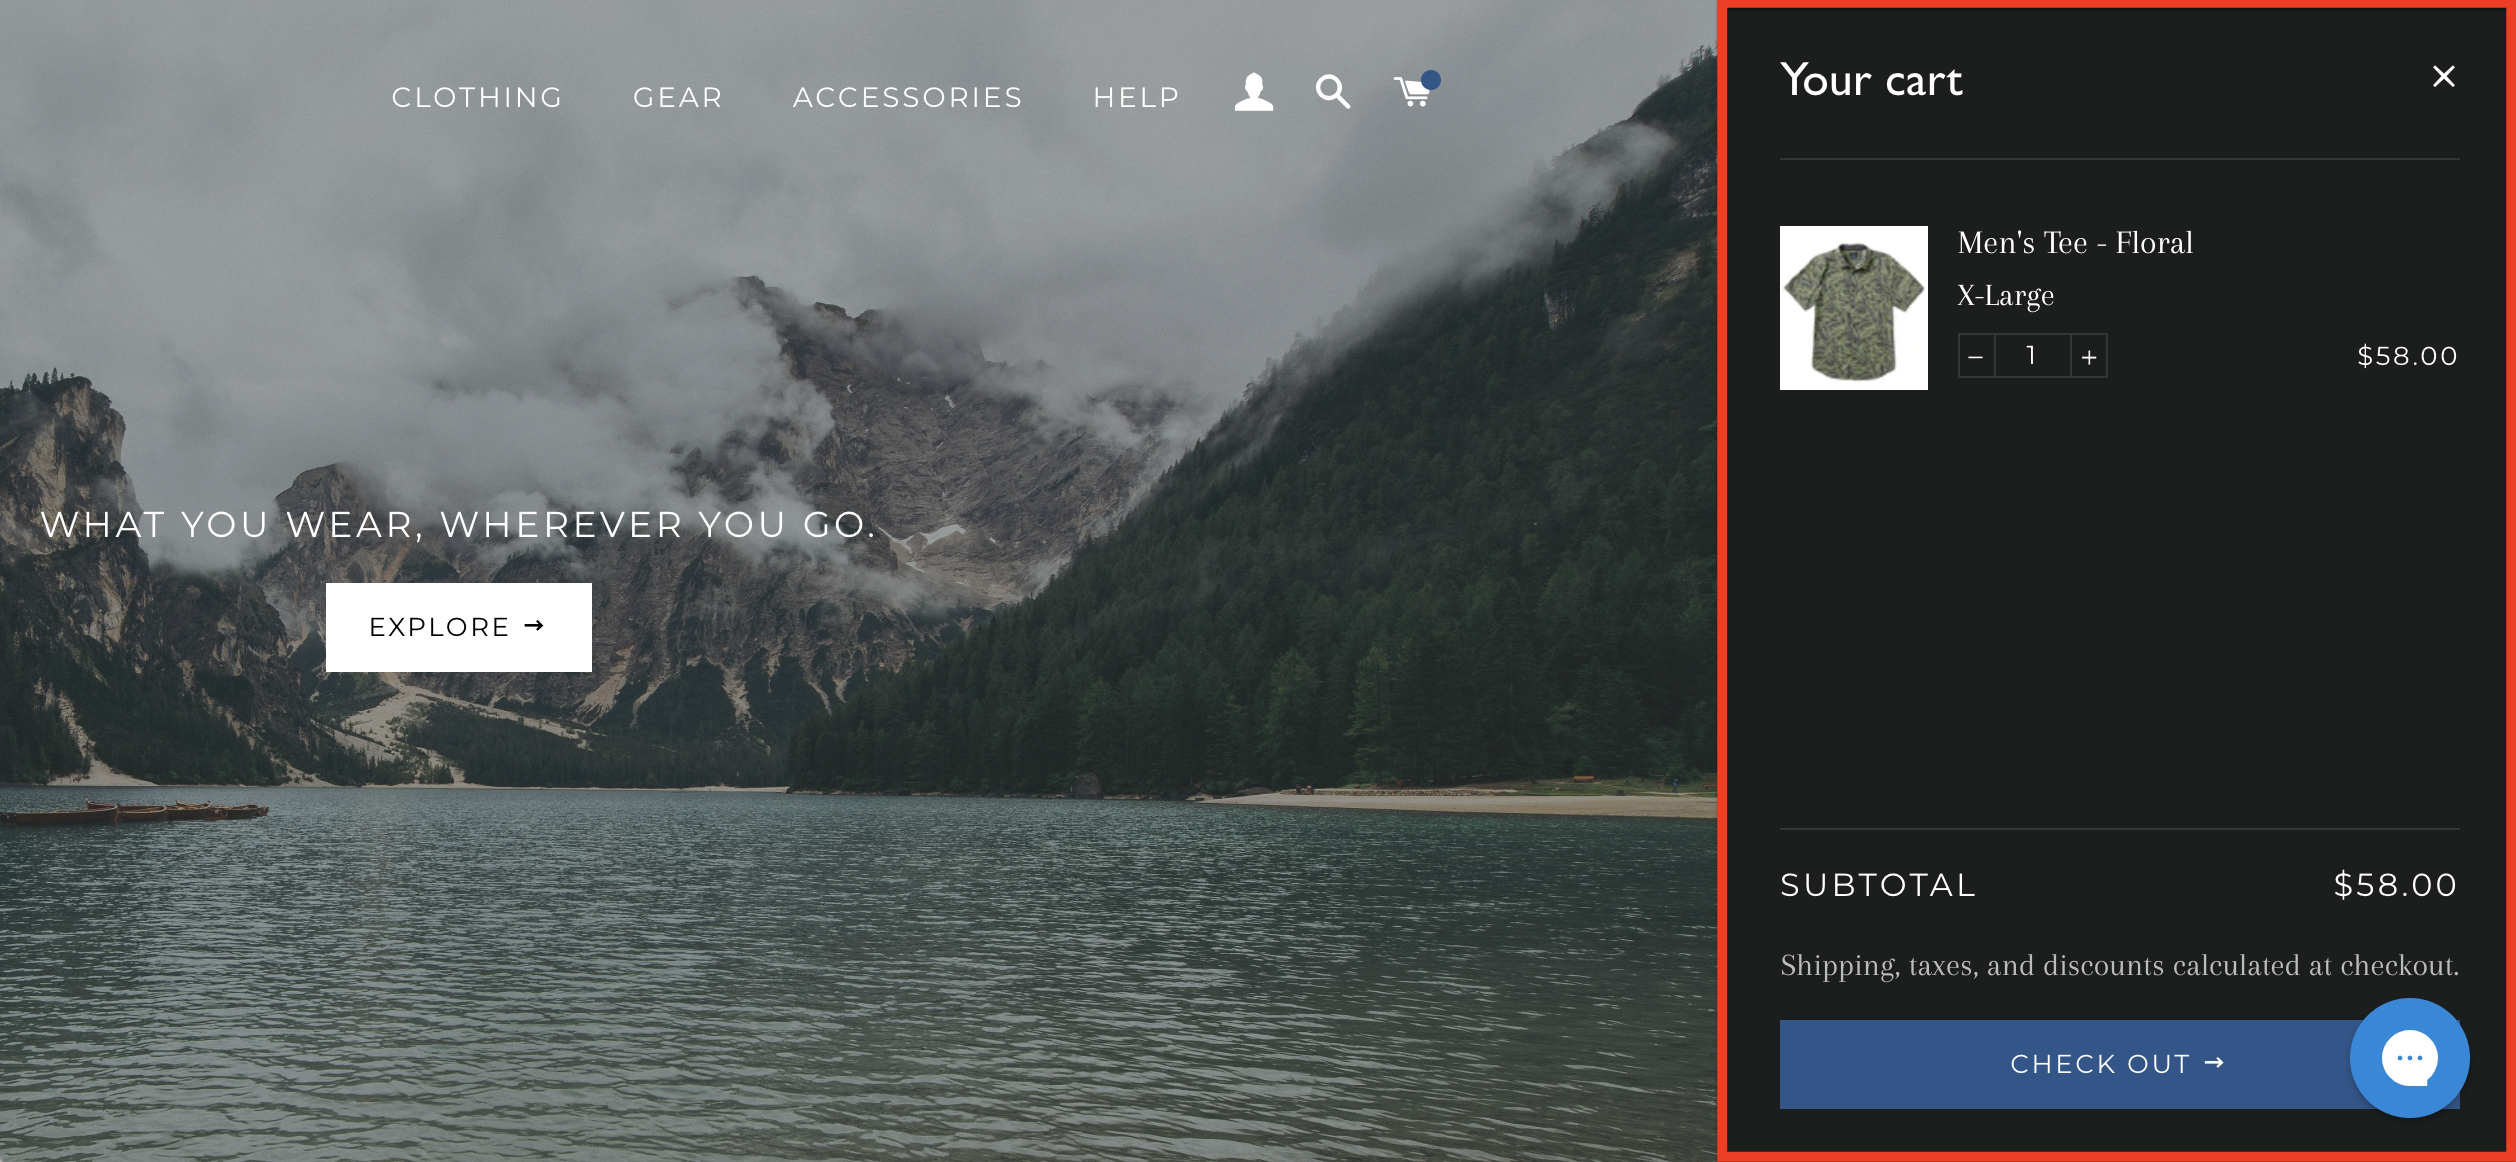
Right-click the checkout button and click Inspect.
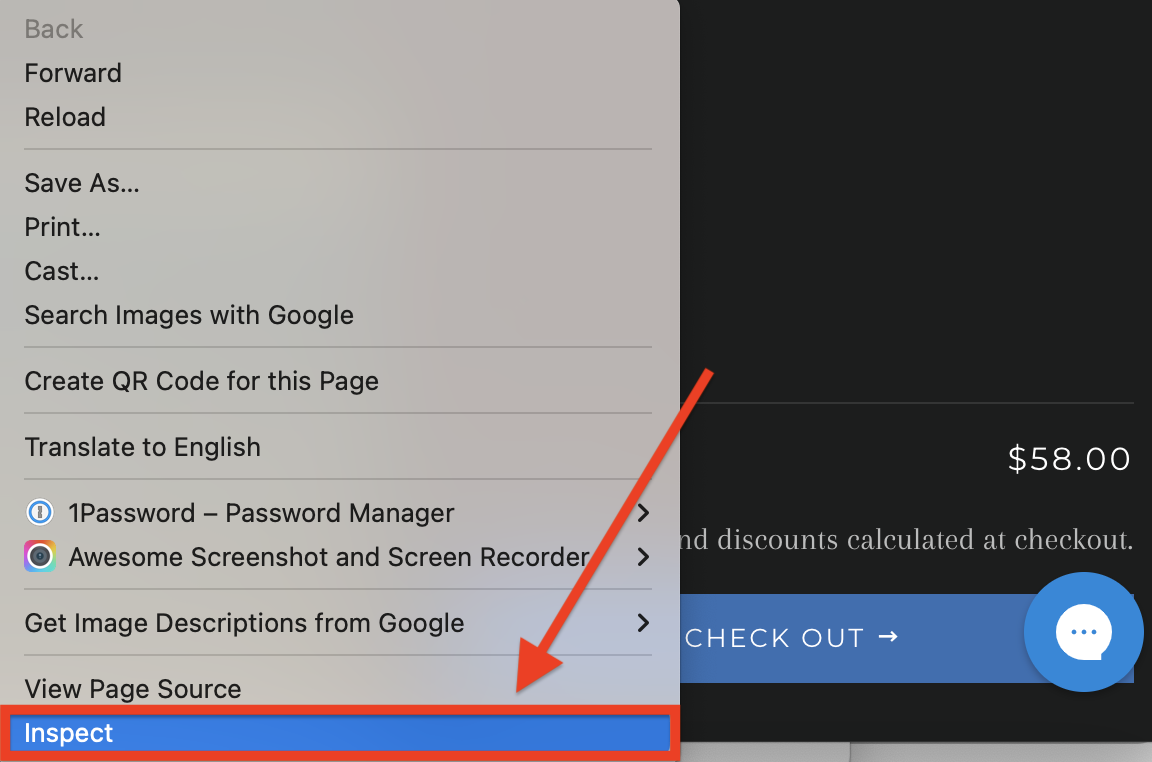
Check that the ID or Class highlighted in the Inspector Tool exactly matches the attach value in the store’s code.

Important: Along with using the appropriate attach value, it is necessary to put the correct character before it. A hash (#) must always proceed an ID, and a period (.) must always proceed a Class.
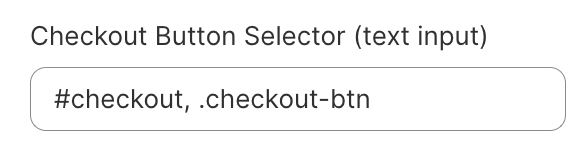
Below is an example of an attach value matching the checkout button ID:

Important: If the store has multiple checkout buttons that do not share the same Class or ID, a value must exist for every checkout button, separating each one with a comma. For example, if one button has an ID of “ #checkout ” and another has a Class of “ .checkout-btn ”, it should show:
2. Check for click listeners on the checkout button
Apps and third parties partnering with a merchant might respond to shoppers clicking the Shopify checkout button. The sub-sections below explain how this interferes with the On-Store flow and how to prevent this from happening.
Partnered apps and third parties
Some of a merchant's partnered apps or third parties might "listen" on the back end (non-maliciously) for shoppers to click the Shopify checkout button. Once the shopper clicks "Checkout," the app brings the shopper to them (or Shopify) instead of Loop, overriding the On-Store experience.
Some apps that have known issues include:
SpurIT Pre-Order
Preorder Manager
Additional apps, which merchants' developers can help identify, may conflict with the On-Store experience if they require access to the checkout button(s).
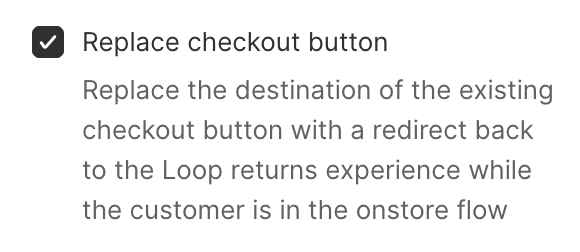
Replace the checkout button
Loop's solution for potential checkout button "hijacking" is the "Replace checkout button" checkbox, which replaces the Shopify checkout button with an identical, Loop-specific checkout button. The Loop-specific button ensures shoppers clicking it will be sent back to Loop to finish their On-Store experience.
To mark the "Replace checkout button" checkbox:
Go to Shopify admin > Sales channels > Online Store.
Find the On-Store theme needing edits and click the Customize button.
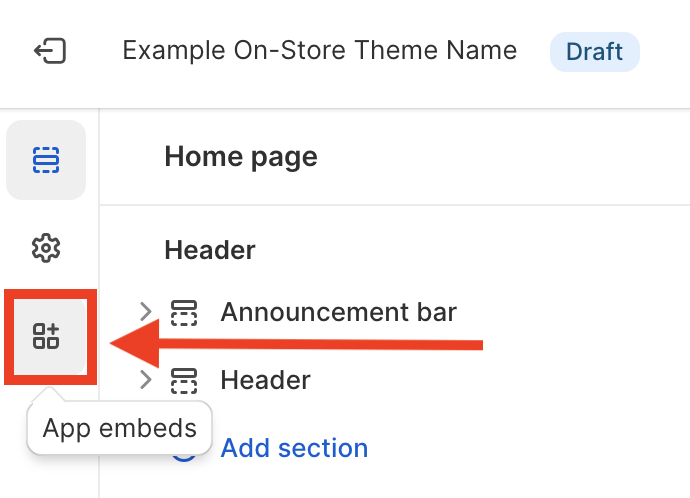
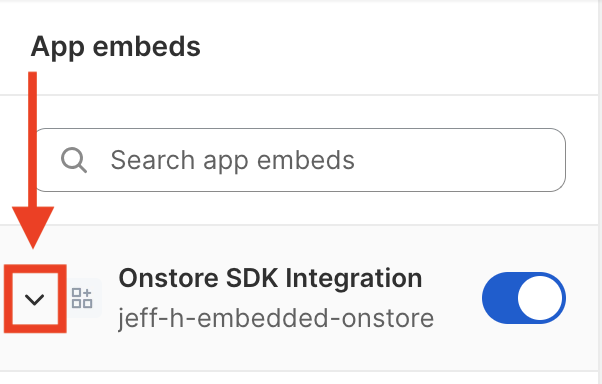
On the left, click the App Embeds button.
Click the carrot next to On-Store SDK Integration to expand the information underneath.

Scroll down to the checkbox labeled "Replace checkout button."
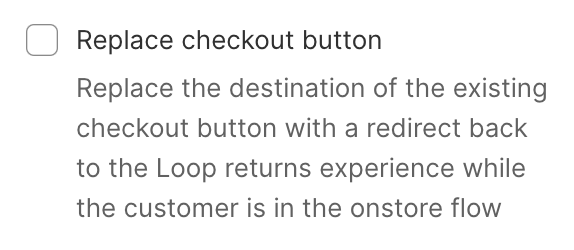
Check the "Replace checkout button" box.
Click Save in the upper right corner of the theme editor window.

Note: If a merchant briefly clicks out of the customizer window in their browser, and then returns, the checkbox may not show as checked anymore. This minor bug does NOT delete saved progress or threaten the store's On-Store functionality. Please refer to the "toggle or checkbox" section above to troubleshoot this bug.
Tip: Developers can also use a "yes or no" flag, " LoopOnstore.isActive() ", to turn On (show) or Off (hide) features or elements that merchants don't want running while Loop On-Store is active.
They can add this flag to any JavaScript code running in their Shopify theme (Shopify > Sales Channels > Online Store > ellipsis button for the desired theme > Edit Code > theme.liquid).
Hide irrelevant elements
Loop recommends hiding references to the following elements during the On-Store Experience:
Third-party checkout methods (for example: PayPal). On-Store exchanges must be completed through Loop checkout.
Alternative payment methods (for example: AfterPay, Klarna). Stripe must capture On-Store upsell value through Loop's checkout.
Product customizations recorded as line item properties. Loop cannot record line item properties and apply them to exchange orders at this time.
Merchants can add “.loop-returns-activated” in the code to hide elements. Hide a specific element by way of the element’s ID, or a whole group of elements by way of the elements’ Class. Below are examples of hidden IDs and Classes (ID and Class are bold for emphasis).
Element ID:
// hide AfterPay
.loop-returns-activated #afterpay {
 display: none !important;
}
Element Class:
// hide alternative payment types (use whichever class matches the container for your alternative payment types)
.loop-returns-activated .alternative-payment-methods {
 display: none !important;
}
For more information, please refer to this setup article.
Tip: To hide an element by way of JavaScript, developers can add the " LoopOnstore.isActive() " flag to any JavaScript code running in their Shopify theme (Shopify > Sales Channels > Online Store > ellipsis button for the desired theme > Edit Code > theme.liquid). This flag helps merchants hide features they don't want running while Loop On-Store is active.
Credit banner covers checkout button
If the credit banner is covering the checkout button, Loop recommends the following:
Go to Shopify admin > Sales channels > Online Store.
Find the On-Store theme needing edits and click the Customize button.

On the left, click the App Embeds button.

Click the carrot next to On-Store SDK Integration to expand the information underneath.

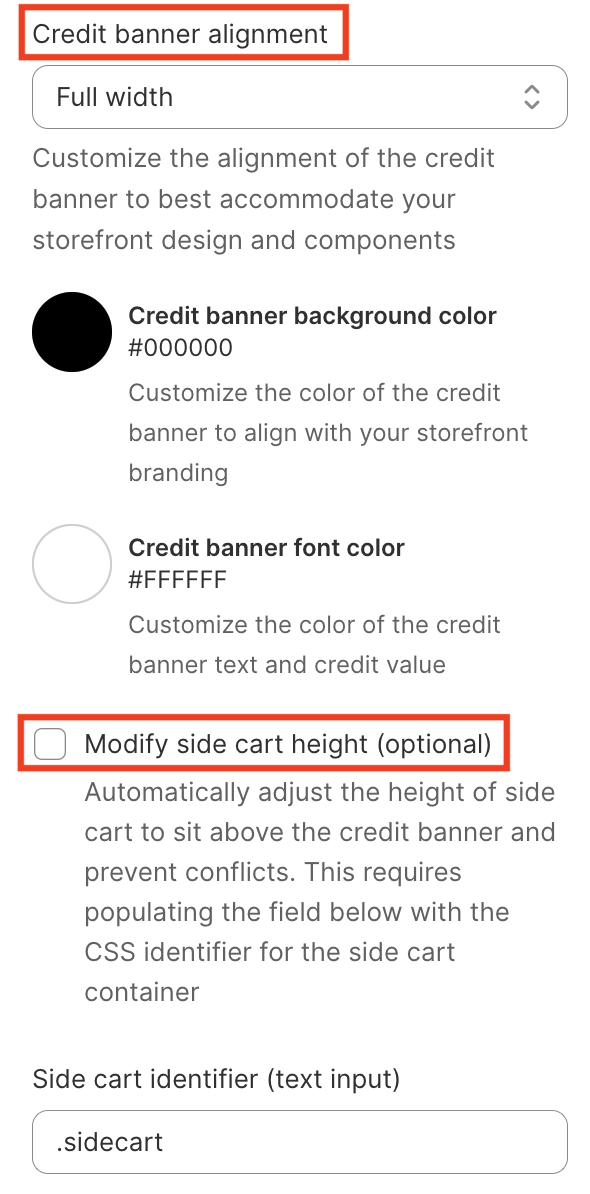
In the sidebar on the left, scroll down to the options for adjusting credit banner alignment and the "Modify side cart height (optional)" checkbox.
Note: If clicking between browser windows, and the checkbox has trouble showing (even after saving), please refer to the "toggle or checkbox" section above.
Experiment with these fields until the credit banner no longer covers the checkout button.
Important: If clicking the "Modify side cart height (optional)" checkbox, add the side cart Class or ID in the "Side cart identifier (text input)" field so that the backend code completes this function. Follow these steps, adding just one value for this specific cart.
On-Store redirects shoppers back to review screen
If the On-Store checkout button redirects back to the Shop Now credit page instead of the summary page, typically it's because the API key needs updating. Play the video below, or review the written instructions underneath it, to troubleshoot this issue.
To update the API key:
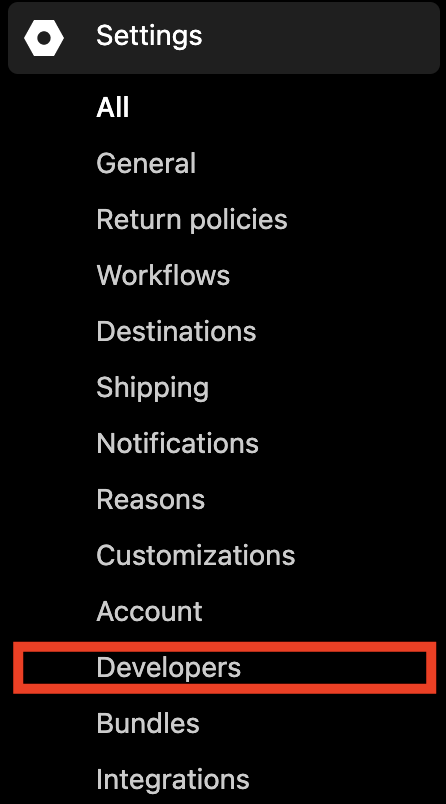
Go to Loop admin > Returns management > Tools & integrations > Developer tools.
Scroll down to the “API keys” section.
Ensure that the “Scopes” column shows the chosen API key as “Cart” only. (Including more scopes could expose returns data. Create a Cart-only API key if there isn't one yet.)
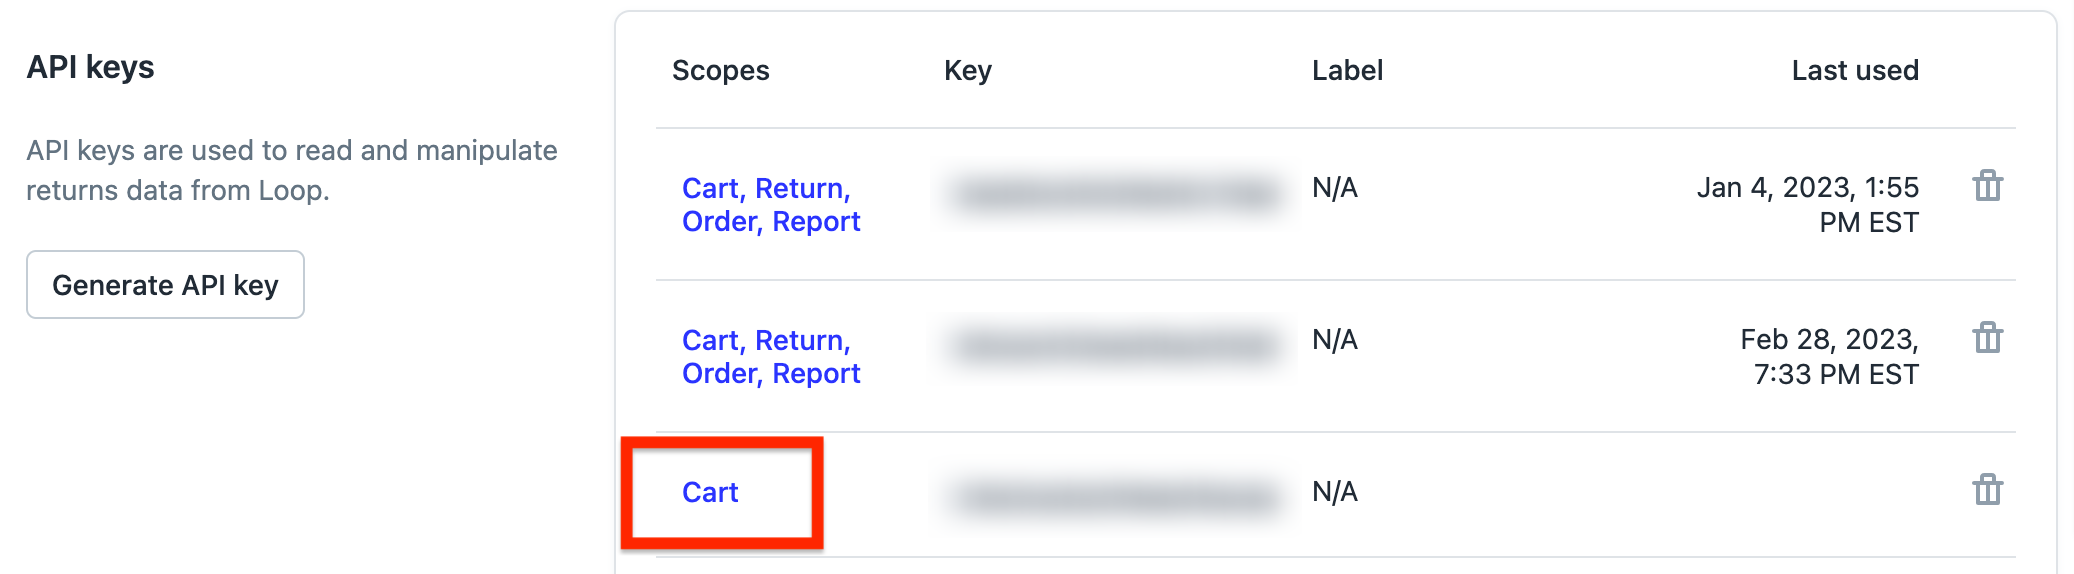
Copy the API key from the “Key” column.
In a separate tab, go to Shopify admin > Sales channels > Online Store.
Find the On-Store theme needing edits and click the Customize button.

On the left, click the App Embeds button.

Click the carrot next to On-Store SDK Integration to expand the information underneath.
Paste the API key into the "Loop API Key (text input)" field in the Shopify theme customizer.
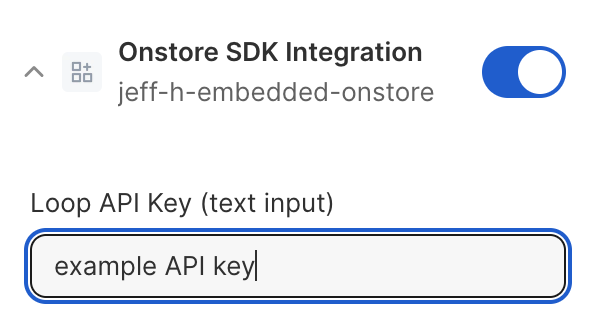
Click Save in the upper right corner of the theme editor window.

Tip: If the steps above don't help, please check that the key is correct for the portal being used. For example, if the store has portals for both the United States and Australia, and the focus is currently on the Australian portal, ensure that the key being used is for the Australian portal.
Testing the checkout button
Tip: Loop strongly suggests having a developer present for this part of the testing process.
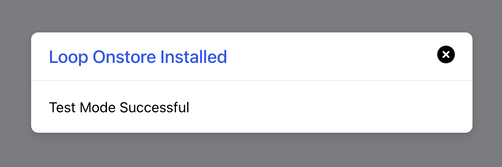
While testing the setup of Loop's On-Store feature, a pop-up should appear confirming success:
If this message does not appear, please double-check the following:
A call to “api.loopreturns.com/api/v1/cart/” should appear under Inspector Tool > Network > Names. (To access the Inspector Tool, right-click anywhere in the store view and select Inspect).
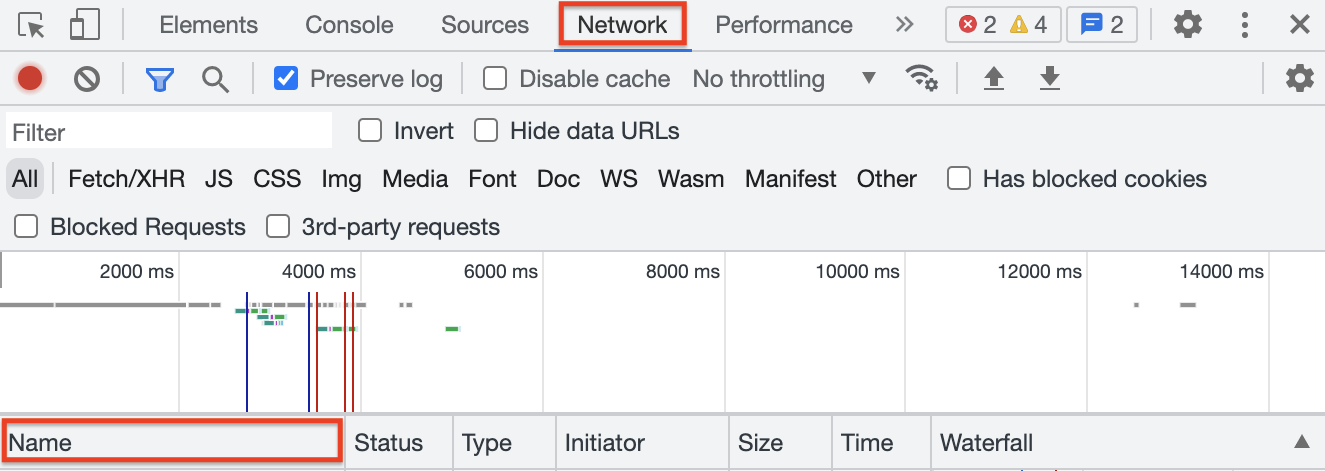
Note: If double-checking these bullets does not make testing successful, there may be additional API calls to look for in the Network tab. Please contact support@loopreturns.com.
When clicking on the API call above, a few sub-tab options will appear. Clicking the Payload sub-tab should show the array of variant IDs.
When clicking on the Response sub-tab, a token should appear.

Using a shadowDOM
Sometimes themes will make use of a shadowDOM to nest certain elements. This can result in requiring a more advanced checkout selector setup for On-store.
In order to utilize a checkout button that is nested within a shadowDOM, you will need to set up your selector using the setup plus some specific instructions. If you or your team’s developer know that you will be utilizing a shadowDOM, please refer to Shop Now: On-Store Optional Setup () to get started.
FAQ
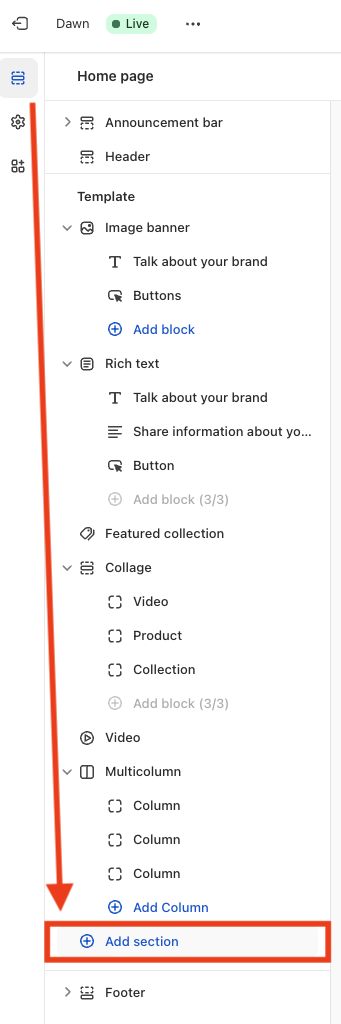
Why can't I see or use the embedded On-Store version? Embedded On-Store is only available to merchants on Shopify 2.0, a Shopify update adding more feature and tooling options, as well as architecture upgrades. You may be on 2.0 already if you see an "add section" theme within the Shopify theme customizer.
If not using this version of Shopify, you can either a) look into migrating your themes and apps to 2.0 or b) use Loop's original On-Store feature.
For more Shop Now: On-Store setup assistance, please reach out to the merchant's Onboarding Manager or support@loopreturns.